This popup form can be accessed via the  sub-project view page
  edit button in the top header area, as shown in Figure 1. Alternatively you can access the
  edit popup form via the Programmes & Projects tab at the programme view page, or the Sub-projects tab at the project view page, as shown in Figure 2.
*The name field is mandatory, if you accidentally try to edit this project’s name to have the same name as an existing project for your programme, project or sub-project then you will get a warning message.
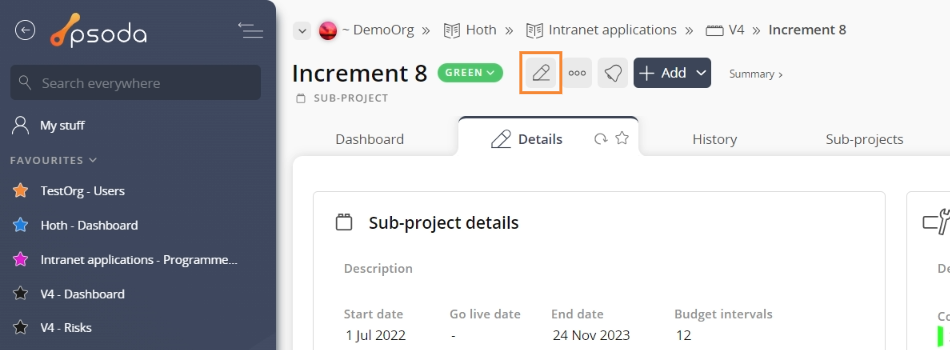
Figure 1 – Access via edit button
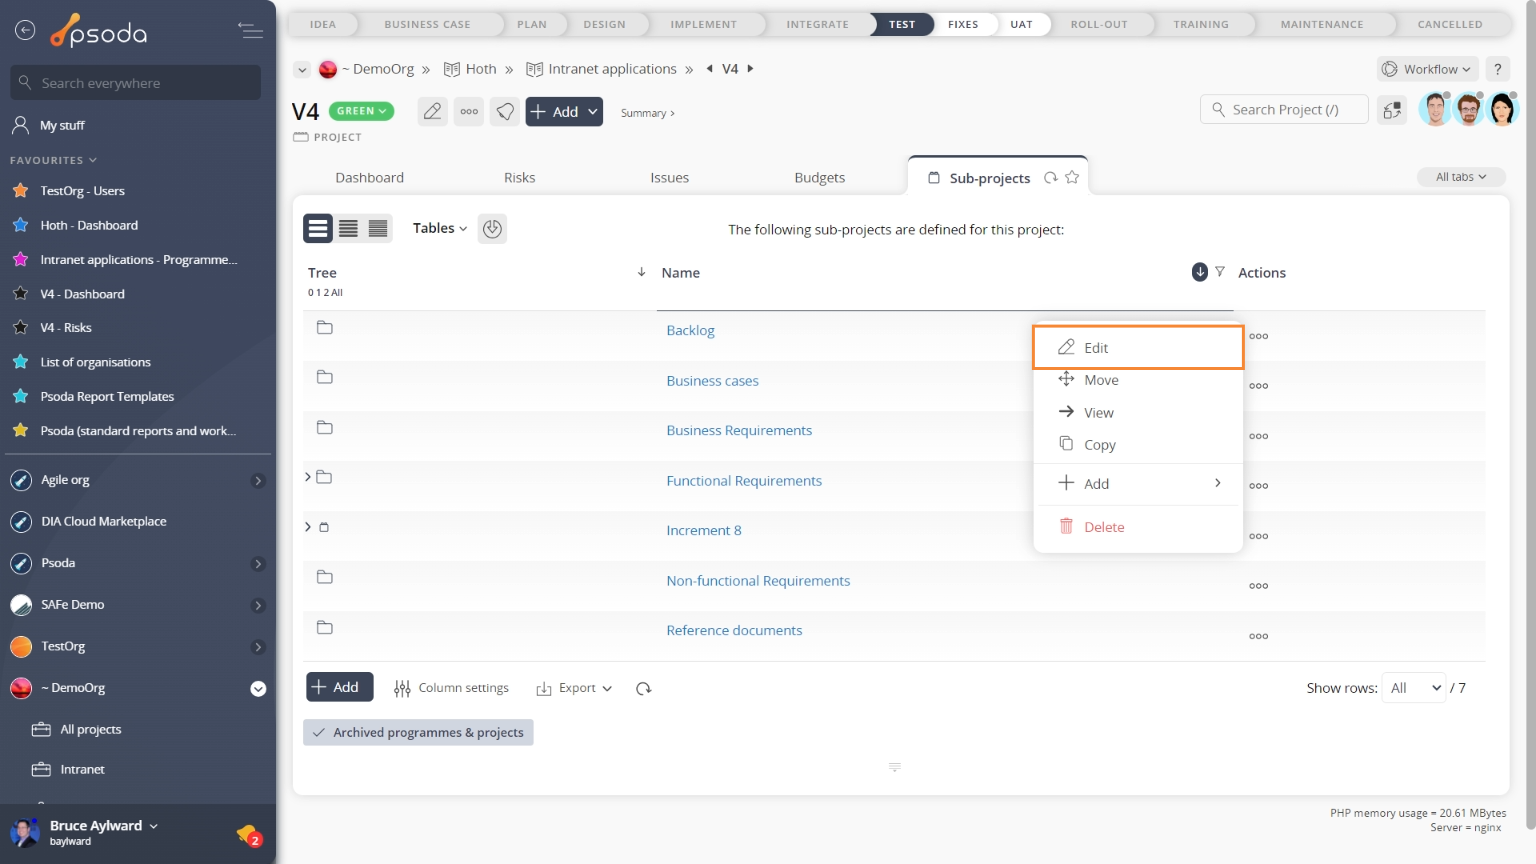
Figure 2 – Access via sub-projects tab
This popup is shown in Figure 3 and is used to edit an existing sub-project.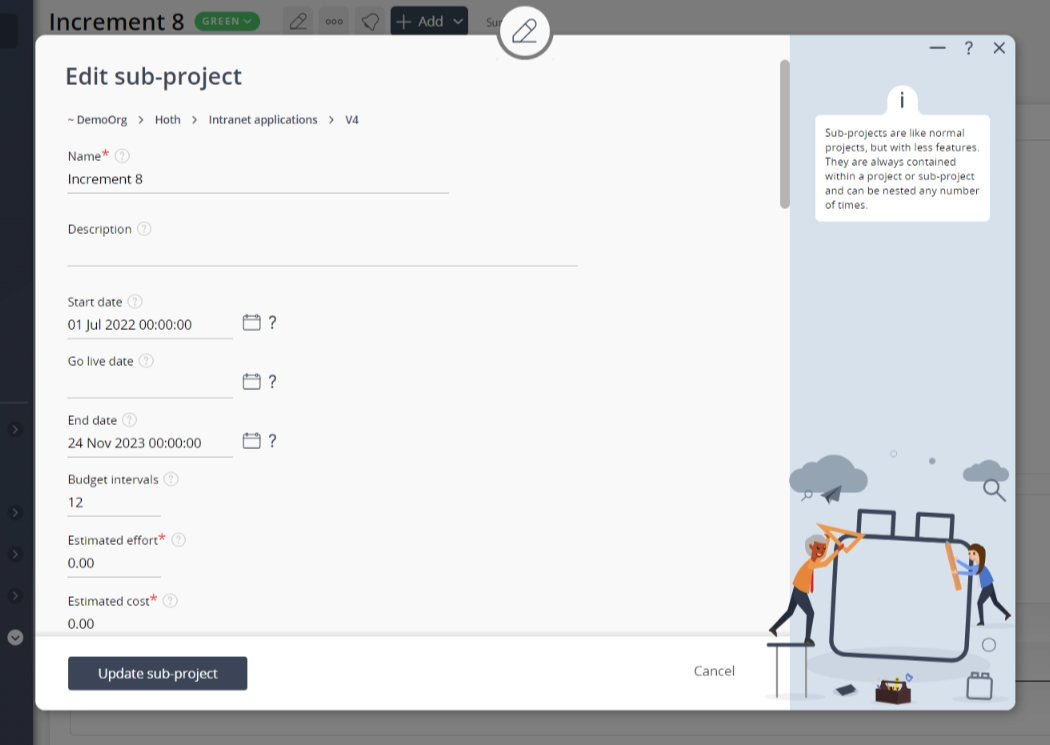
Figure 3 – Edit sub-project form
In Figure 3 above, the form has been broken down into three sections:
| Section 1 | This section contains a selection of important top fields: Asset: This read-only field shows which parent asset this project belongs to e.g. project or sub-project. Name*: This is an editable mandatory field containing the name of this project, e.g. demo sub-project. The name must stay unique within your programme. |
|---|---|
| Section 2 | These are the tabs that you can cycle through to edit each section of the sub-project.When you navigate to a new tabbed view in this popup, any information entered in Section 3 from the previous tabbed view will be saved. This means you do not need to click on any buttons to save each tab, but can instead click on the Update button at the bottom of the popup when you wish to update your project with the updated details. |
| Section 3 | This information will change as you cycle through the tabs shown in Section 2, and the available fields will change accordingly. A breakdown of the field information for each tab is provided below. |
Tab breakdown
The following information provides a breakdown of each of the tabbed views that may be available for you to set the sub-project’s details under each section.Details
Figure 4 – Sub-project details tab
The details for a sub-project can be edited by clicking on the tab indicated in Figure 4 above. Each of the fields available to be customised in this tabbed view are described in the following table:| Description: | You can add or edit the short description of this sub-project here. |
|---|---|
| Start date: | The start date will be used as the start month for budgets. You can manually enter or edit the date here using any one of the date formats or use |
| Go live date: | You can manually enter or edit the date here using any one of the date formats or use |
| End date: | You can manually enter or edit the date here using any one of the date formats or use |
| Budget intervals: | You can enter or edit the number of months your want to cover for budgets on this sub-project. |
| Estimated effort: | You can enter or edit the estimated effort (or manpower) required for this sub-project. |
| Estimated cost: | You can enter or edit the estimated cost for this sub-project. |
| RAG Status: | Use this drop-down list to select or change the Red/Amber/Green status for this sub-project here. |
| Owner: | Use this drop-down list to select or change the owner for this sub-project. |
 Portfolios
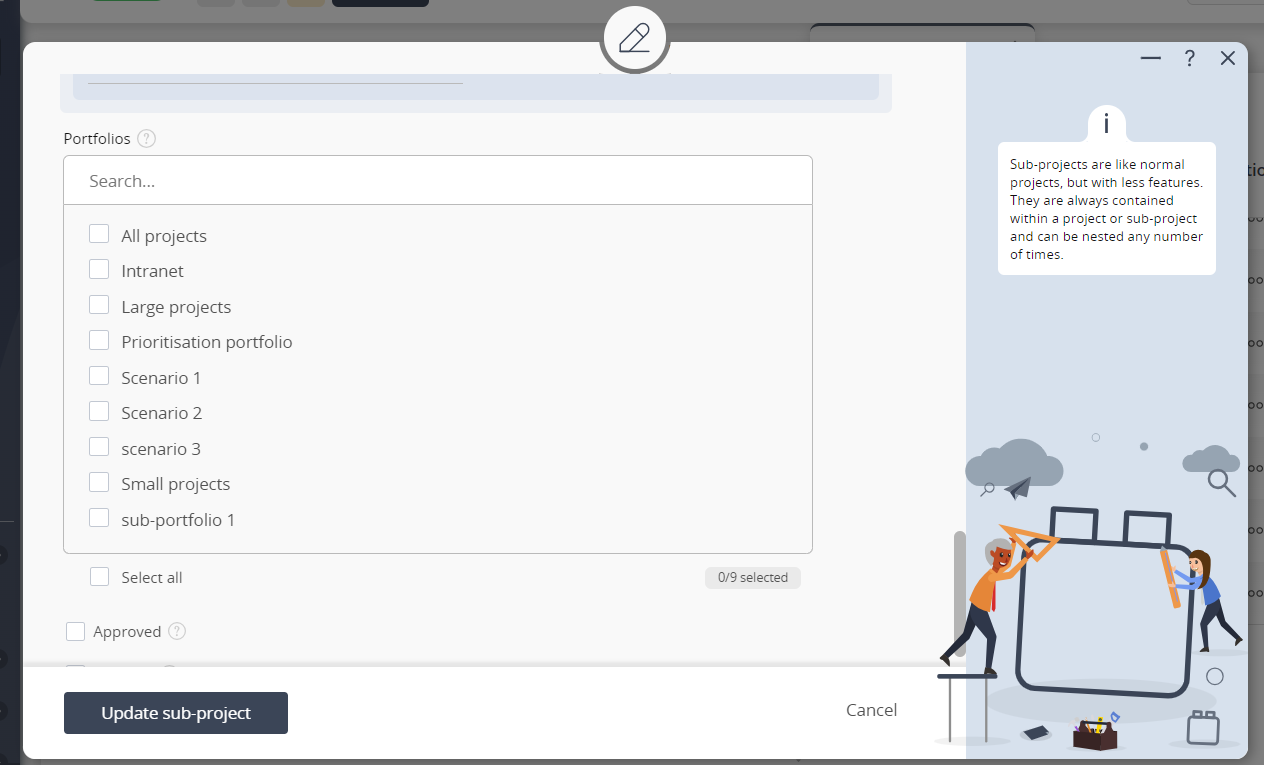
Figure 5 – Portfolios tabbed view
This tab will only be visible if you have the necessary permissions and there are any portfolios defined for your organisation, assigned to sub-projects. Use this tab to select or change the portfolios that this sub-project belongs to from the list. You may select multiple portfolios by holding the CTRL or SHIFT keys and clicking on the name of the additional portfolio(s). To de-select, click on the highlighted name while still holding the CTRL or SHIFT keys so as not to lose all other selected portfolios. Indicators
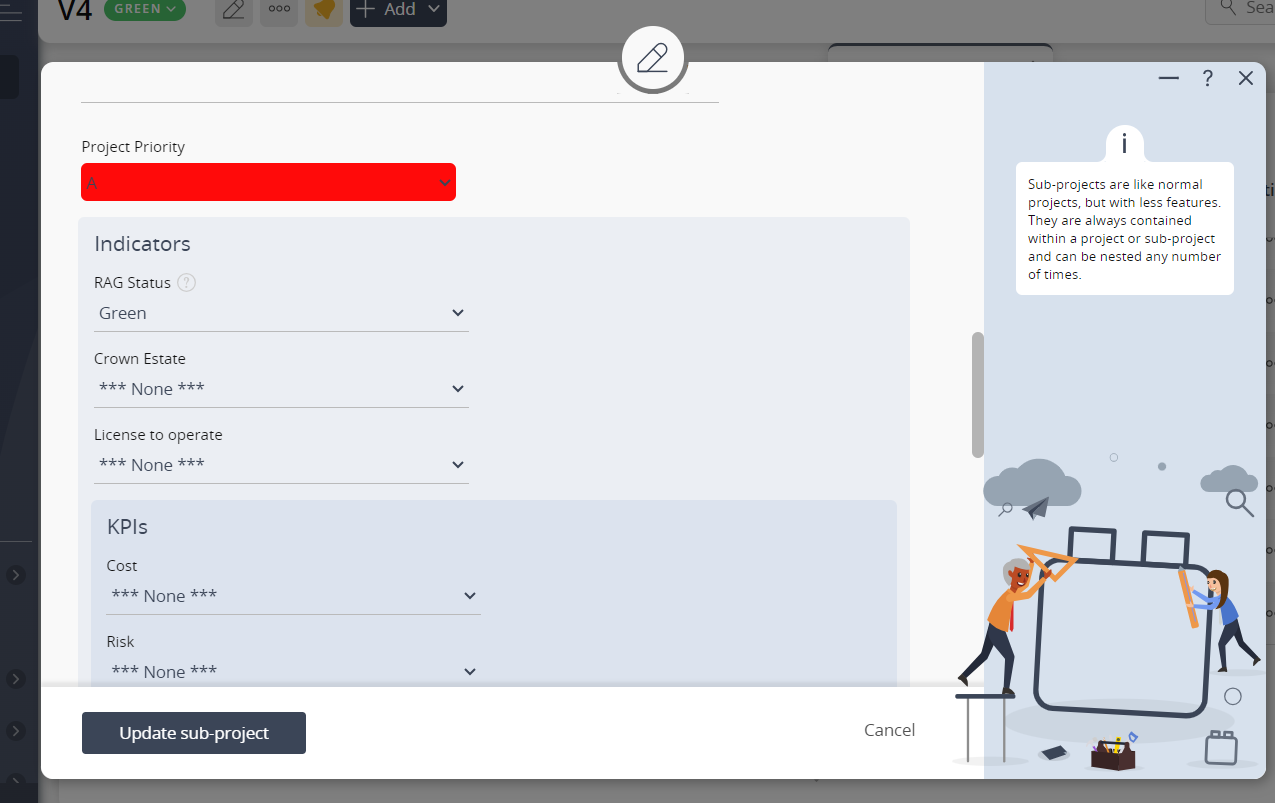
Figure 6 – Indicator tabbed view
This tab will only be visible if you have the necessary permissions and there are any indicators defined for your organisation, assigned to sub-projects. You can select or change the value for each of the indicators by selecting from the drop-down lists of each available indicator. If you hover over an option in these drop-down lists, you will be provided with a short description of the indicator value. Once you are happy with your entries click the “Update sub-project” button at the bottom of the form. This will update the sub-project with the details that you supplied. Click the “Cancel” button if you want to discard your changes.