This popup form can be accessed via the  project view page
  add menu in the top header area, as shown in Figure 1. Alternatively you can access the
  add popup form via the Sub-projects tab at this same view page, as shown in Figure 2.
 sub-project for the selected project.
*The name field is mandatory, but all others are optional.
If you accidentally try to add a new sub-project with the same name as an existing sub-project for your programme, project or sub-project then you will get a warning message.
Once you are happy with your entries click the “Add sub-project” button at the bottom of the form. This will add a new sub-project with the details that you supplied.
The new sub-project can be viewed in the Sub-projects tab asset listing at the parent project’s view page, as shown in Figure 4. Alternatively you can view the new sub-project from the parent higher level asset’s dashboard in the Programmes & Projects dashlet, as shown in Figure 5.
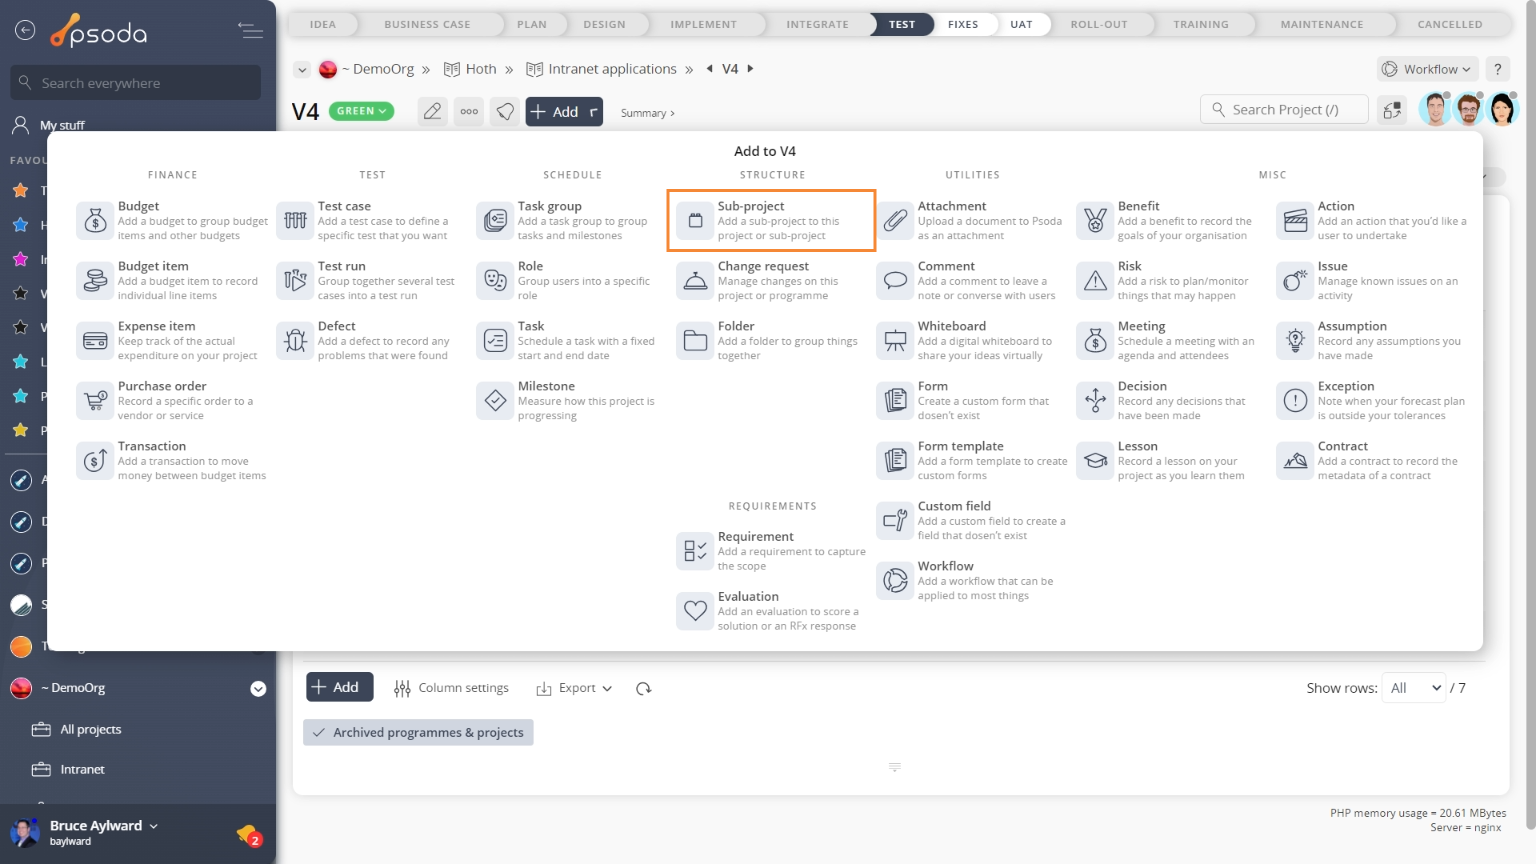
Figure 1 – Access via add menu

Figure 2 – Access via sub-projects tab
This popup is shown in Figure 3 and is used to add a new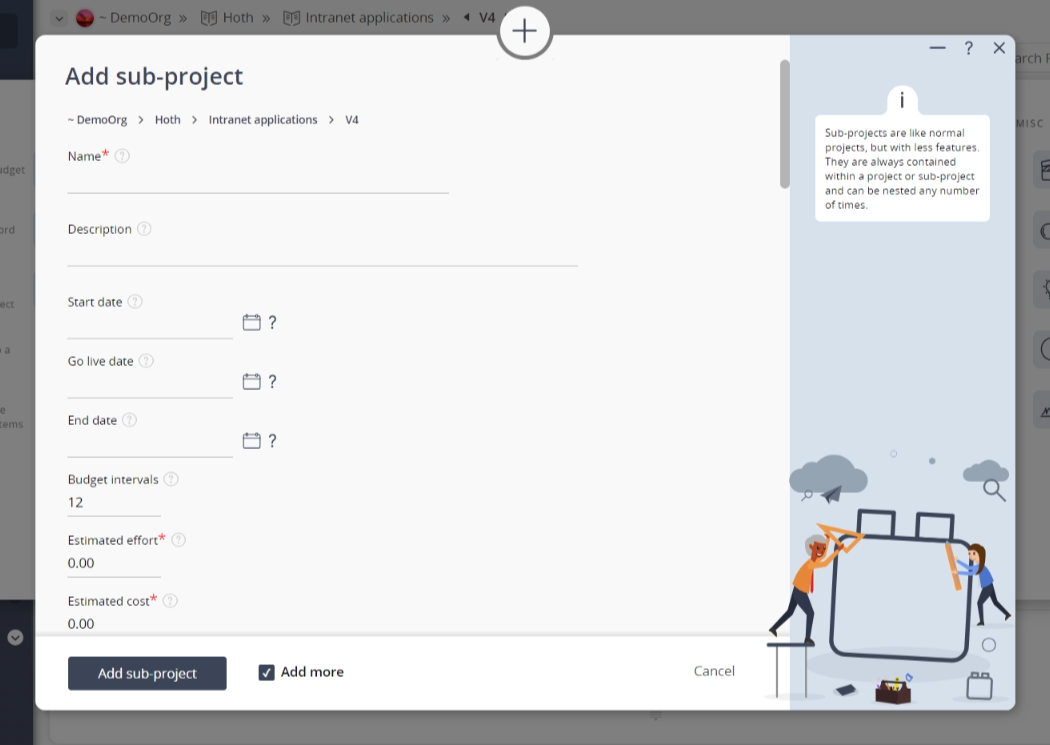
Figure 3 – Add sub-project form
This form has the following fields:| Project/Sub-project: | This read-only field shows which project or sub-project you are adding the new sub-project to. |
|---|---|
| Name*: | This is where you put the name of the sub-project you want to add, e.g. Leave Application. The name must be unique within your |
| Description: | You can add a short description of your sub-project here. |
| Start date: | The start date will be used as the start month for budgets. You can manually enter a date here using any one of the date formats or use |
| Go live date: | You can manually enter a date here using any one of the date formats or use |
| End date: | You can manually enter a date here using any one of the date formats or use |
| Budget intervals: | You can enter number of months your want to cover for budgets on this sub-project. |
| Estimated effort: | You can enter estimated effort (or manpower) required for this sub-project. |
| Estimated cost: | You can enter estimated cost for this sub-project. |
| RAG Status: | Use this drop-down list to select the Red/Amber/Green status for your sub-project. |
| Owner: | Use this drop-down list to select an owner for the sub-project, your |
| Workflow: | Select the applicable |
| Add more sub-projects: | Select this check box if you would like to add another sub-project directly after the current sub-project has been created. |
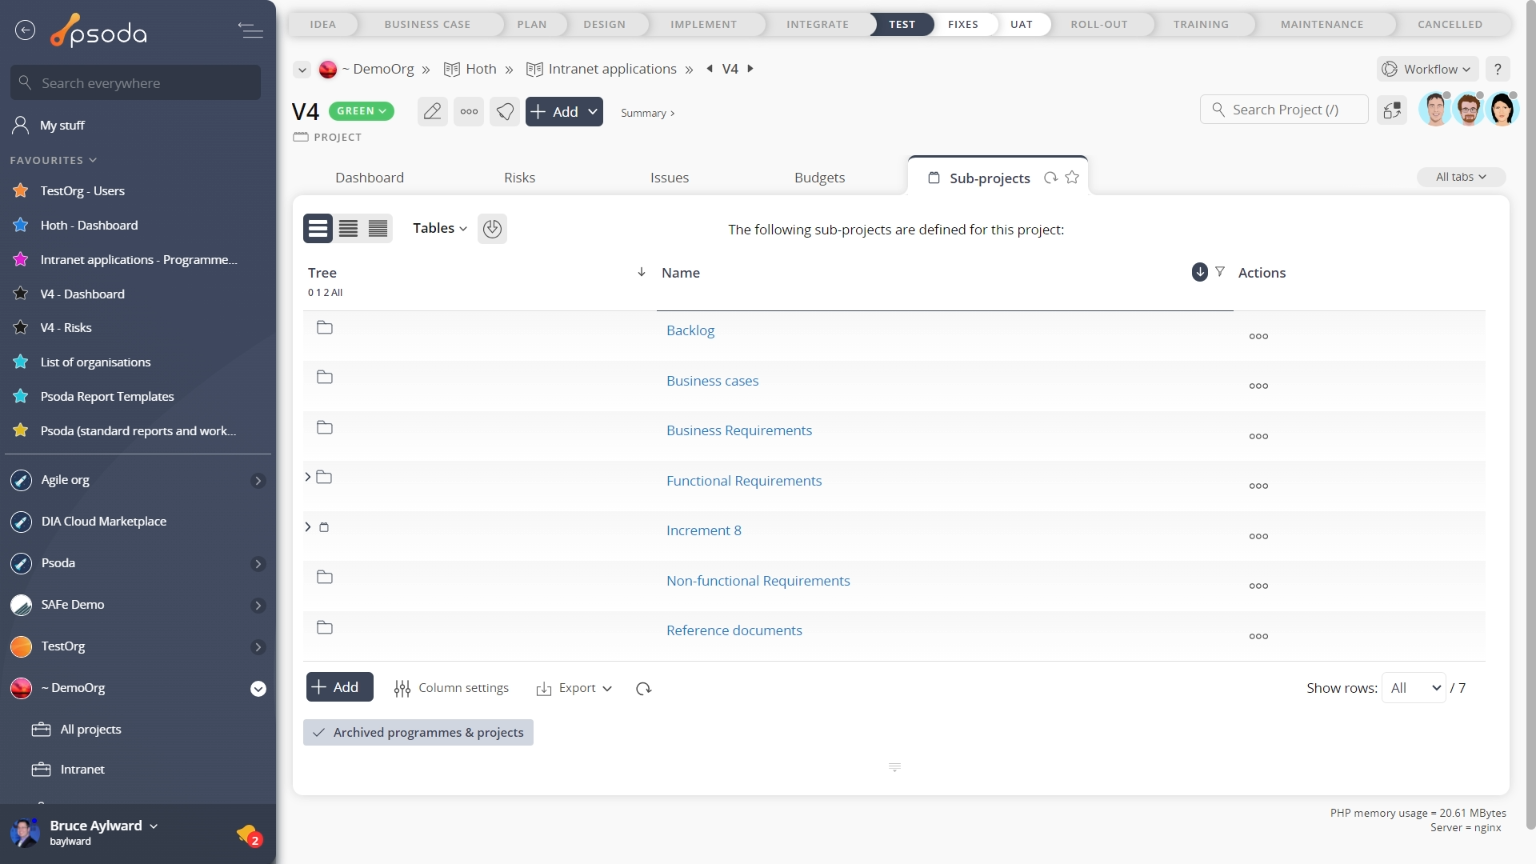
Figure 4 – View from Sub-Projects tab
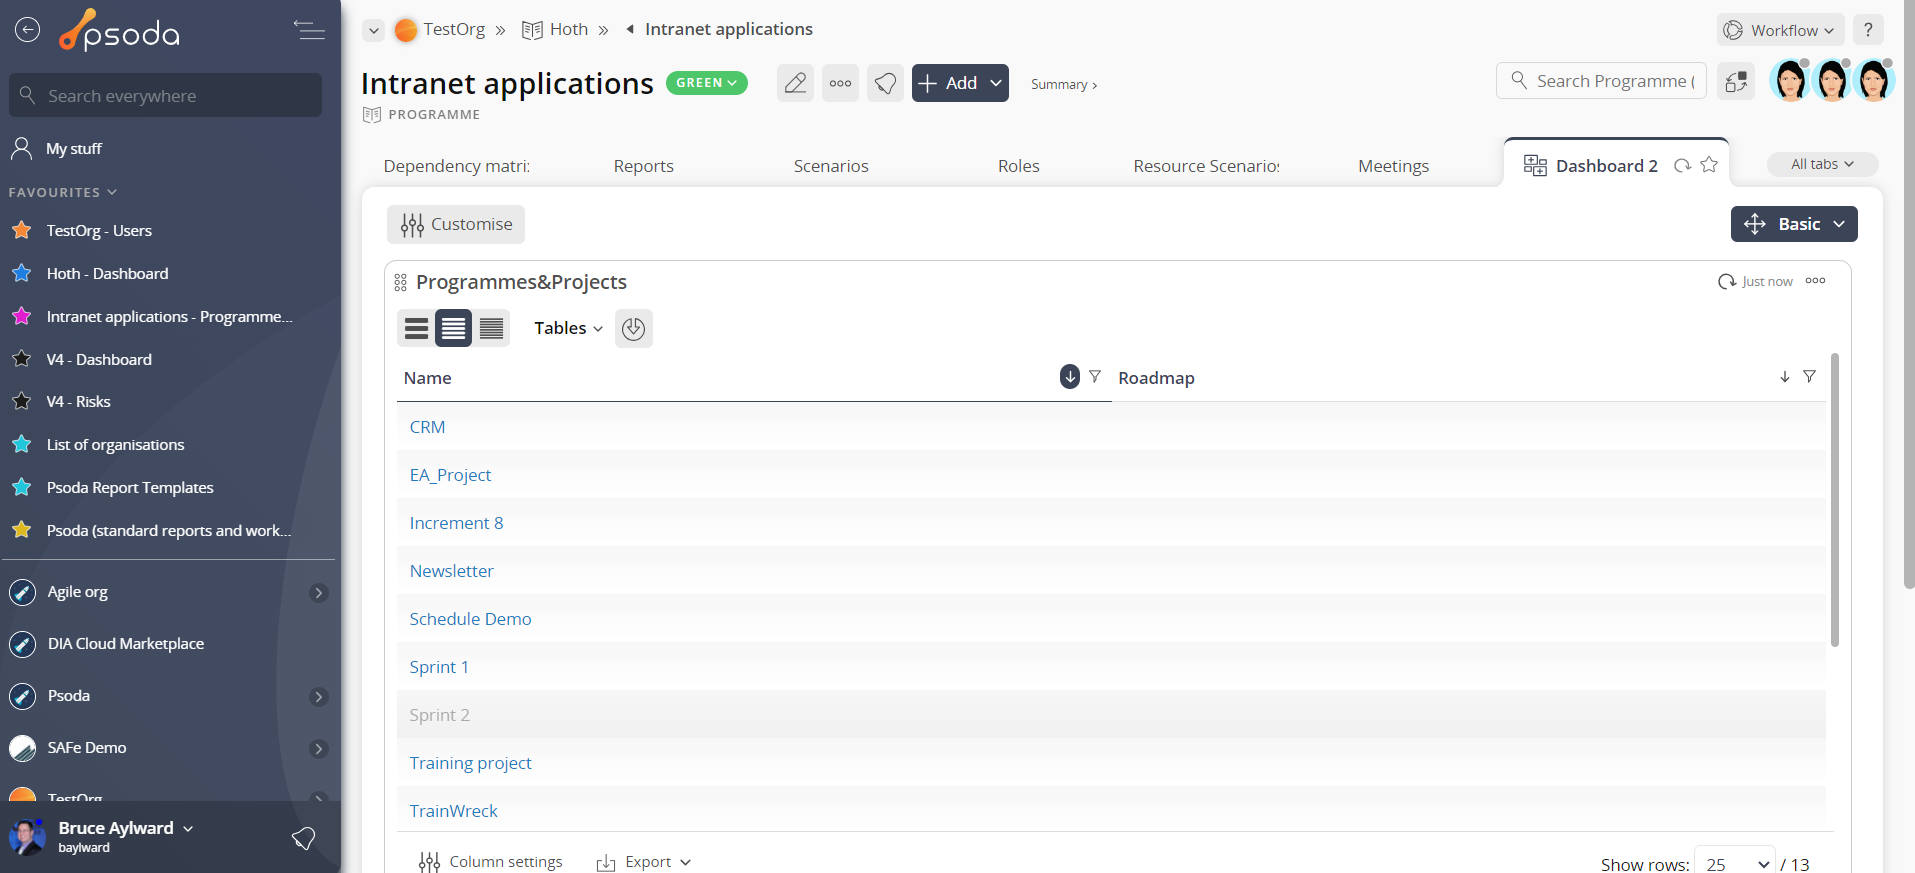
Figure 5 – View from Programmes & Projects dashlet
Click the “Cancel” button if you no longer want to add a new sub-project.