This popup form can be accessed via the  release view page
  add menu in the top header area, as shown in Figure 1. Alternatively you can access the
  add popup form via the Features tabbed view at this same page, shown in Figure 2.
*The reference field is mandatory, but all others are optional. The reference must be unique across the whole  product.

 programme or
  organisation.
This tab includes fields for each defined role in which you can set the size of that particular resource pool. If you set a pool to 0 or empty then it will not be included for the features of this release.
Once you are happy with your entries click the “Add feature” button at the bottom of the form. This will add a new feature with the details that you supplied.
The new feature can be viewed in the Features tab at the parent asset’s view pages, as shown in Figure 6.
organisation.
This tab includes fields for each defined role in which you can set the size of that particular resource pool. If you set a pool to 0 or empty then it will not be included for the features of this release.
Once you are happy with your entries click the “Add feature” button at the bottom of the form. This will add a new feature with the details that you supplied.
The new feature can be viewed in the Features tab at the parent asset’s view pages, as shown in Figure 6.

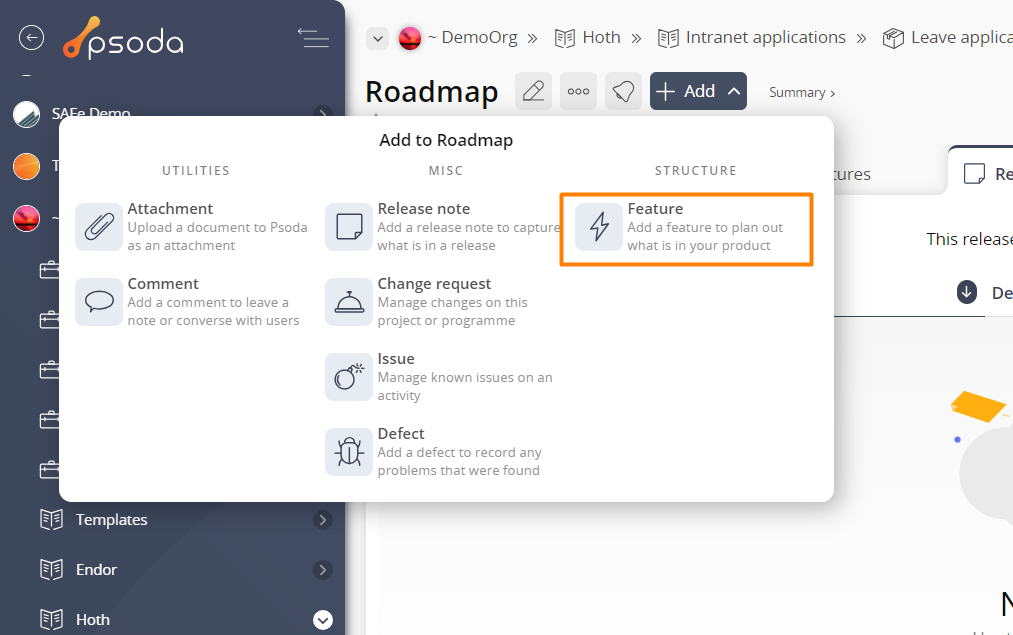
Figure 1 – Access via add menu

Figure 2 – Access via feature tab
This popup is shown in Figure 3 and is used to add a new ![]() feature to the selected release.
feature to the selected release.
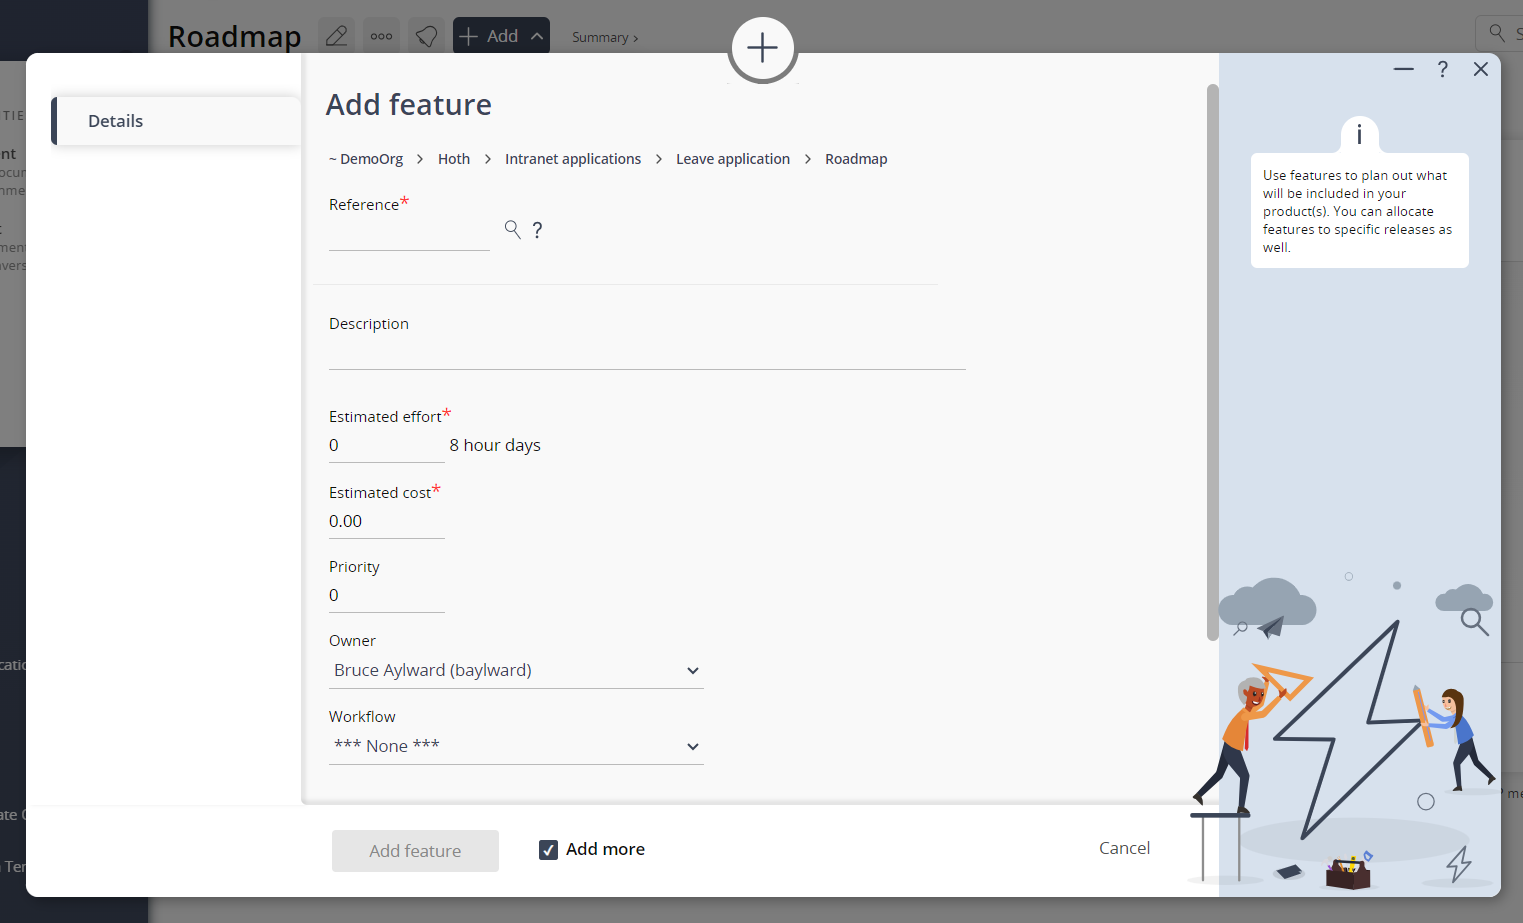
Figure 3 – Add feature form
This form has the following top fields:| Release: | This read-only field shows which release you are adding the feature to. |
|---|---|
| Reference*: | Use this field to enter a unique reference for your feature. If you enter a prefix and end it with one or more zeros, e.g. F00, then you can click on the |
| Add more: | Select this check box if you would like to continue creating more features for this release after the current feature has been added. |
Tab breakdown
The following information provides a breakdown of each of the tabbed views that may be available for you to set the release’s details under each section. Details
Figure 4 – Details tab
The details for a release can be assigned by clicking on the tab indicated in Figure 4 above. Each of the fields available to be customised in this tabbed view are described in the following table:| Description: | Enter a the description of the feature here. |
|---|---|
| Estimated effort: | Use this field to manually set the estimated effort for this feature. NOTE: This field will only be available if you have not set resource pools for the release. If you have set the resource pools then the effort will be added up from the resource estimates for this feature. |
| Estimated cost: | Use this field to manually set the estimated cost for this feature. NOTE: This field will only be available if you have not set resource pools for the release. If the resource pools are set then the cost will be added up based on the resource estimates and the rates set for the corresponding roles. |
| Priority: | You can specify a priority for the feature here. You can sort features by their priority in the feature tables. |
| Owner: | Use this drop-down list to allocate the new feature to a particular |
| Workflow: | Select the applicable workflow for this feature. This field will only be visible if you have access to any Feature workflows. If you do not want any workflow applied to this feature then you can select the ‘None’ option. |
Resource pools

Figure 5 – Resource pools tab
This tab is shown in Figure 5 above, and will only be available if there are roles defined for the release, product,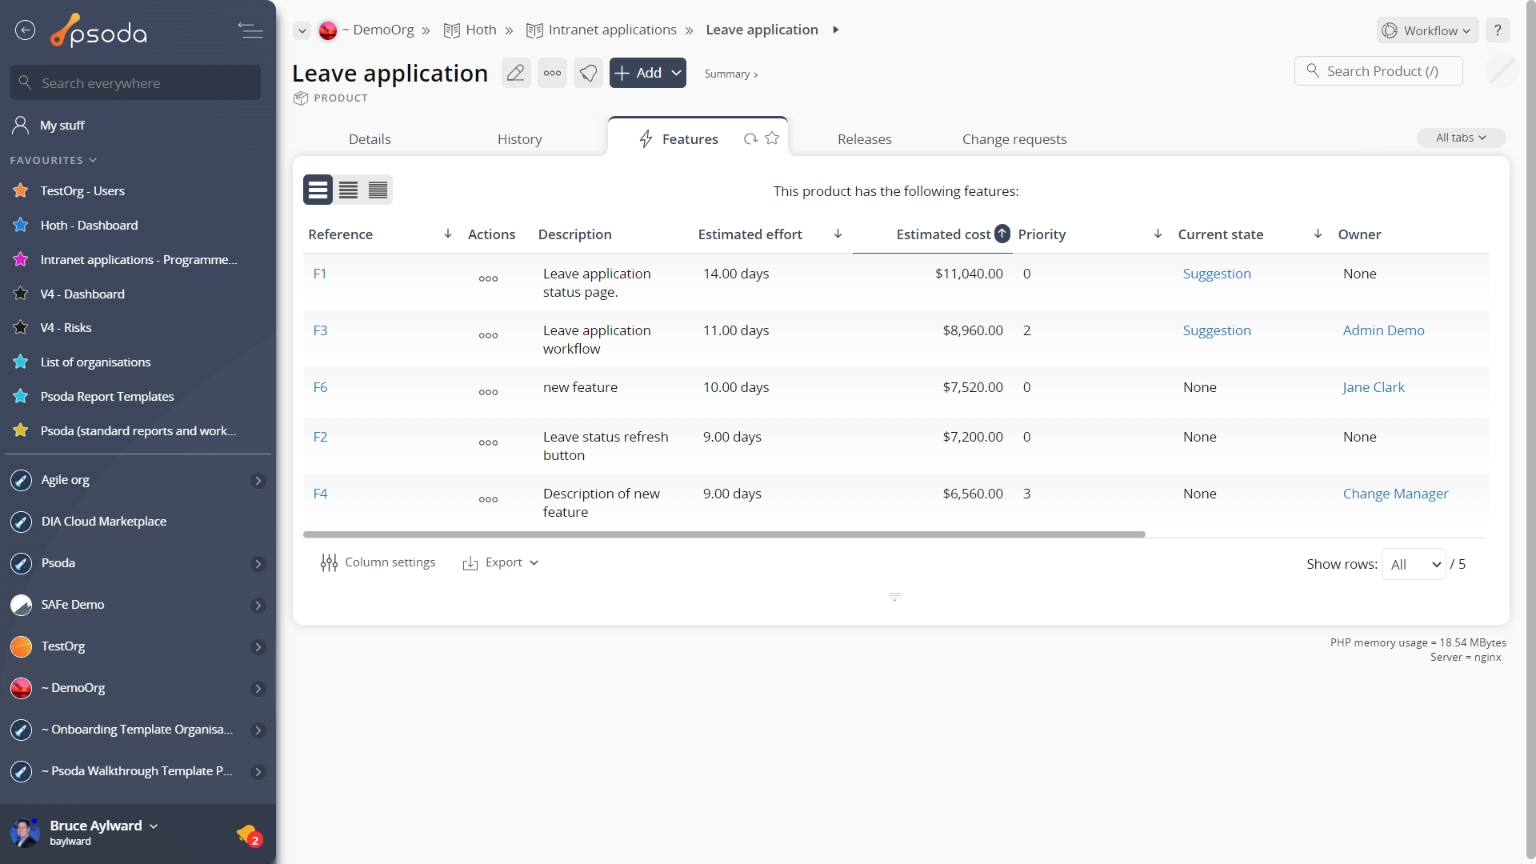
Figure 6 – View from features tab
Click the “Cancel” button if you no longer want to add a new feature.