This popup form can be accessed via the  add menu in the top header area of a selected asset view page (e.g.
  programme,
  project,
  sub-project,
  task group, task,
  milestone,
  requirement,
  decision,
  evaluation etc) view pages, as shown in Figure 1. Alternatively you can access the
  add popup form at the bottom of the Comments tab at these same view pages, as shown in Figure 2. You may also add a comment via the actions column menu if you are viewing an asset listing (for example, if you are looking at a list of task groups, tasks and milestones in a project’s Schedule tabbed view you may wish to add a comment to a selected task group), as shown in Figure 3.
Once you are happy with your entries click the “Add comment” button at the bottom of the form. This will add the new comment with the details that you supplied.
The new comment can be viewed in a number of locations, including the Comments tab at the parent asset’s view page, as shown in Figure 5. Alternatively this comment may also show in the Comment Stream dashlet at the parent asset’s dashboard, as shown in Figure 6.

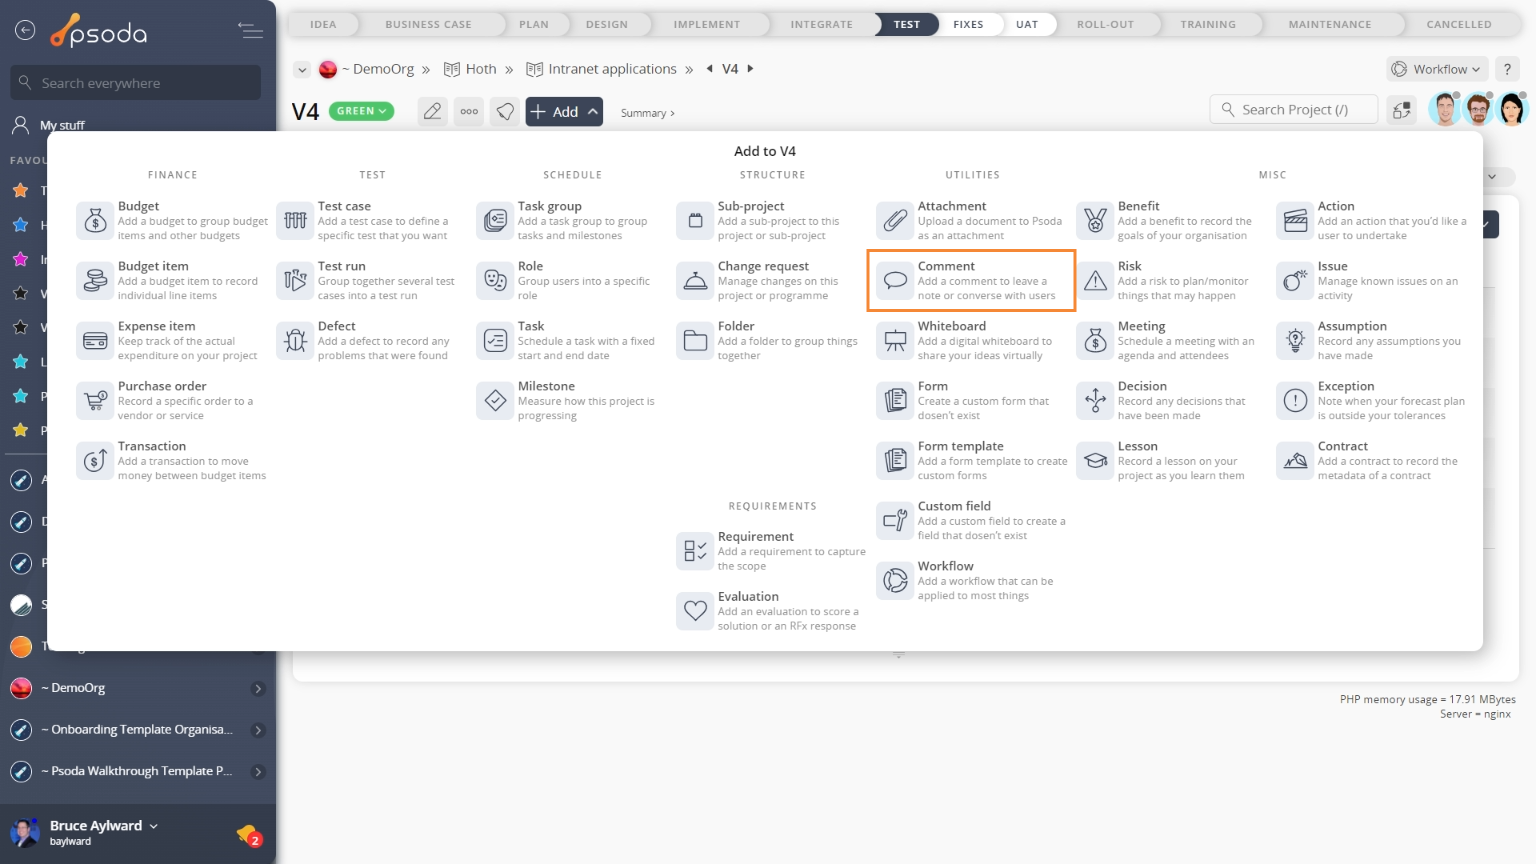
Figure 1 – Access via add menu
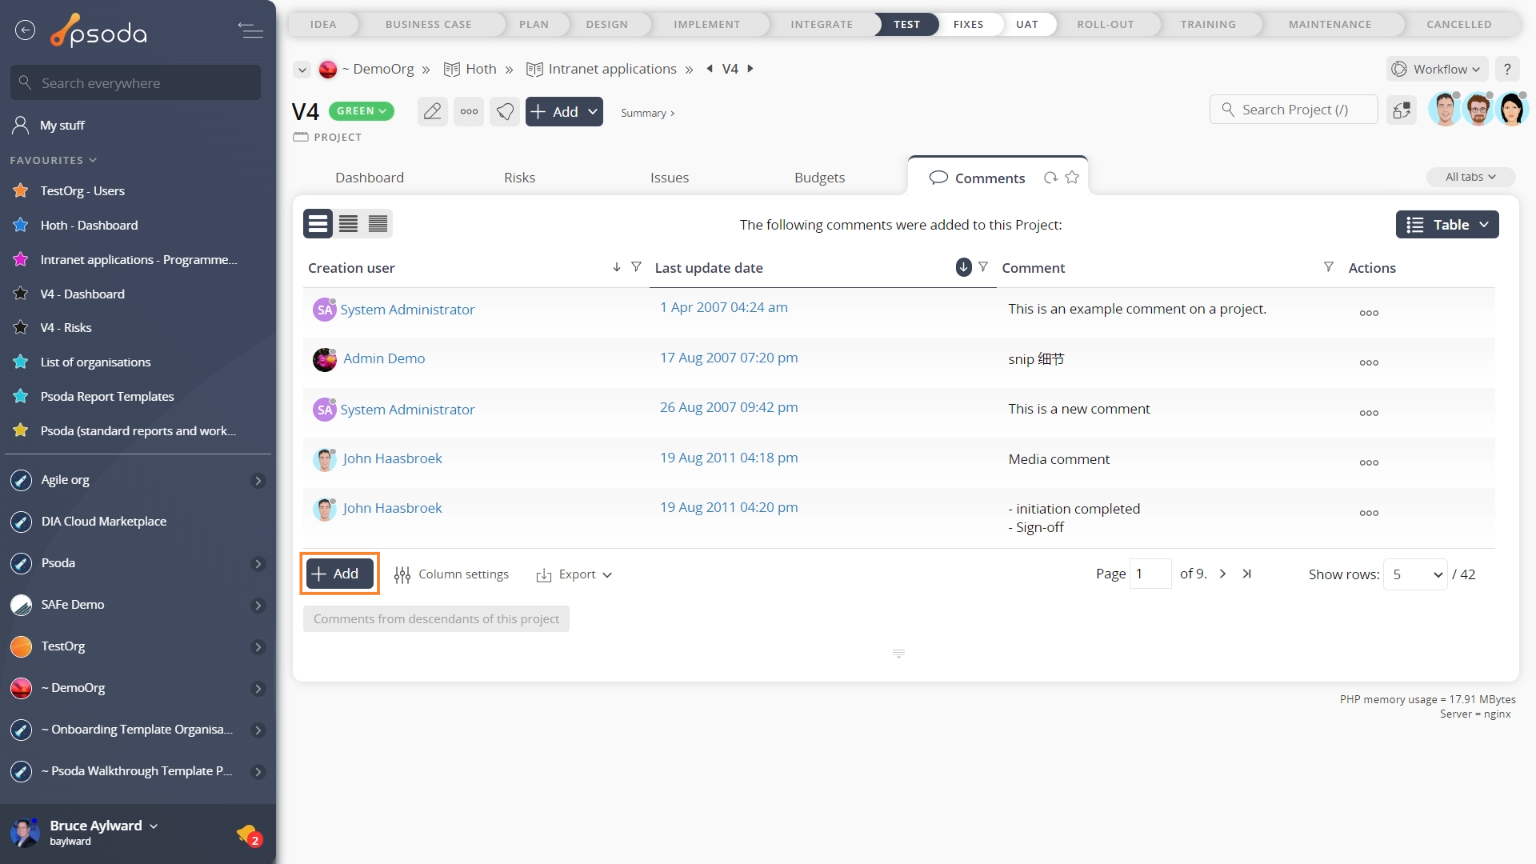
Figure 2 – Access via comments tab
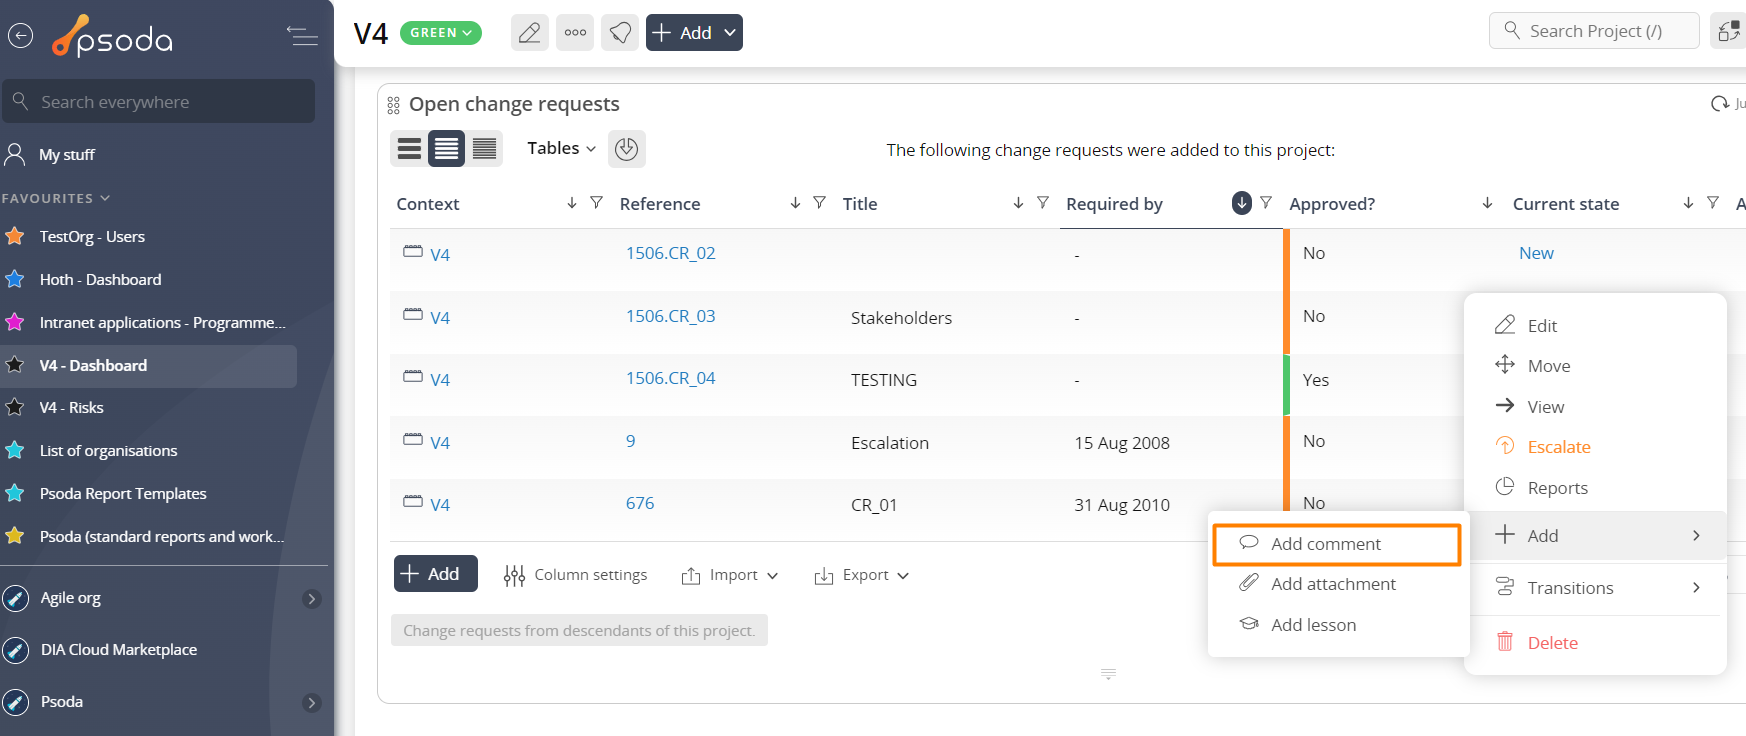
Figure 3 – Access via ![]() actions column menu of asset listing
actions column menu of asset listing
This popup is shown in Figure 4 and is used to add a new ![]() comment to the selected asset.
comment to the selected asset.

Figure 4 – Add comment form
This form has the following fields:| Parent Asset: | This read-only field shows which asset this comment is being added to. |
|---|---|
| Comment: | Enter your comment here. |
| Tags: | You can tag your comment with one or more keywords. Enter any keywords here, they can be separated by spaces or commas. |
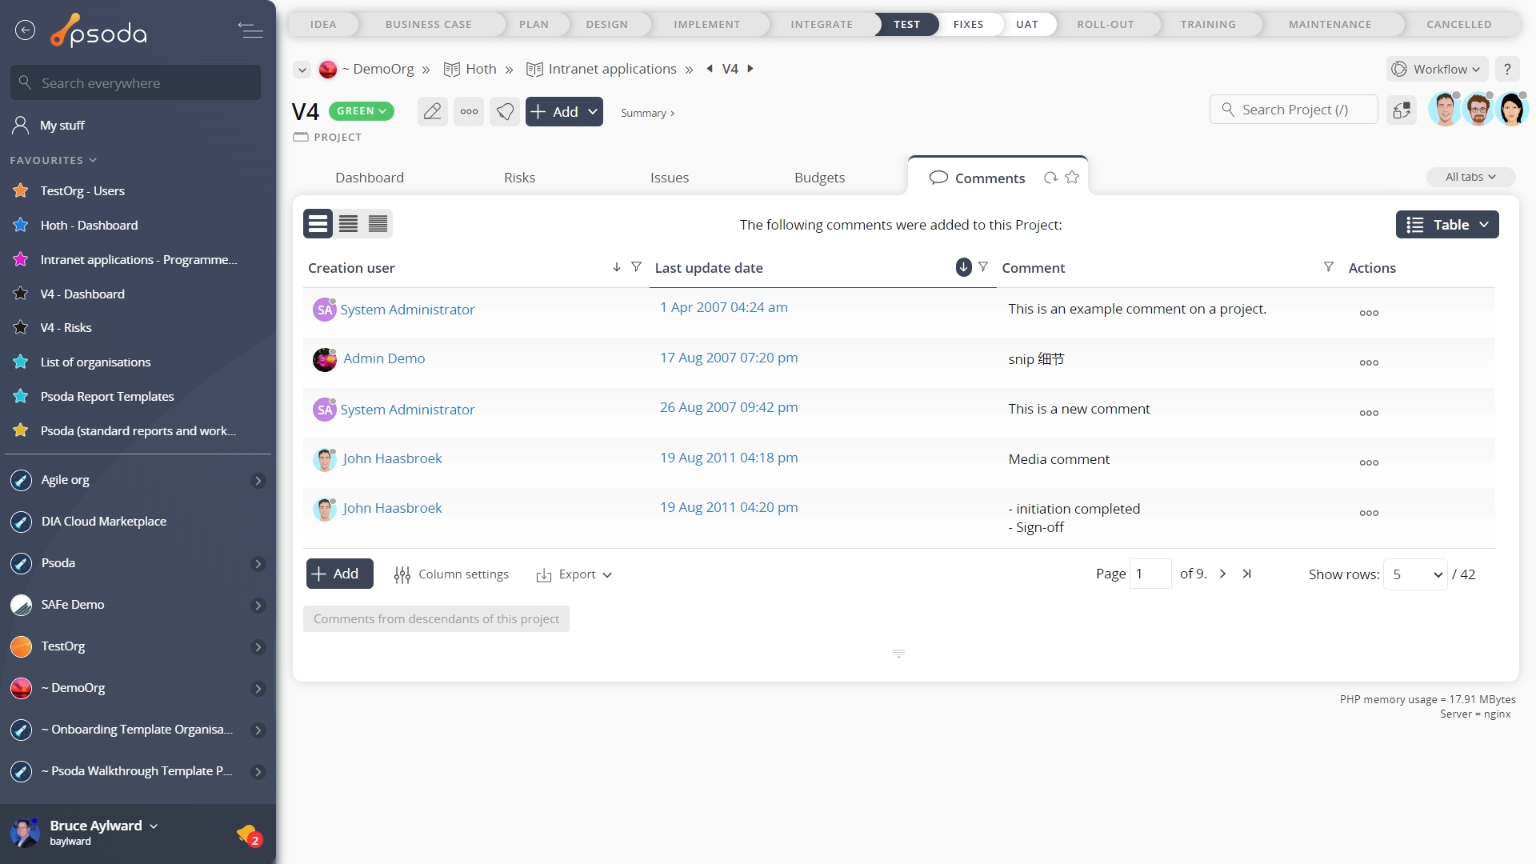
Figure 5 – View from comments tab
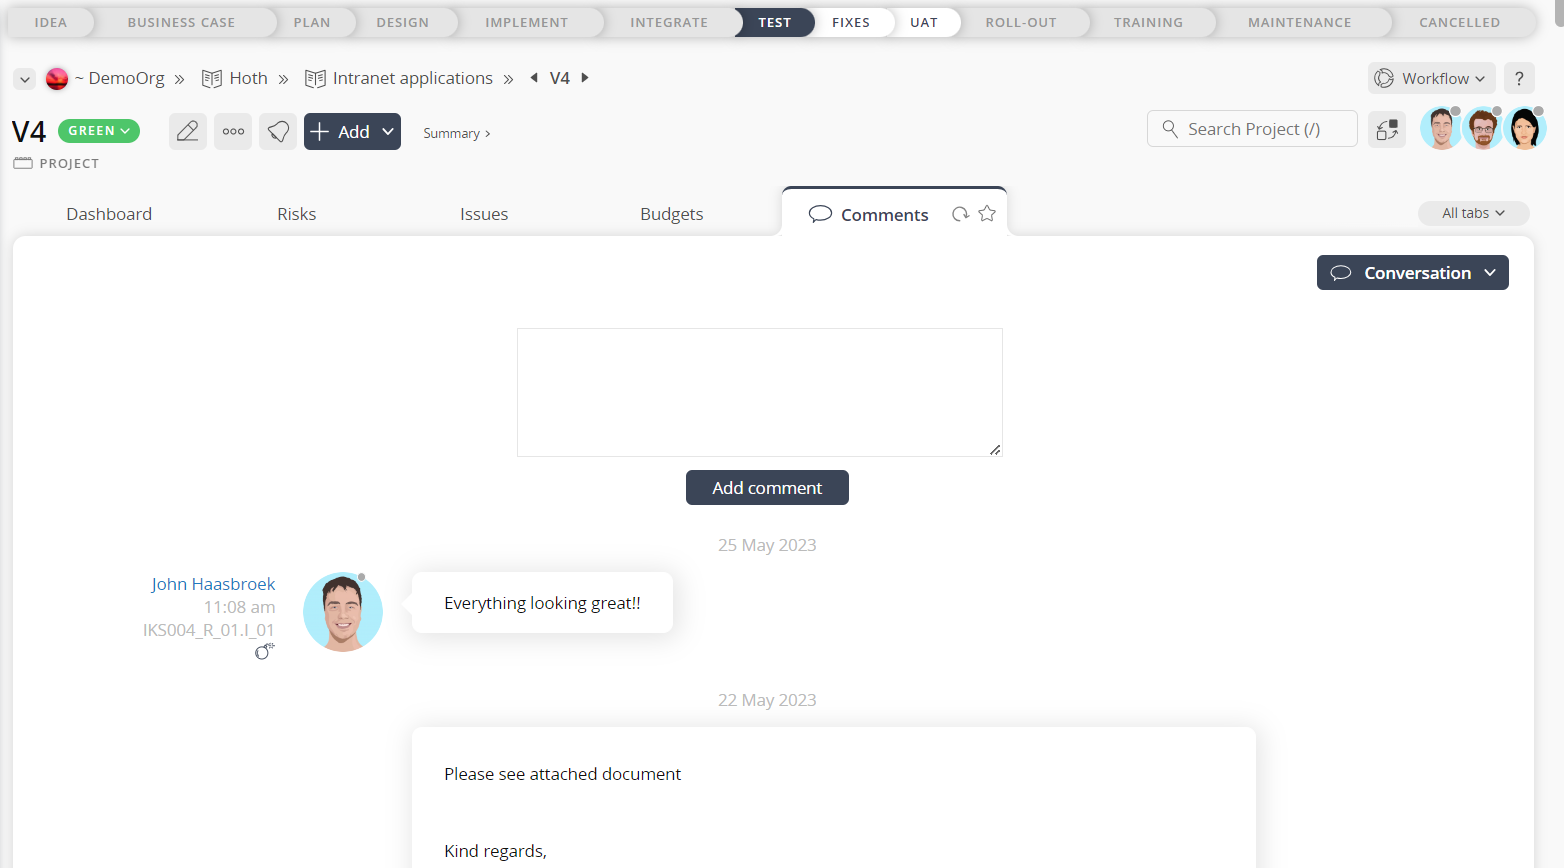
Figure 6 – View from Comment Stream dashlet
Click the “Cancel” button if you no longer want to add the new comment.