Getting started
To get to the workflow builder, go into the state or action that you want to load. There you will see a button that you can press to open the workflow builder (need image of styled button)
To start, if you have no ![]() actions in your
actions in your ![]() state. Your workspace will look a bit empty. To start building a
state. Your workspace will look a bit empty. To start building a ![]() workflow you can drag actions from the left area into the workspace.
workflow you can drag actions from the left area into the workspace.

Figure 1 – Preset actions in left sidebar
Creating and editing workflow actions
To attach to the current state/action, drag into the start area inside the workspace.
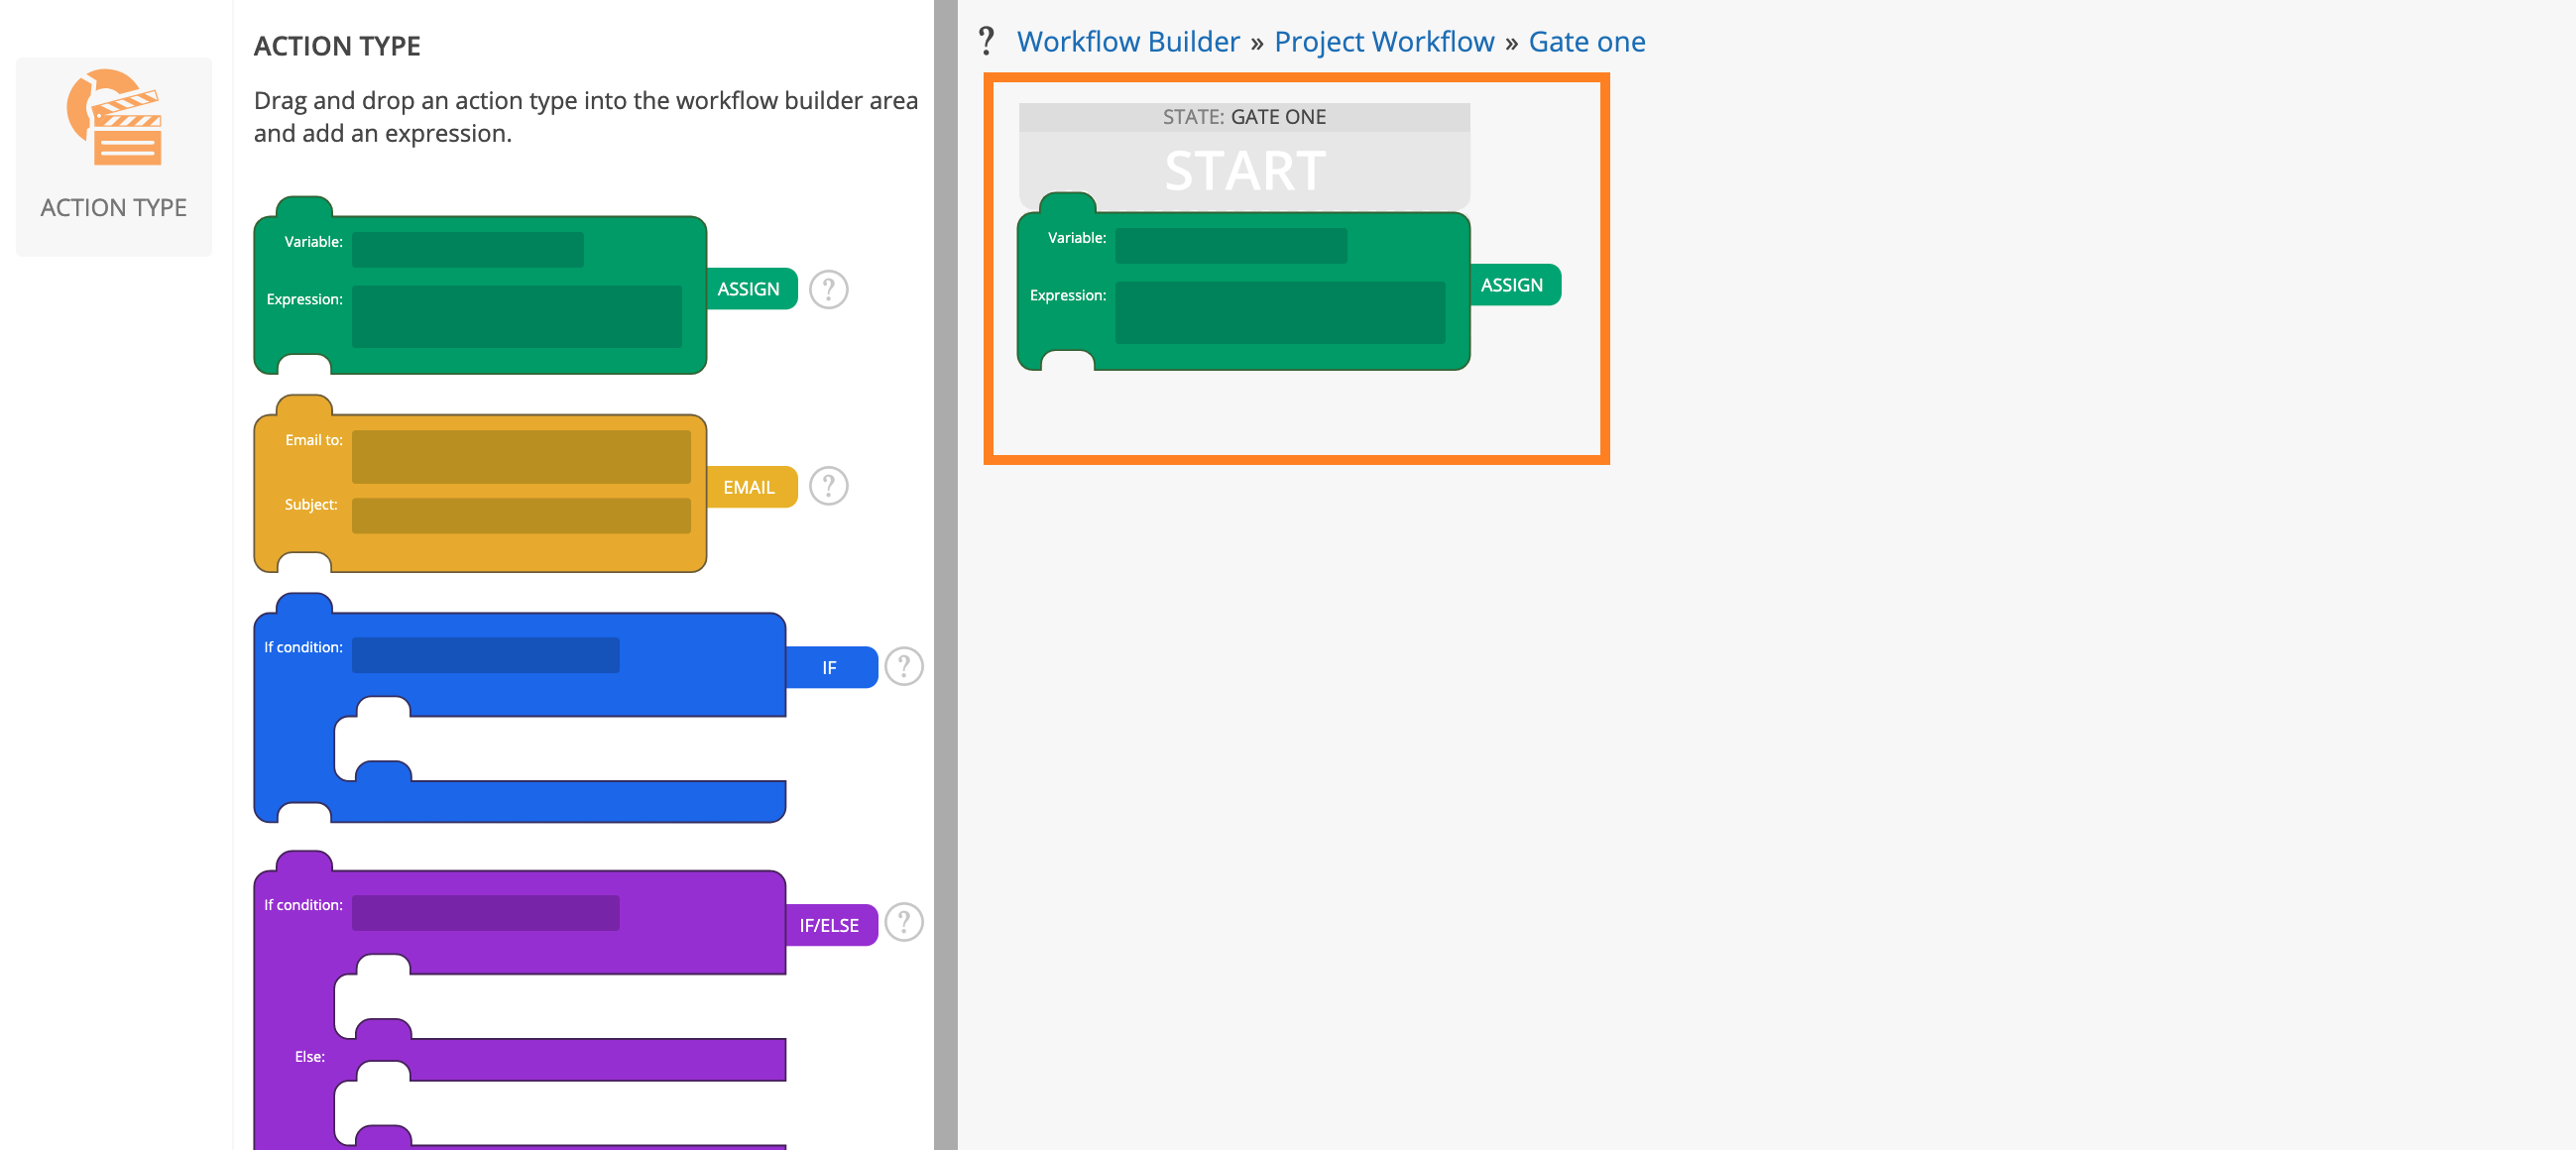
Figure 2 – Action snapped to start of state/action
Now that it is inside the workspace, you can edit the action. This can be done by left clicking on the action inside the workspace. This will open a right sidebar with information about that specific action. From there you can either type into the field on the action directly or type into the fields on the right sidebar.

Figure 3 – Selected action being edited
Other actions can also be dragged in, similar to dragging to the start. All you have to do is drag near the bottom of the action you want to snap to. A preview of where you are going to drop it will appear and when you release your mouse button it will snap to the action.

Figure 4 – Action snapped below another action
Actions such as If also contain an inner portion, these are the actions that run if whatever on the outside is true. Snapping an action into one of these nested areas is the same as snapping below, a preview of the action being nested will also appear and when you let go of the mouse button it will snap inside.
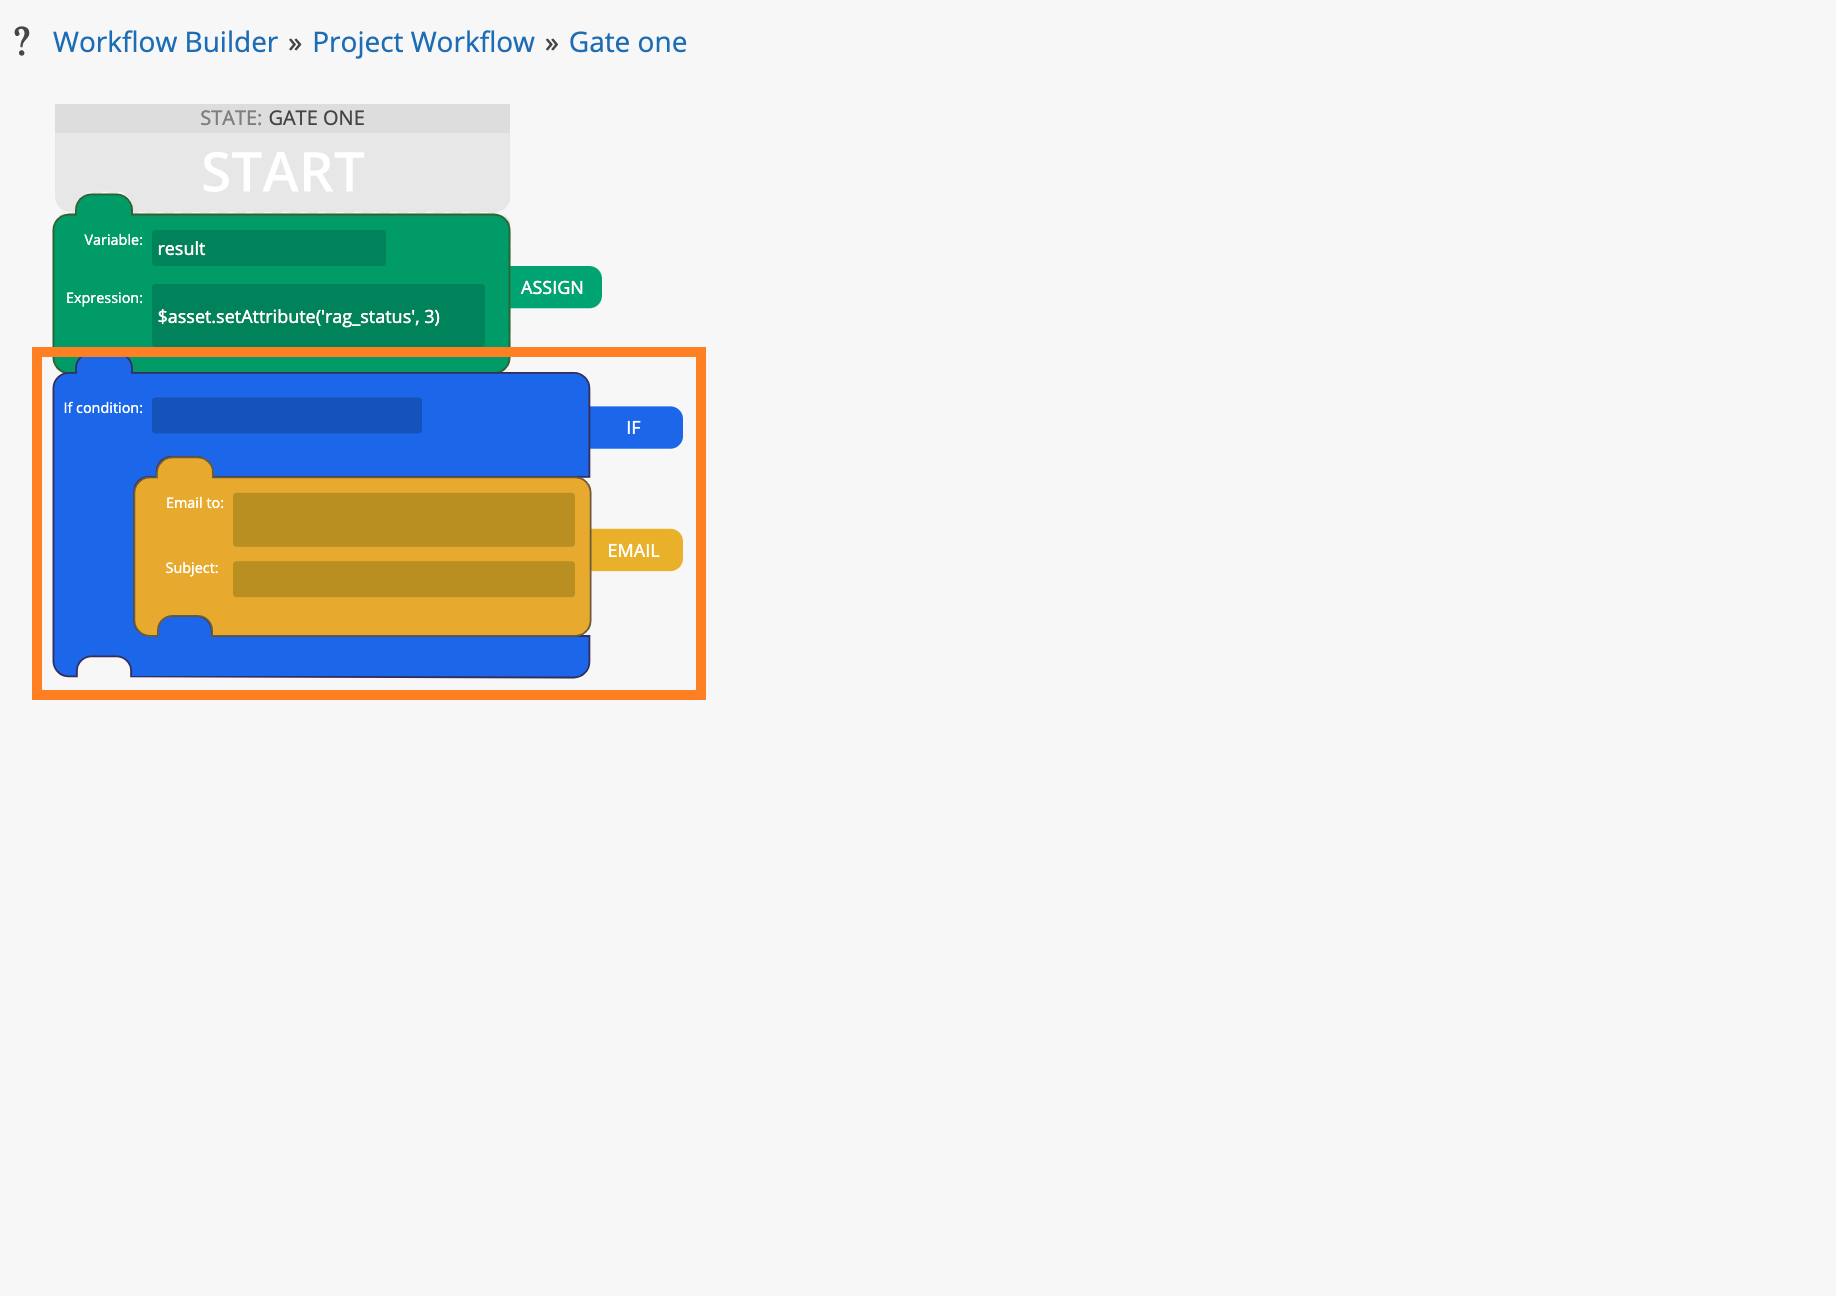
Figure 5 – Action snapped inside another action
The snapping below functionality also works inside nested actions
Deleting workflow actions
There are three ways to delete an action, you can either right click the action to open the delete menu, select the action and press the delete key, or drag the action back into the left sidebar, this will delete the action and also remove any child actions.
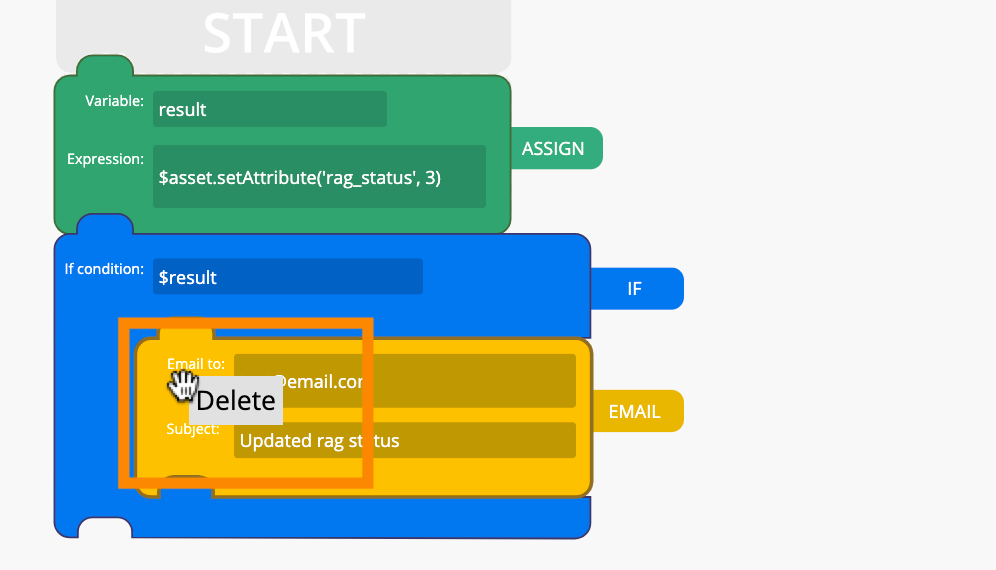
Figure 6 – Right click delete menu
Saving and exiting
When you’re ready to save your workflow, press the save button in the bottom right corner. If you are missing fields the appropriate action will be highlighted in red and an message will appear next to the save button, otherwise, it will begin to save.
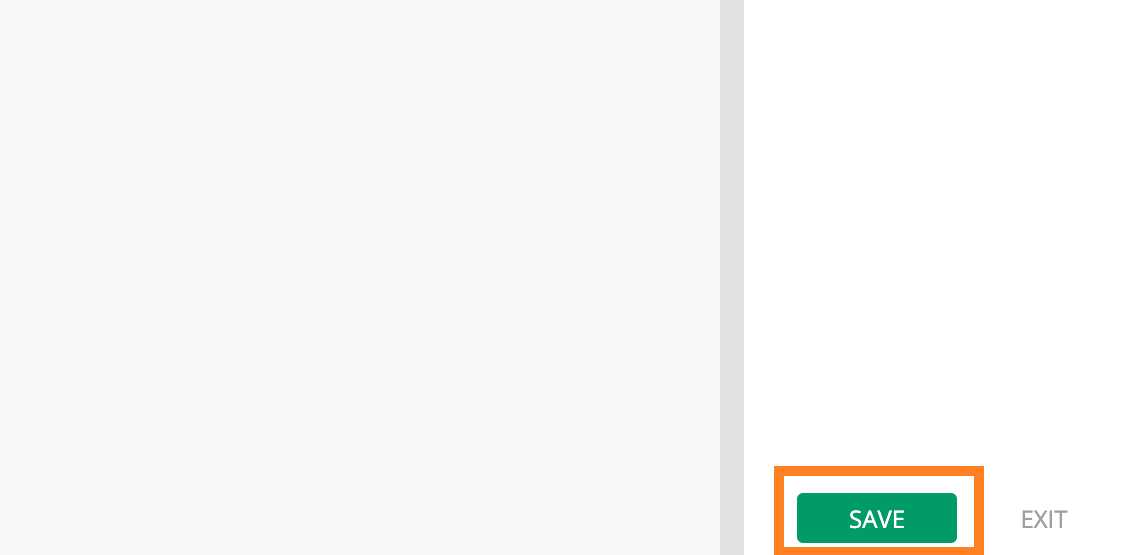
Figure 7 – Save button
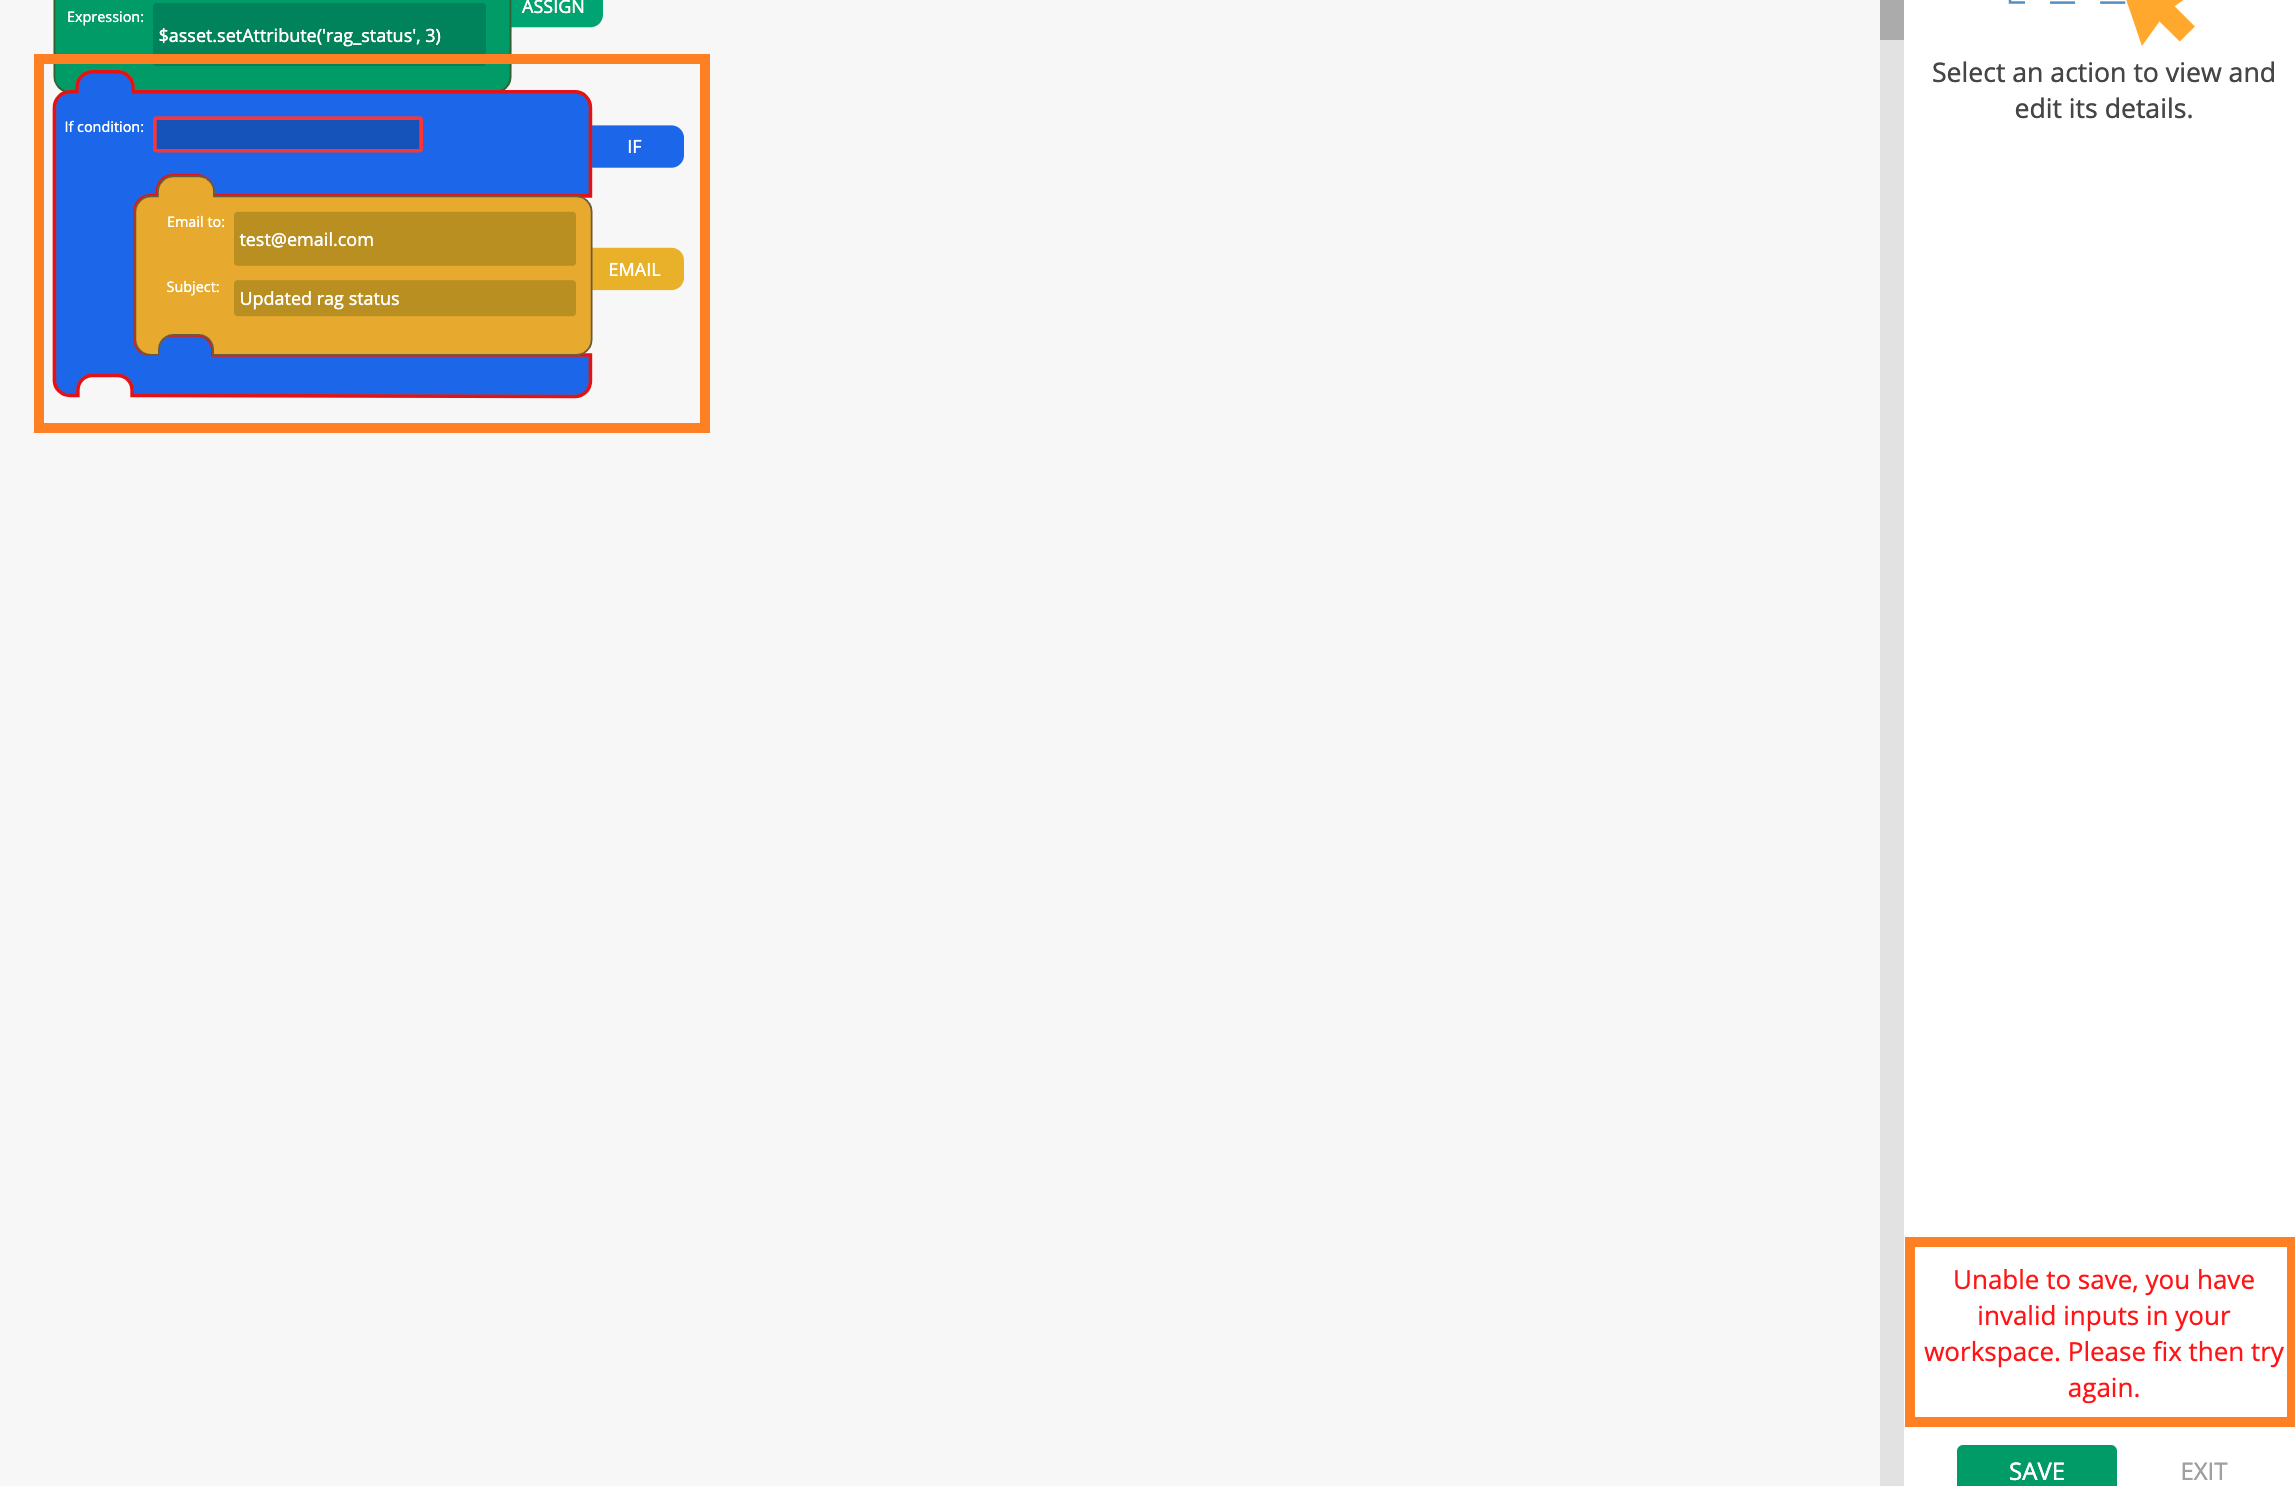
Figure 8 – Invalid input warning
If you’re ready to leave, pressing the exit button on the bottom right will take you back to where ever you were in the workflow inside Psoda

Figure 9 – Exit button