This popup form can be accessed via the  add menu in the top header area of the organisation, programme or project view page, as shown in Figure 1. Alternatively you can access the
  add popup form at the bottom of the Checklists tab at this same view page, as shown in Figure 2.
Once you are happy with your selection click the “Add checklist” button at the bottom of the form. This will add a new checklist with the information that you supplied.
The new checklist can be viewed in the Checklists tab asset listing at the organisation’s, programme’s or project’s view page, as shown in Figure 4.
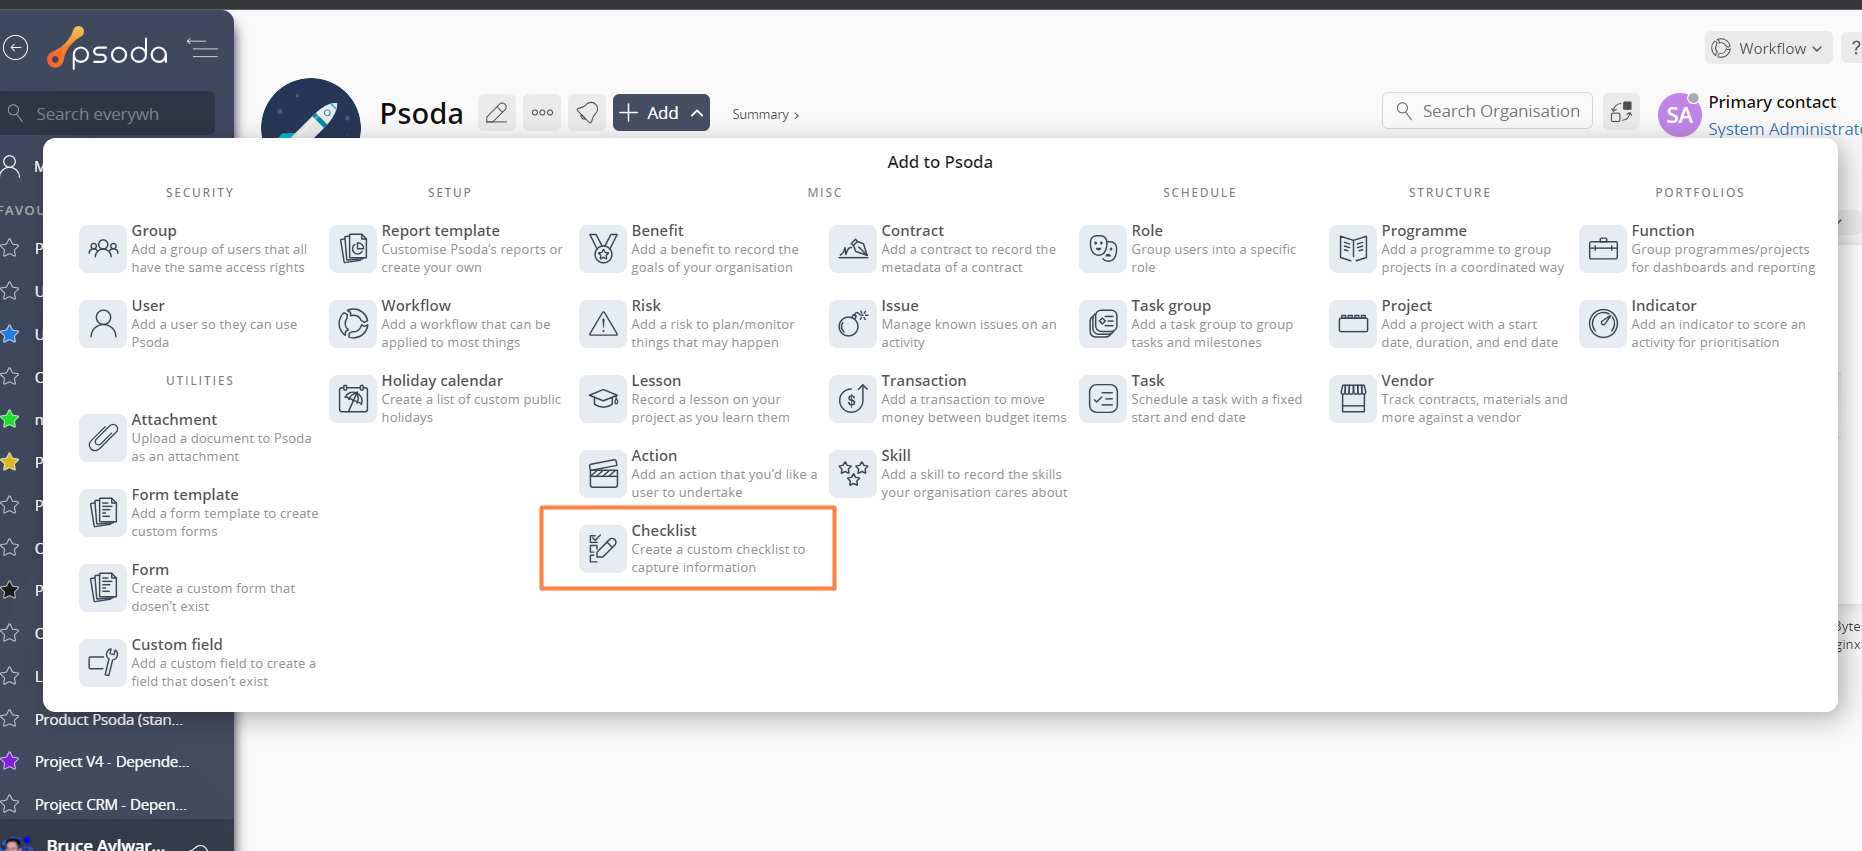
Figure 1 – Access via add menu
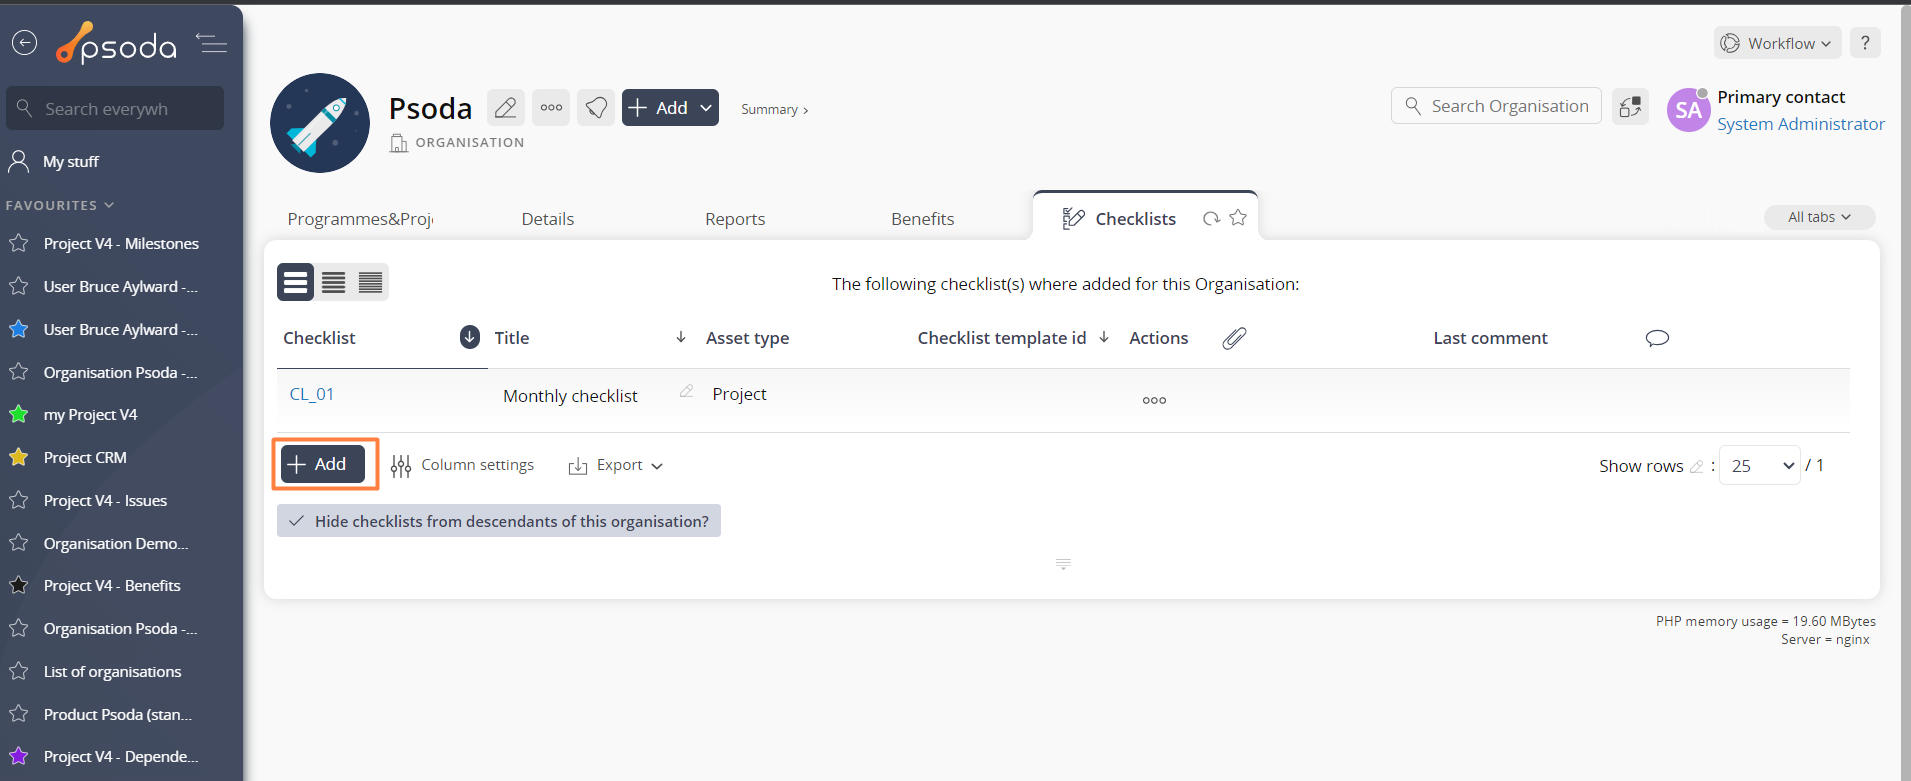
Figure 2 – Access via checklist tab
This popup is shown in Figure 3 and is used to add a new checklist for the selected organisation, programme or project.
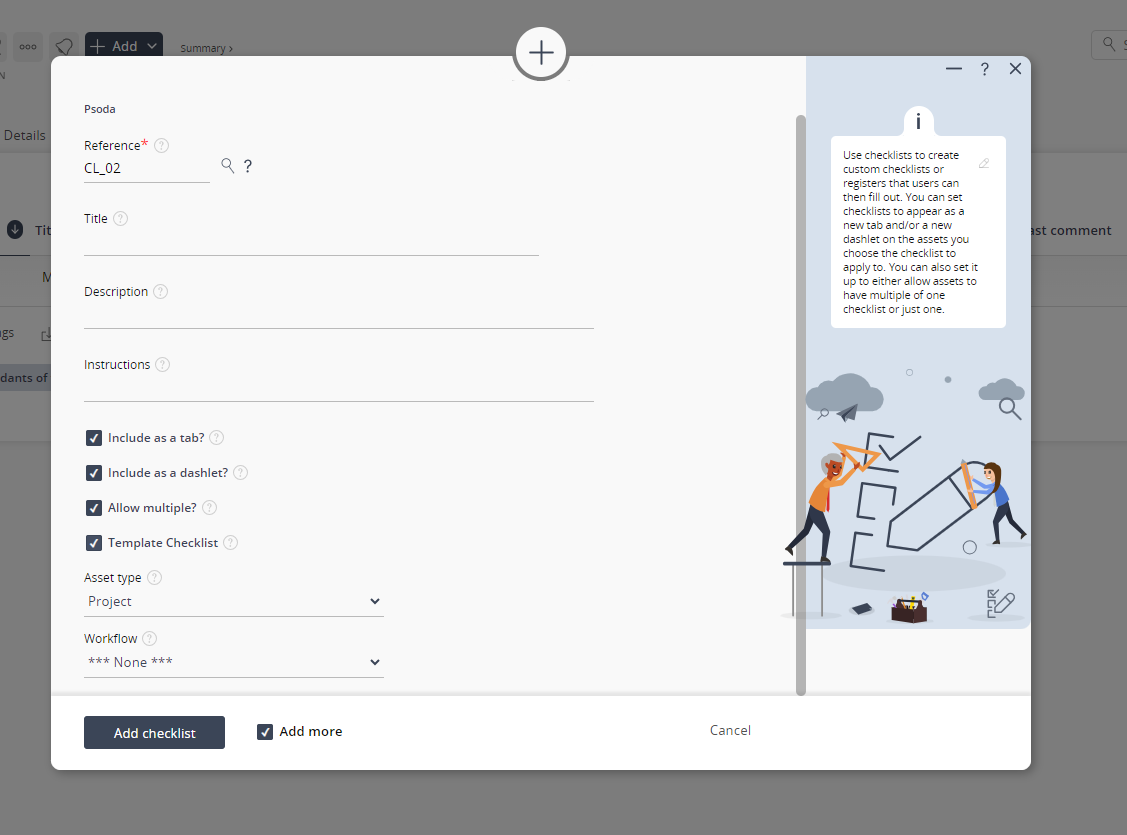
Figure 3 – Add checklist form
This form has the following fields:| Reference*: | This mandatory field is used to specify a reference for this new checklist. The reference must be unique within your asset. |
|---|---|
| Title: | The title of your checklist. This will be displayed when the checklist is a tab and dashlet on an asset. |
| Description: | You can add or edit the description of the checklist here. | Instructions: | You can add or edit the instructions of the checklist here. This will display at the top of the checklist tab and dashlet when a user is filling out/ viewing the checklist. |
| Include as tab: | When this is ticked, a new tab will automatically be created for this checklist when viewing the applicable assets. |
| Include as dashlet: | When this is ticked, a new dashlet will automatically be created for this checklist when viewing the applicable assets. |
| Allow multiple: | Do you want the applicable assets to be able to create multiple copies of this checklist. If you select yes, then the tab and dashlet will appear as a new table, of just that checklist and the users can add as many copies of the checklist as they like. If you select no, then the tab and dashlet will appear as a form where they can fill in the checklist. Users will not be able to add any more copies of this checklist it will only be one. |
| Template checklist: | Select this checkbox if you would like this to be a template Checklist for your users to see and use when they add a Checklist. |
| Asset type: | Checklist created from this template can only be created under this asset type. |
| Workflow: | Checklist created from this template can only be created under assets that have this workflow applied. Checklist items can also show in certain states of this workflow, or all. Only workflow that apply to the selected asset type will appear in this dropdown. |
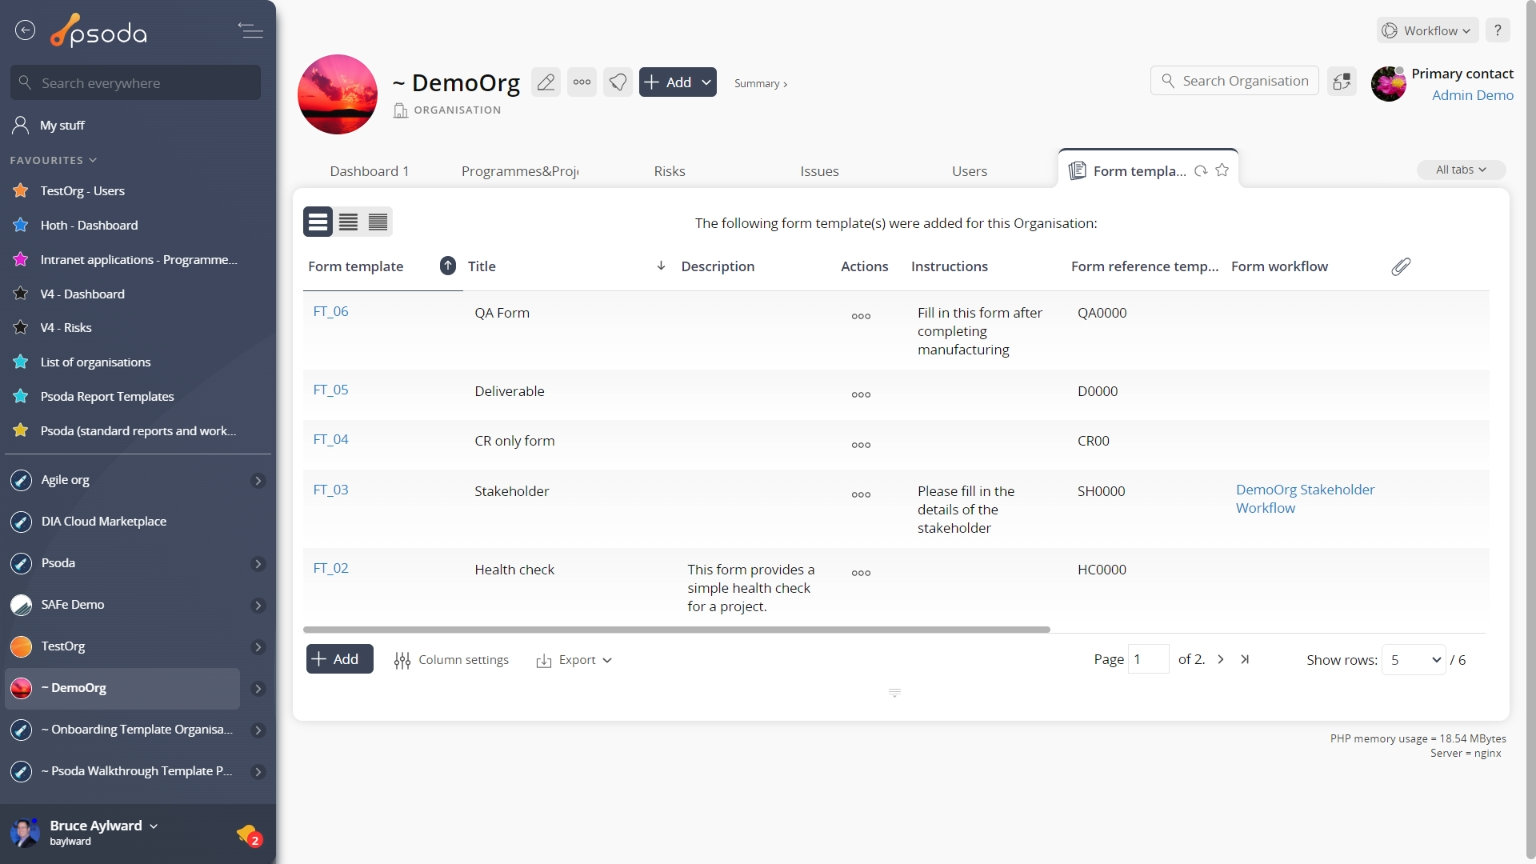
Figure 4 – View from Checklists tab
Click the “Cancel” button if you no longer want to add this new checklist.