This popup purchase order form can be accessed via the  add menu in the top header area of the project view page, as shown in Figure 1. Alternatively you can access the
  add popup form at the bottom of the Purchase orders tab at this same view page, as shown in Figure 2.
Once you are happy with your selection click the “Add purchase order” button at the bottom of the form. This will add a new purchase order with the information that you supplied.
The new purchase order can be viewed in the Purchase orders tab asset listing at the project’s view page, as shown in Figure 4.
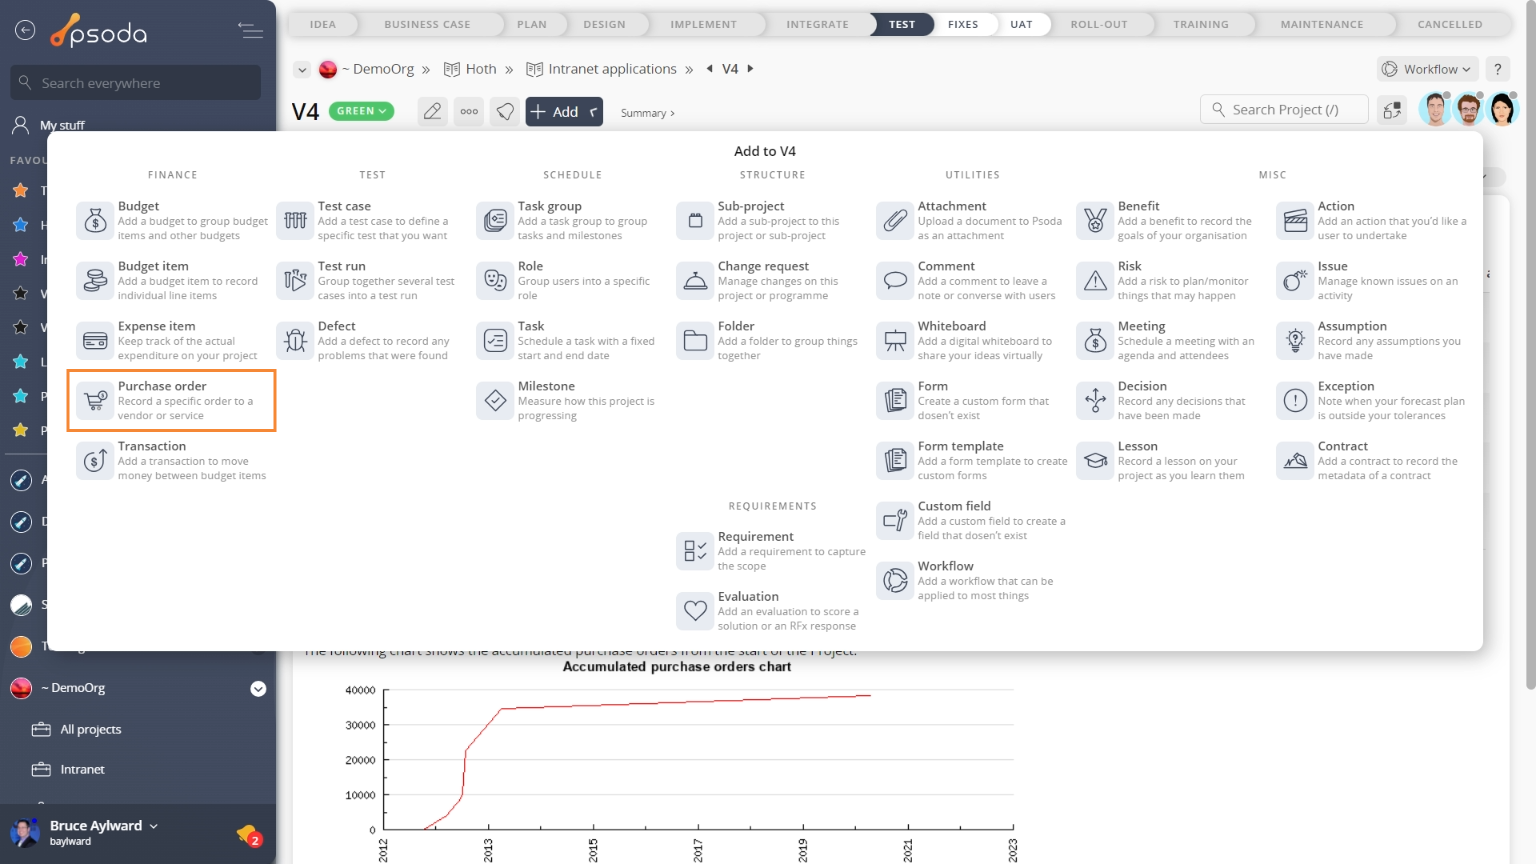
Figure 1 – Access via add menu
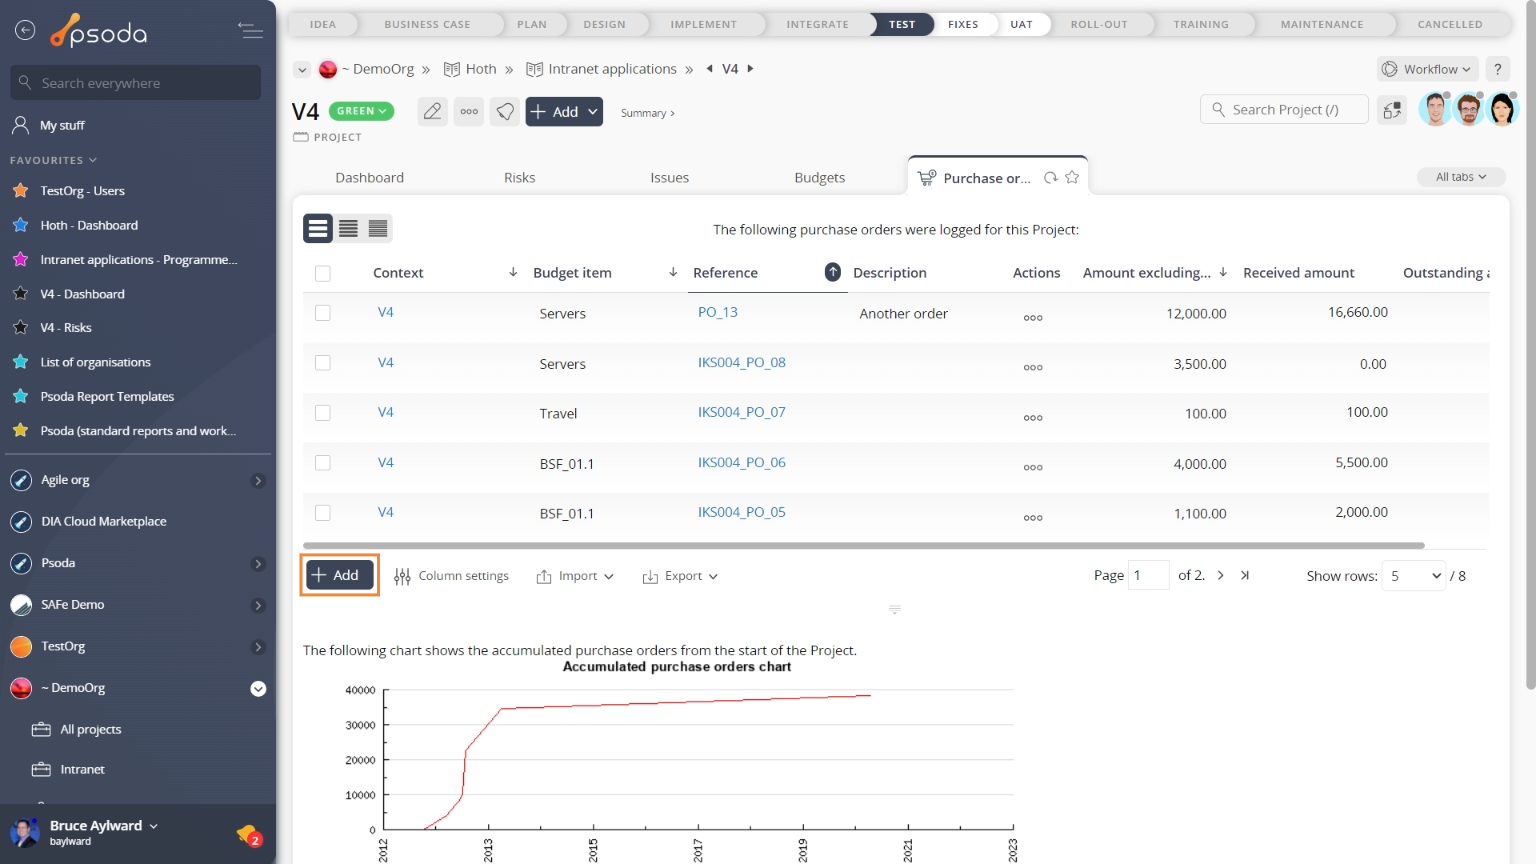
Figure 2 – Access via purchase orders tab
This popup is shown in Figure 3 and is used to add a new purchase order for the selected project.
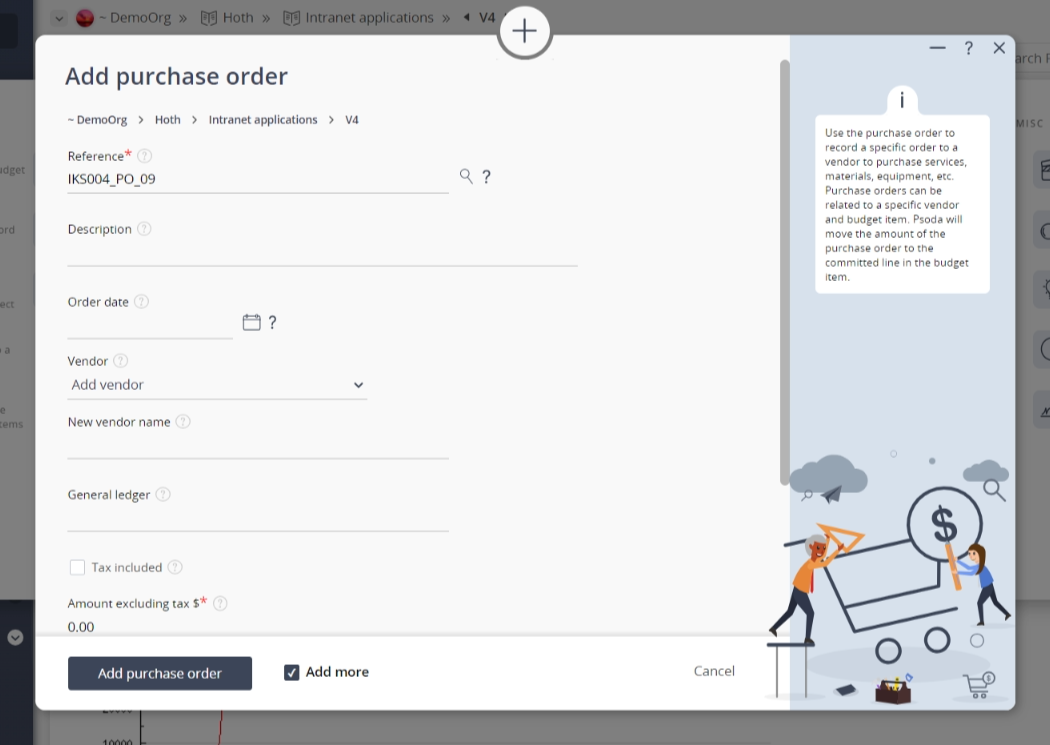
Figure 3 – Add purchase order form
This form has the following fields:| Parent asset: | This read-only field shows the project that this purchase order is being added to. |
|---|---|
| Description: | Enter a description of this purchase order here. |
| Order date: | Select the date for this purchase order here. |
| Vendor: | Select the vendor for this purchase order here. |
| New vendor name: | If you are adding a new vendor, enter their name for this purchase order here. |
| General ledger: | Enter the general ledger of this purchase order here. |
| Tax included: | Select if tax is included in this purchase order here. |
| Amount: | Enter the amount of this purchase order here. |
| Tax percentage: | Enter the tax percentage of this purchase order here. |
| Budget item: | Select a budget item to link this purchase order to. |
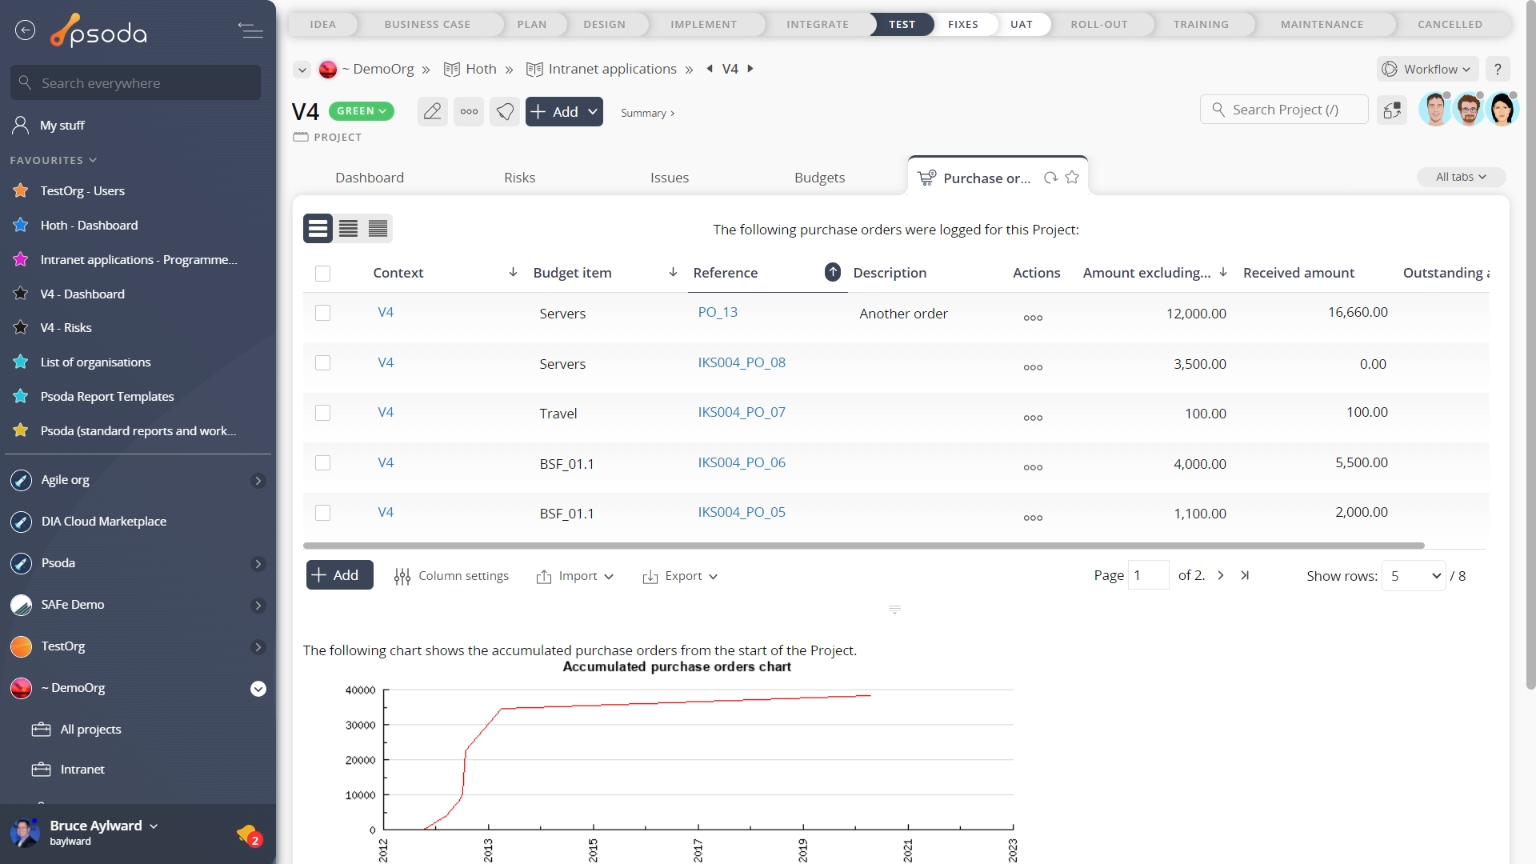
Figure 4 – View from Purchase orders tab
Click the “Cancel” button if you no longer want to add this new purchase order.