Before you can add your first requirement you need a programme and a project within which to place it. If you have not added a project before you can follow the Add your first project tutorial.

- Decide on a project within which to add your new requirement.
- Click on your project’s name in the navigator. This will display the View project page.
- At the top of the page there will be an add button. Click on this to reveal a menu with multiple items to add. Click
 Add requirement to open a dialogue box you can use to add your new requirement. For help with this dialogue box refer to the Add requirement form help page.
 - Click on the Requirements tab. You should see your newly added requirement in the asset list.
- Click on the name for your new requirement to view the requirement’s details.
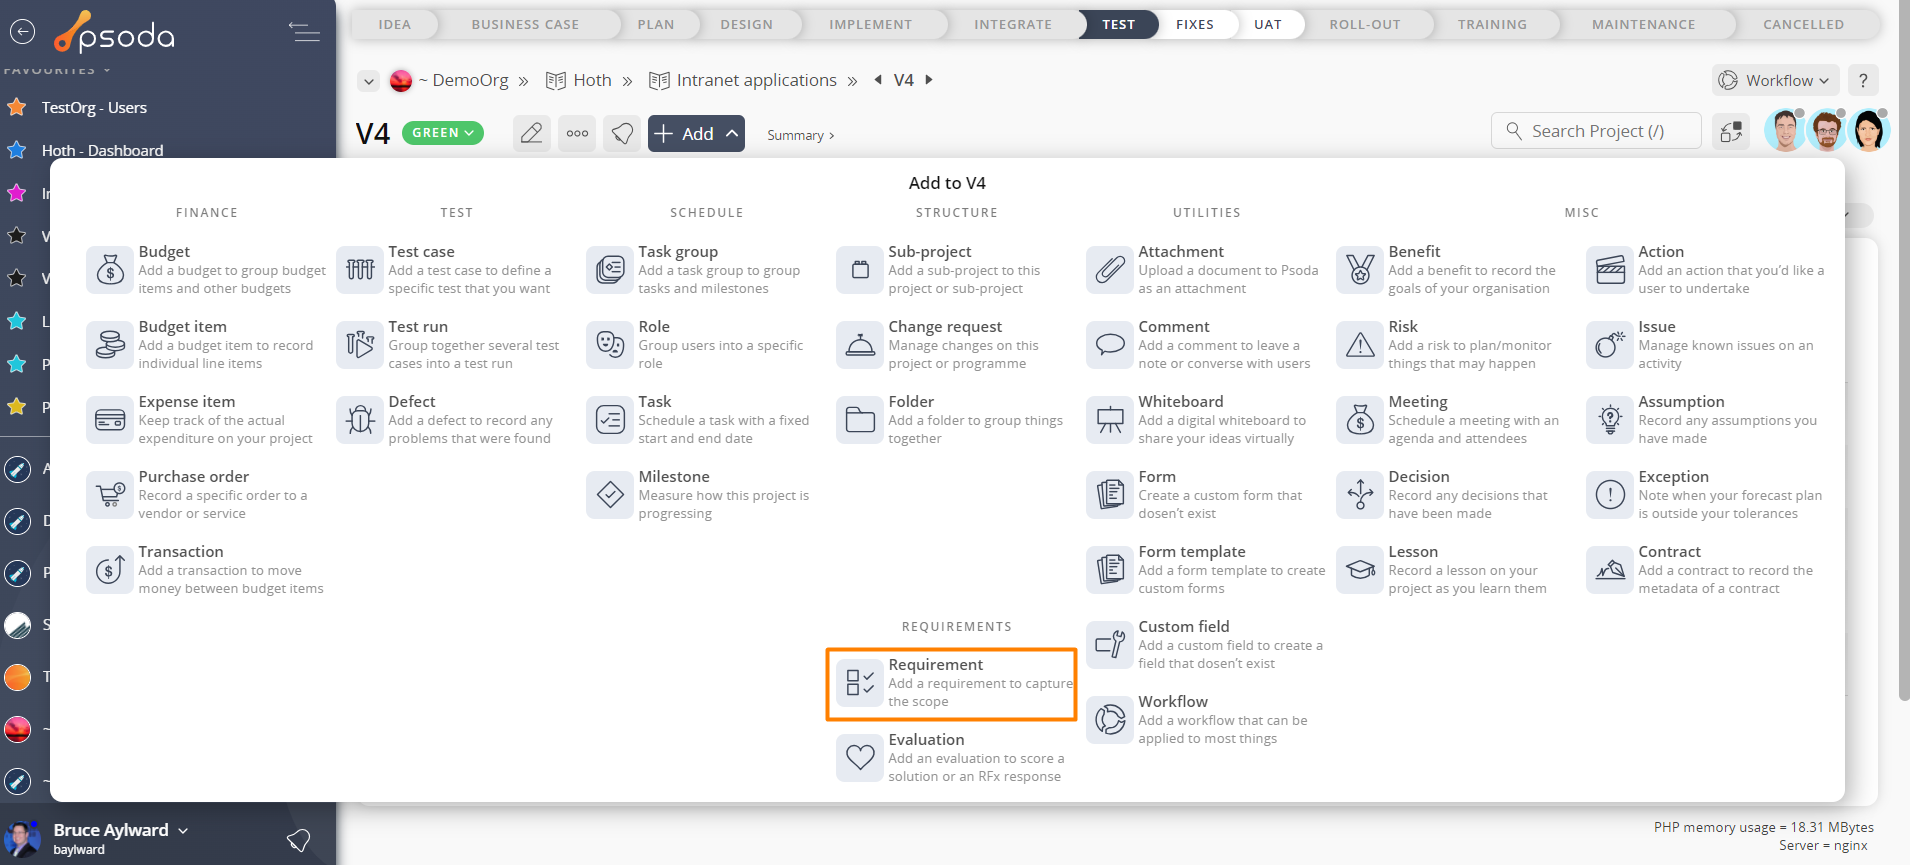
Figure 1 – Access via add menu
 Figure 2 – Add requirement form
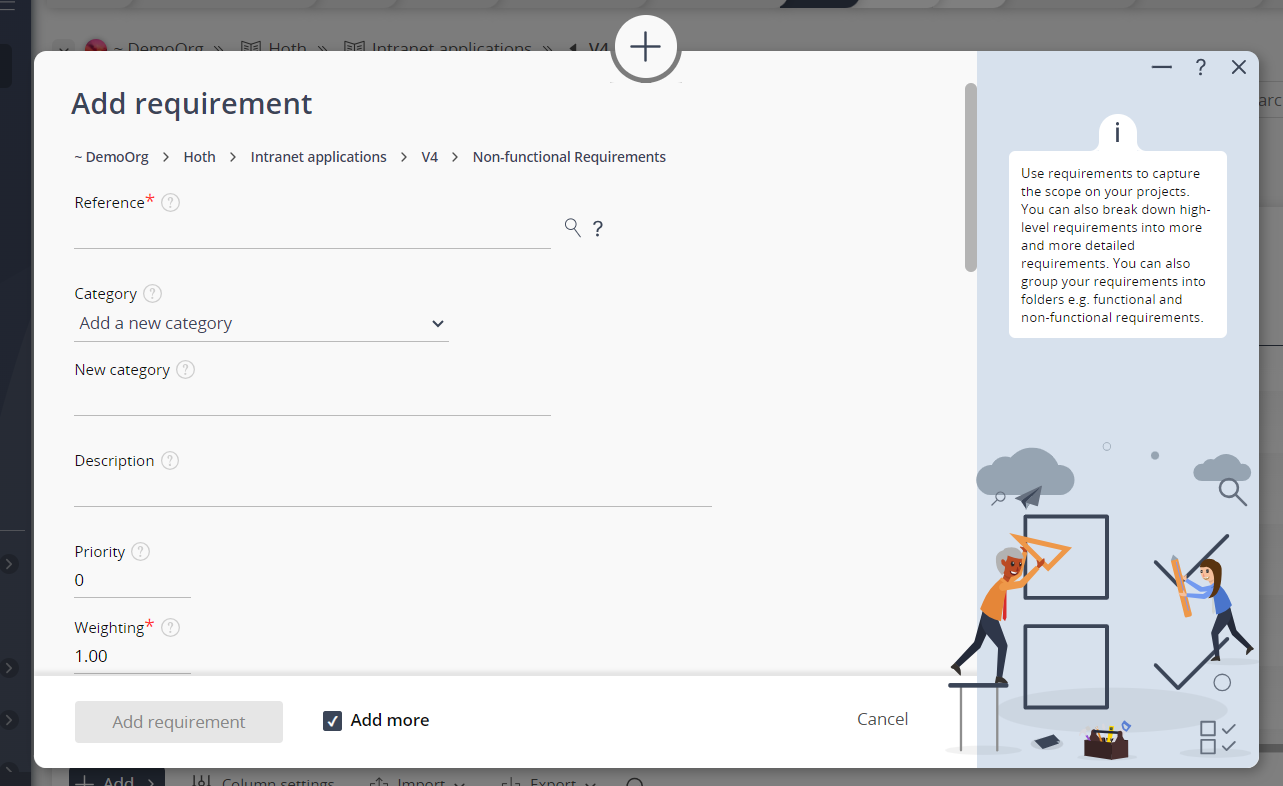
Figure 3 – View from Requirements tab