This popup form can be accessed via the  add menu in the top header area of the
  programme view page, as shown in Figure 1. Some other the assets containing this function in their view page top header area include the
  project and
  product levels, as well as at the
  sub-project and release levels. Alternatively you can access the
  add popup form via the Defects tabbed view at any of these view pages, shown in Figure 2.
*The title is mandatory, but all others are optional.Once you are happy with your entries click the “Add defect” button at the bottom of the form. This will add a new defect with the details that you supplied.The new defect can be viewed in the Defects tab at the parent asset’s view pages, as shown in Figure 4.
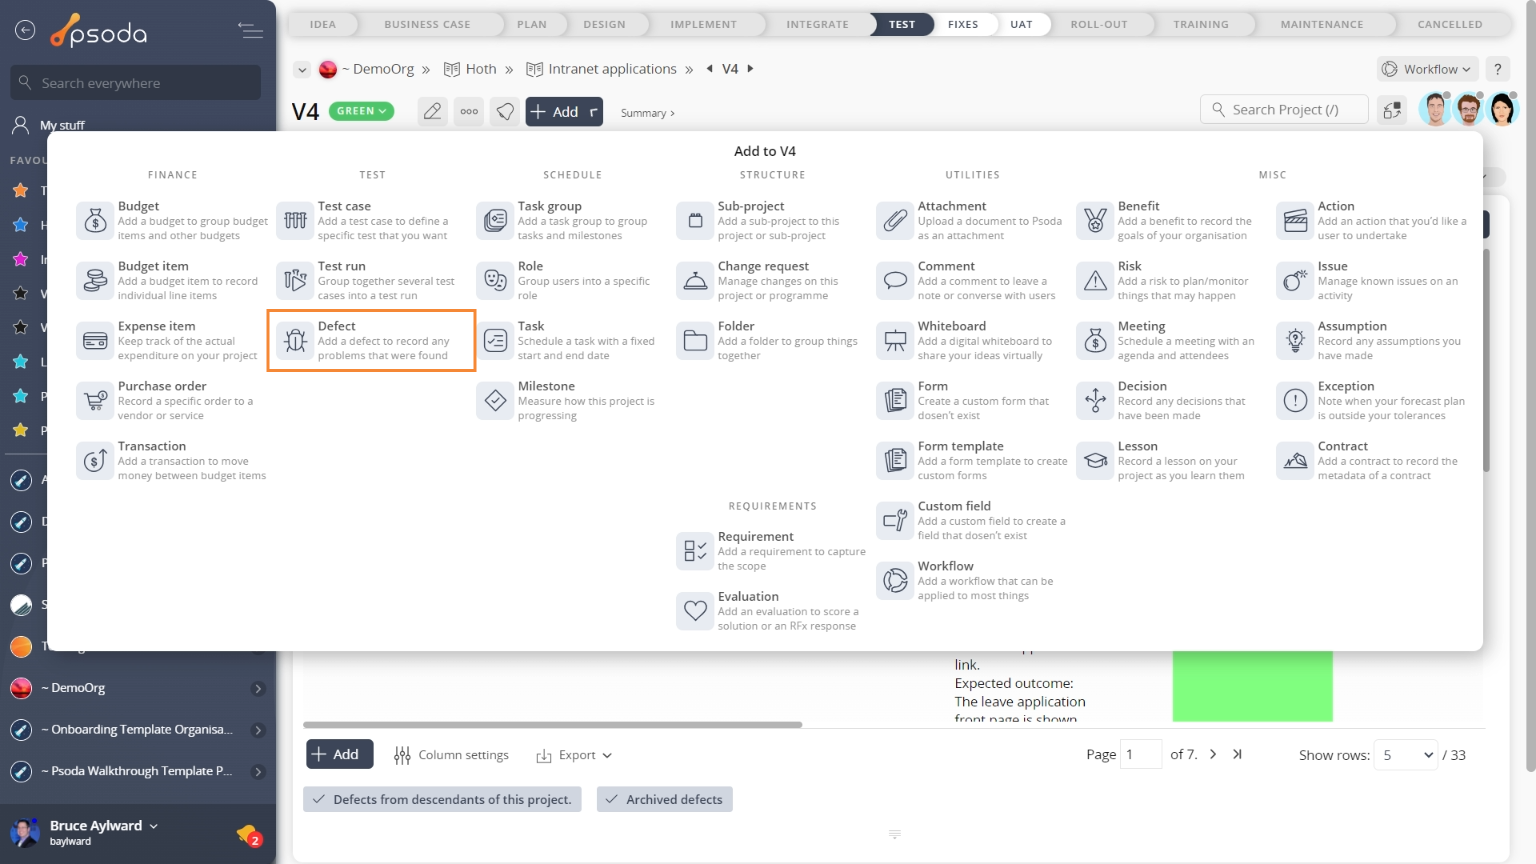
Figure 1 – Access via add menu
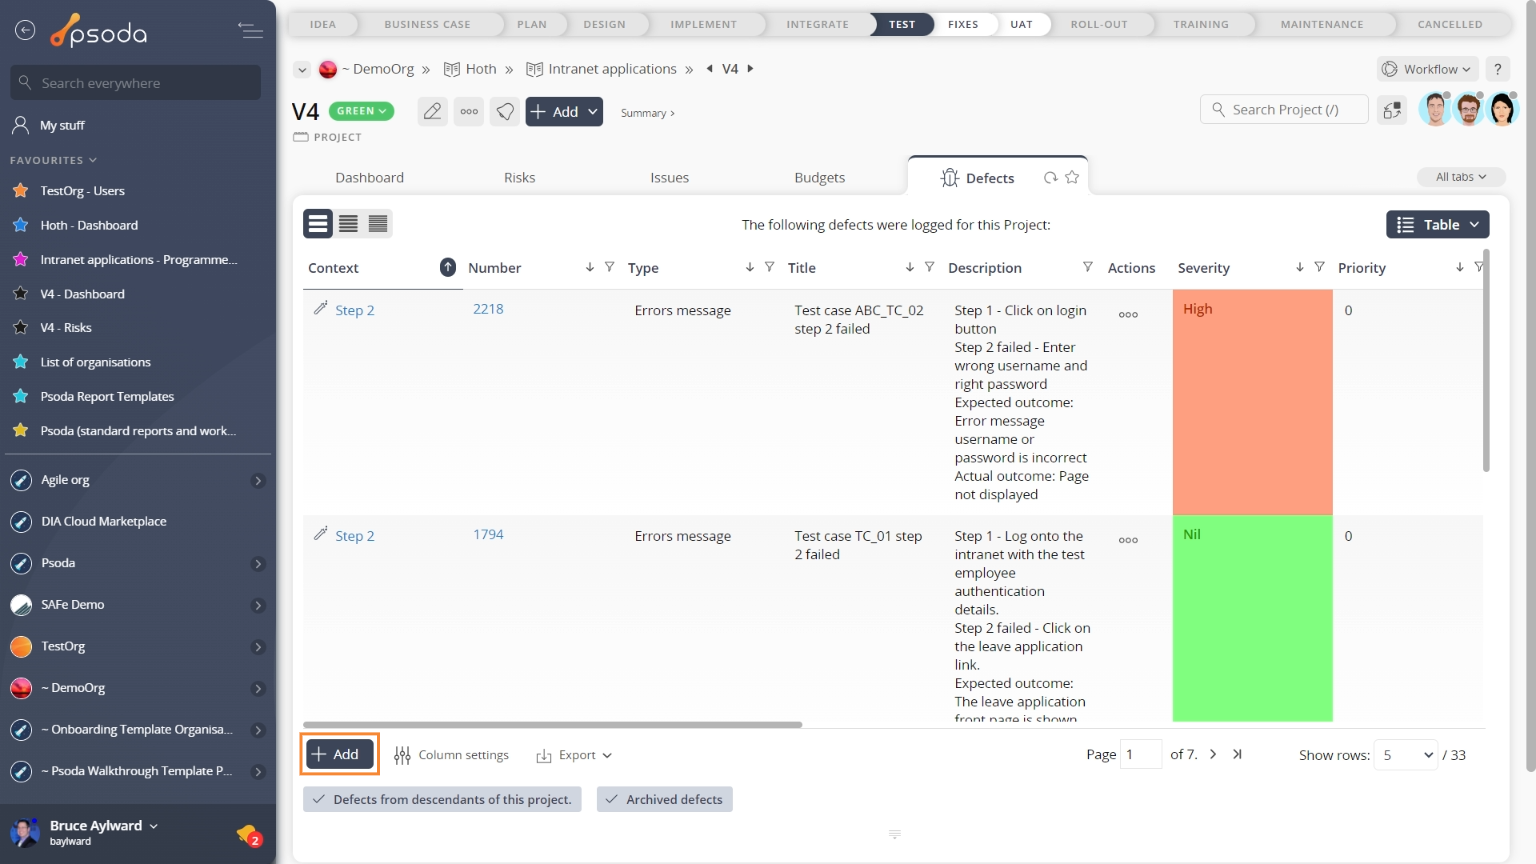
Figure 2 – Access via defects tab
This popup is shown in Figure 3 and is used to add a new ![]() defect to the selected asset.
defect to the selected asset.
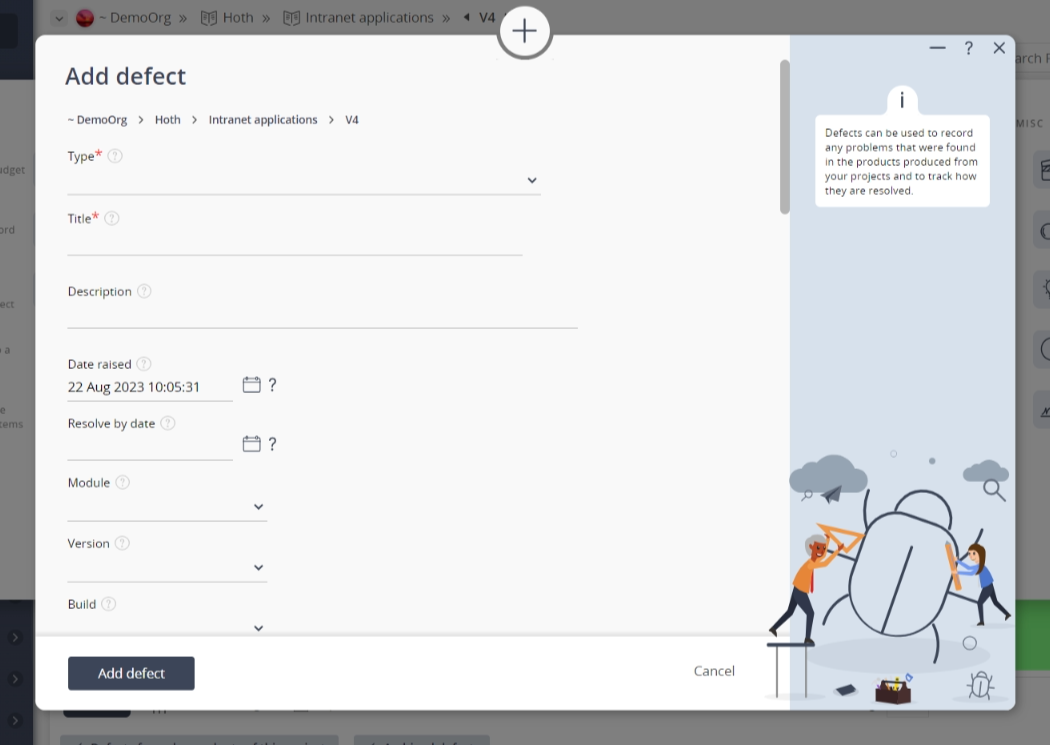
Figure 3 – Add defect form
This form has the following fields:| Asset fields: | These read-only fields (e.g. organisation, programme or project) will show the hierarchy of assets, and indicate where you are adding this defect. |
|---|---|
| Type: | Use this drop-down list to select the type of defect you are adding. |
| (New type): | If you have selected the “Add a new defect type” option in the Type field above, then this field will be visible. Use this field to enter a new defect type. |
| Title*: | Enter a short title for this defect in this field. |
| Description: | You can add a short description of your defect here. Any particulars of the defect for example which device the test will be run on, can be added here. |
| Date raised: | This is the date that the defect was first raised. It defaults to today. You may manually enter the date using one of the preset date formats, or you can choose the date using |
| Resolve by date: | This is the date that the defect must be resolved by. You may manually enter the date using one of the preset date formats, or you can choose the date using |
| Module: | This drop-down list can be used to select a module where this defect was encountered. |
| (New module): | If you have selected the “Add a new module” option in the Module field above, then this field will be visible. Use this field to enter a new module. |
| Version: | This drop-down list can be used to select the version of the system or module being tested. |
| (New version): | If you have selected the “Add a new version” option in the Version field above, then this field will be visible. Use this field to enter a new version. |
| Build: | This drop-down list can be used to select the build of the system or module being tested. |
| (New build): | If you have selected the “Add a new build” option in the Build field above, then this field will be visible. Use this field to enter a new build. |
| Symptoms: | You can list particular symptoms of the defect here. |
| Priority: | This field can be used to allocate a priority to this defect. Lists of defects can be ordered by priority to make it easier to decide which defects to address next. |
| Severity: | This drop-down list can be used to select the severity of the defect. For example defects that prevent you from doing your work may have a high severity whereas spelling mistakes may have a very low severity. |
| Notes: | Use this field to capture any technical notes related to this defect. |
| Resolution: | This drop-down list can be used to select the resolution of the defect. |
| (New resolution): | If you have selected the “Add a new resolution” option in the Resolution field above, then this field will be visible. Use this field to enter a new resolution. |
| Origin: | This field can be used to capture details about who had raised the defect. The field is automatically filled with your |
| Owner: | Use this drop-down list to select the person who has the overall responsibility for fixing this defect. |
| Allocated to users: | Use this multi-select box to select the user(s) you want to allocate this defect to. You may select multiple users by holding the CTRL or SHIFT keys and clicking on the name of the additional user(s). To de-select, click on the highlighted name while still holding the CTRL or SHIFT keys so as not to lose all other selected users. |
| Allocated to roles: | Use this multi-select box to select the role(s) you want to allocate this defect to. You may select multiple roles by holding the CTRL or SHIFT keys and clicking on the name of the additional role(s). The defect will be allocated to all of the members of the selected role(s). To de-select, click on the highlighted name while still holding the CTRL or SHIFT keys so as not to lose all other selected roles. |
| Workflow: | Use this drop-down list to select the applicable |
| Add attachment?: | If you set this check box then a new form will be automatically opened so that you can attach a file to the new defect. |
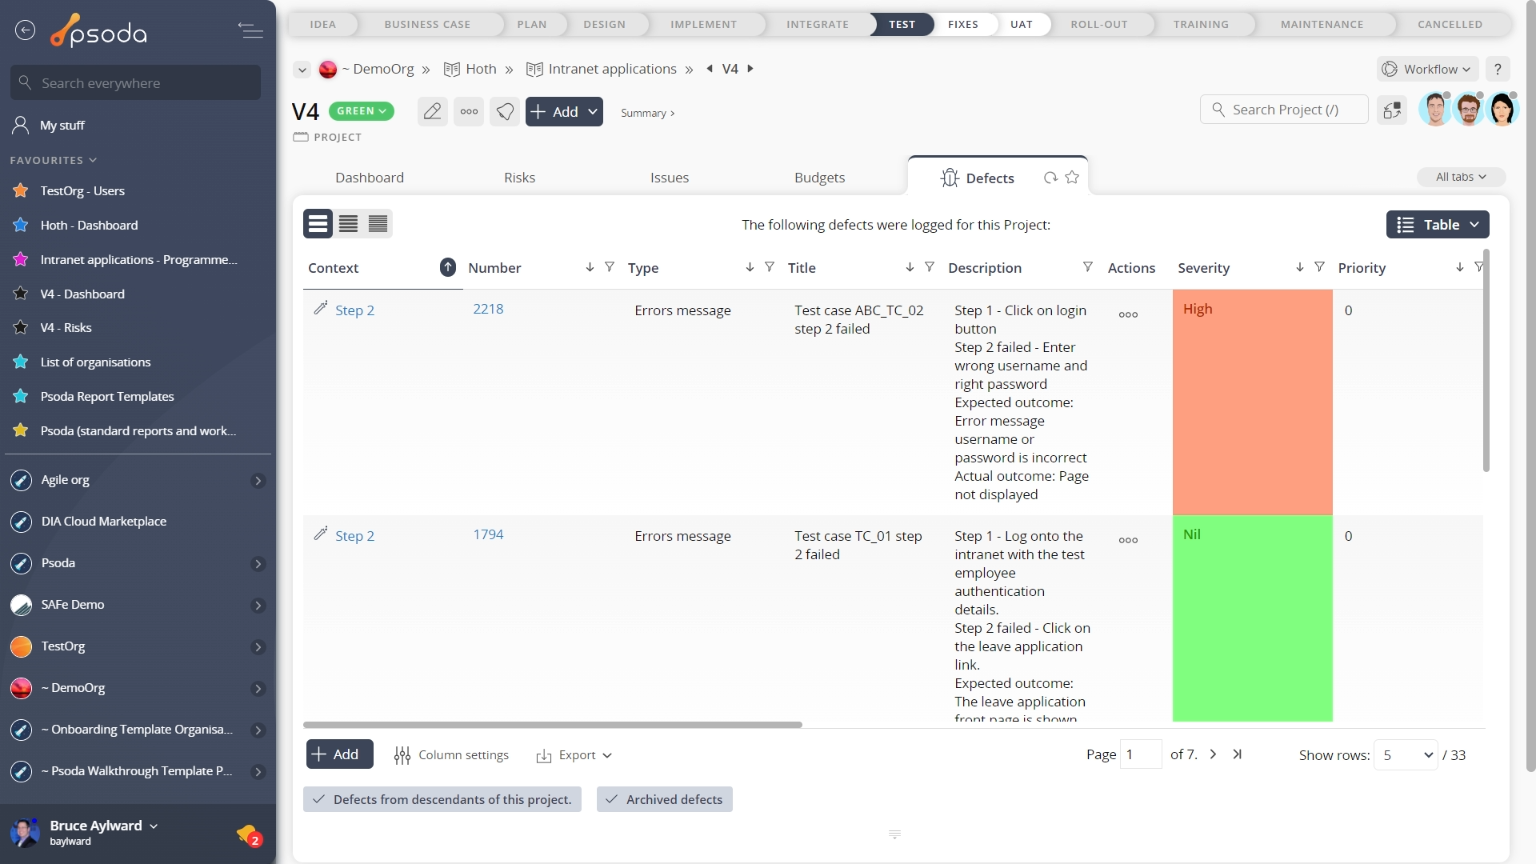
Figure 4 – View from defects tab
Click the “Cancel” button if you no longer want to add a new defect.