This popup form can be accessed via the change request view page  edit button in the top header area, as shown in Figure 1. Alternatively you can access the edit popup form via the change requests tabbed view at the parent asset’s view page, shown in Figure 2.
*The title and reference fields are mandatory, but all others are optional.
Once you are happy with your entries click the “Update change request” button at the bottom of the form. This will update the change request with the details that you supplied.
Click the “Cancel” button if you no longer want to update the change request.
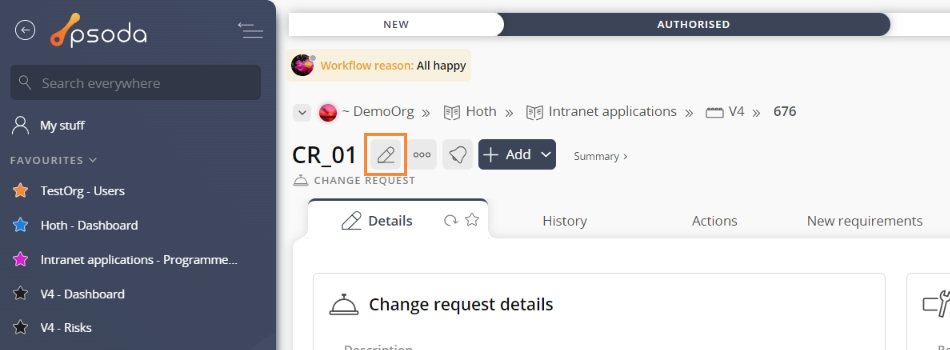
Figure 1 – Access via edit button
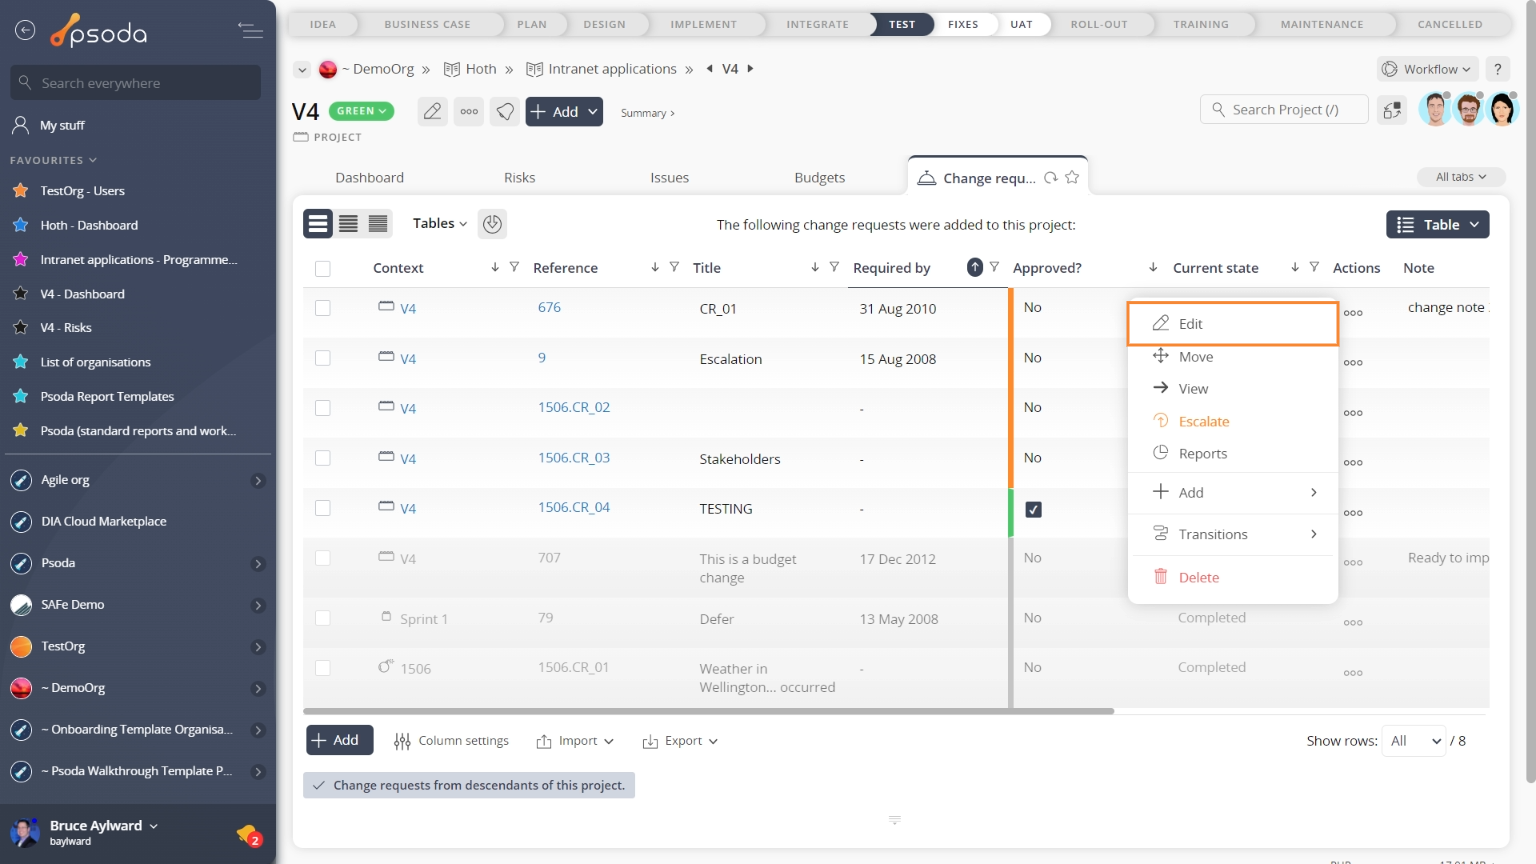
Figure 2 – Access via change requests tab
This popup is shown in Figure 3 and is used to edit an existing change request.
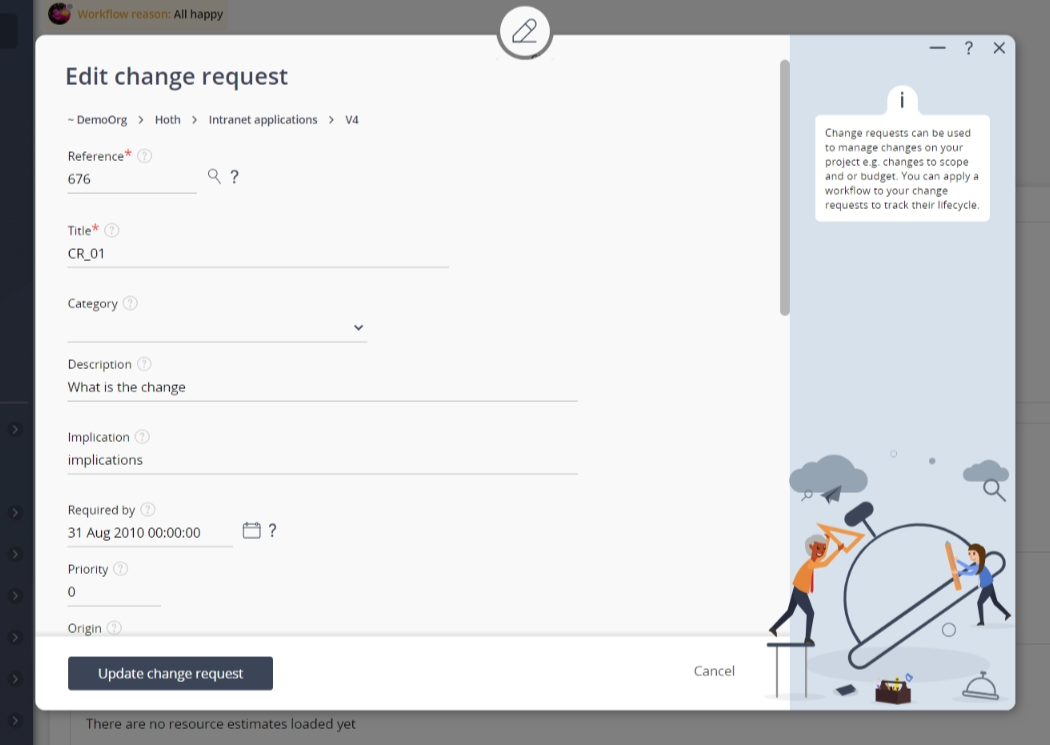
Figure 3 – Edit change request form
This form has the following fields:| Asset: | This read-only field shows which release, product, issue, project or programme you are adding the change request to. The name of this field will vary depending on the parent asset type. |
|---|---|
| Reference*: | Use this field to enter a unique reference for your change request. If you enter a prefix and end it with one or more zeros, e.g. CR_00, then you can click on the |
| Title*: | This mandatory field is used to specify a title for the change request. |
| Category: | This drop-down list can be used to select a category for your change request. |
| (New category): | This field can be used to add a new category, it will only be available if you have selected the “Add a new category” option of the drop-list provided in the Category field above. |
| Description: | You can add a short description of your change request here. |
| Implications: | Use this field to list any implications or advantages gained by implementing this change. |
| Required by: | Enter the date this change is required by using one of the supported date formats or through the use of calendar control. |
| Priority: | Enter a priority for your change request here. This priority can be used when sorting change requests in lists. |
| Origin: | Use this field to capture the origin of the change, for example a customer contact. Your name is put in by default. |
| Start date: | Enter the start date of this change request by using one of the supported date formats or through the use of calendar control. |
| End date: | Enter the end date of this change request by using one of the supported date formats or through the use of calendar control. |
| Owner: | Use this drop-down list to select an owner for this change request from the drop-down list. This change request will then appear in the “My stuff” view of the owner. |