There are three ways to access the edit  follow popup:
The first way is to navigate to the asset you wish to edit the follow. You will see the Follow button is yellow, this means you are currently following this asset. If it is not yellow, then you are not currently following this asset. Click on the yellow Follow button in your top header area, as indicated in Figure 1 below. This will open a drop-down. Click edit follow to open the edit follow popup. edit button in the top header area at that view page, as shown in Figure 3 above. Alternatively, the third way to access this popup is to click on the Edit follow icon via the
  actions column menu of the chosen follow, as shown in Figure 4 above.
Once you have clicked one of these, you will get the edit follow popup. Use the popup form, shown in Figure 5 to adjust the areas that you would like follows from within the source.
actions column menu of the chosen follow, as shown in Figure 4 above.
Once you have clicked one of these, you will get the edit follow popup. Use the popup form, shown in Figure 5 to adjust the areas that you would like follows from within the source.

Once you are happy with your changes click on the “Update follow ” button at the bottom of the form.
The first way is to navigate to the asset you wish to edit the follow. You will see the Follow button is yellow, this means you are currently following this asset. If it is not yellow, then you are not currently following this asset. Click on the yellow Follow button in your top header area, as indicated in Figure 1 below. This will open a drop-down. Click edit follow to open the edit follow popup.
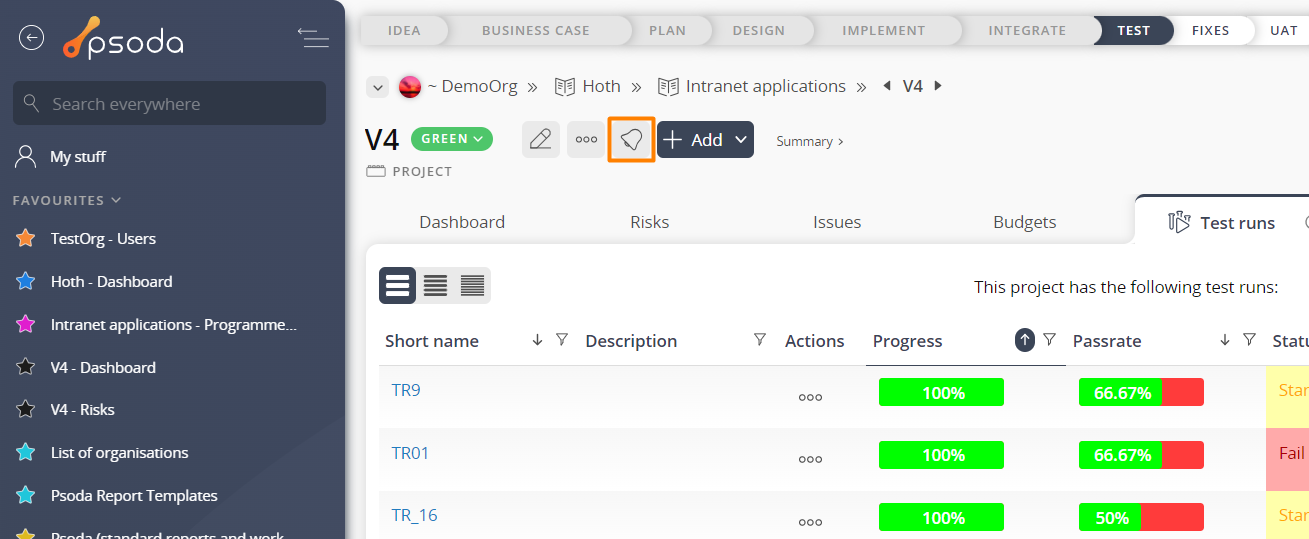 Figure 1 – Follow drop-down
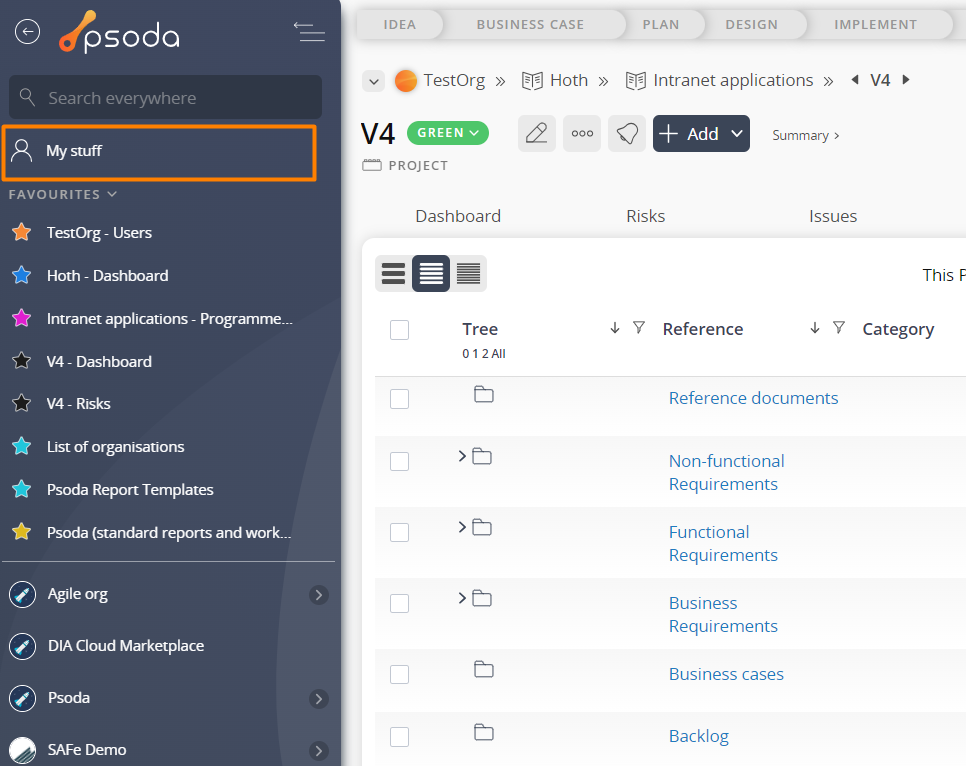 Figure 2 – Access to My Stuff page via the navigator
![]()
Figure 3 – Access via edit button

Figure 4 – Access via tabbed view
You can edit by clicking into the follow view page and selecting the edit function from the
Figure 5 – Edit follow form
In Figure 5 above, the form has been broken down into three sections:
| Section 1 |
User: This read-only field shows the user which is going to receive the follows from the source.
Source:This read-only field shows the asset which is assigned to be the source of follows.
Owner only: Select this check box if you only want to receive the follow if you are the owner of that item
Allocated only: Select this check box if you only want to receive the follow if the selected item is allocated to you |
|---|---|
| Section 2 | These are the tabs that you can cycle through to edit each section of the follow source, the number of tabs at this section will depend on the source chosen. When you navigate to a new tabbed view in this popup, any information entered in Section 3 from the previous tabbed view will be saved. This means you do not need to click on any buttons to save each tab, but can instead click on the Add button at the bottom of the popup when you wish to add your new follow settings with the set details. |
| Section 3 | This information will change as you cycle through the tabs shown in Section 2, and the available fields will change accordingly. A breakdown of the field information for each tab is provided below. |