This popup form can be accessed via the  options menu in the top header area of the
  custom field view page, as shown in Figure 1. Alternatively, you can access the
  merge popup form via the
  actions column menu of the Custom fields tab at these same (e.g.
  organisation,
  programme, project or
  defect) view pages, as shown in Figure 2.
 expand or
  collapse icons.
Select the name of your desired custom field and once you are happy with the selection click on the “Merge custom field” button at the bottom of the form..
Note: names with a
collapse icons.
Select the name of your desired custom field and once you are happy with the selection click on the “Merge custom field” button at the bottom of the form..
Note: names with a  cannot be selected.
Step 2 Once you have clicked “Merge custom field” you will be presented with a progress bar. The time taken to merge custom fields will depend on the amount of information needing to be merged, so this progress bar offers a visual aid, so that you can see that the merge process is being conducted in the background. Once the merge has been successfully completed, click “Close” on the progress popup. In the example used here, the information from both custom fields can now be found in “demo custom field”.
![]()
Figure 1 – Access via options menu
This popup is shown in Figure 3 and is used to merge an existing custom field with another existing custom field within the organisation.
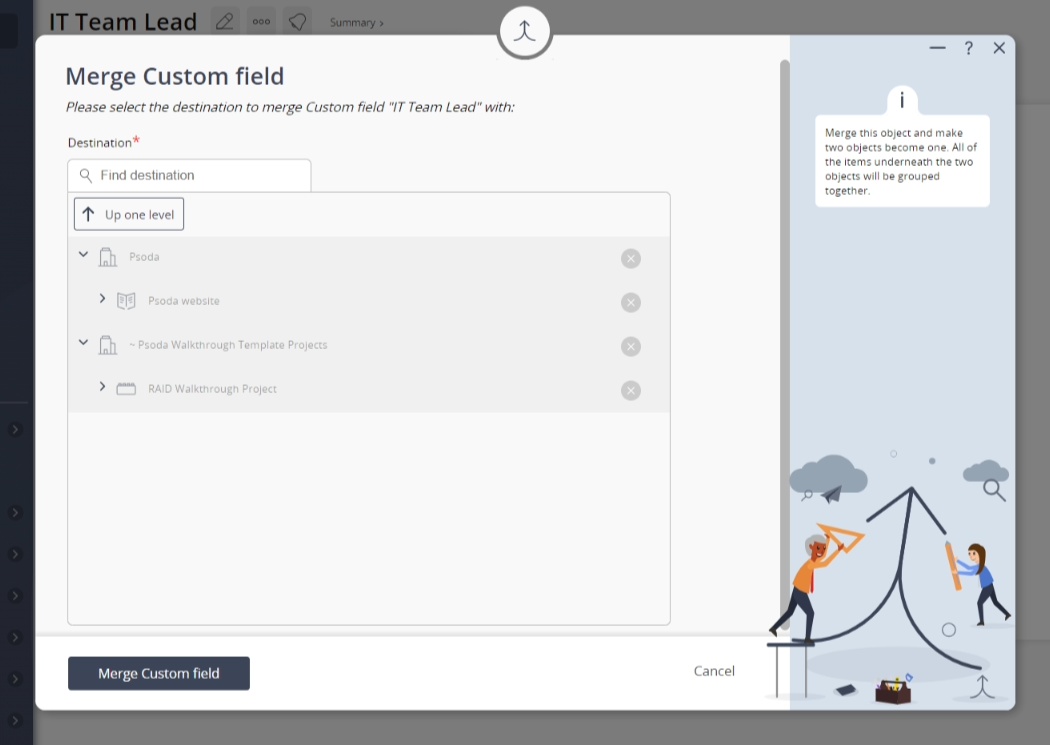
Figure 3 – Merge custom field form
Step 1 Use the tree navigation layout to select the custom field that you would like to merge the current field with. You can show or hide levels or sub-levels by clicking on theStep 2 Once you have clicked “Merge custom field” you will be presented with a progress bar. The time taken to merge custom fields will depend on the amount of information needing to be merged, so this progress bar offers a visual aid, so that you can see that the merge process is being conducted in the background. Once the merge has been successfully completed, click “Close” on the progress popup. In the example used here, the information from both custom fields can now be found in “demo custom field”.