This popup form can be accessed via the  add menu in the top header area of the selected asset view page (e.g.
  organisation,
  portfolio,
  programme,
  project,
  sub-project,
  action,
  assumption,
  attachment,
  benefit,
  change request,
  comment,
  decision, defect, dependency,
  exception, folder,
  issue, lesson,
  meeting,
  milestone, release form,
  requirement,
  risk, task,
  task group,
  test case, user or
  vendor view pages, as shown in Figure 1. Alternatively, you can access the
  add popup form at the bottom of the Custom fields tab at these same view pages, as shown in Figure 2.
*The title and the codename are mandatory, but all other fields are optional.
Once you are happy with your entries click the “Add custom field” button at the bottom of the form. This will add a new custom field with the details that you supplied.
The new custom field can be viewed in a number of locations, including the Custom fields tab at the parent asset’s view page, as shown in Figure 4. Alternatively you can view the new custom field from the parent asset’s dashboard in the Custom fields dashlet, as shown in Figure 5.
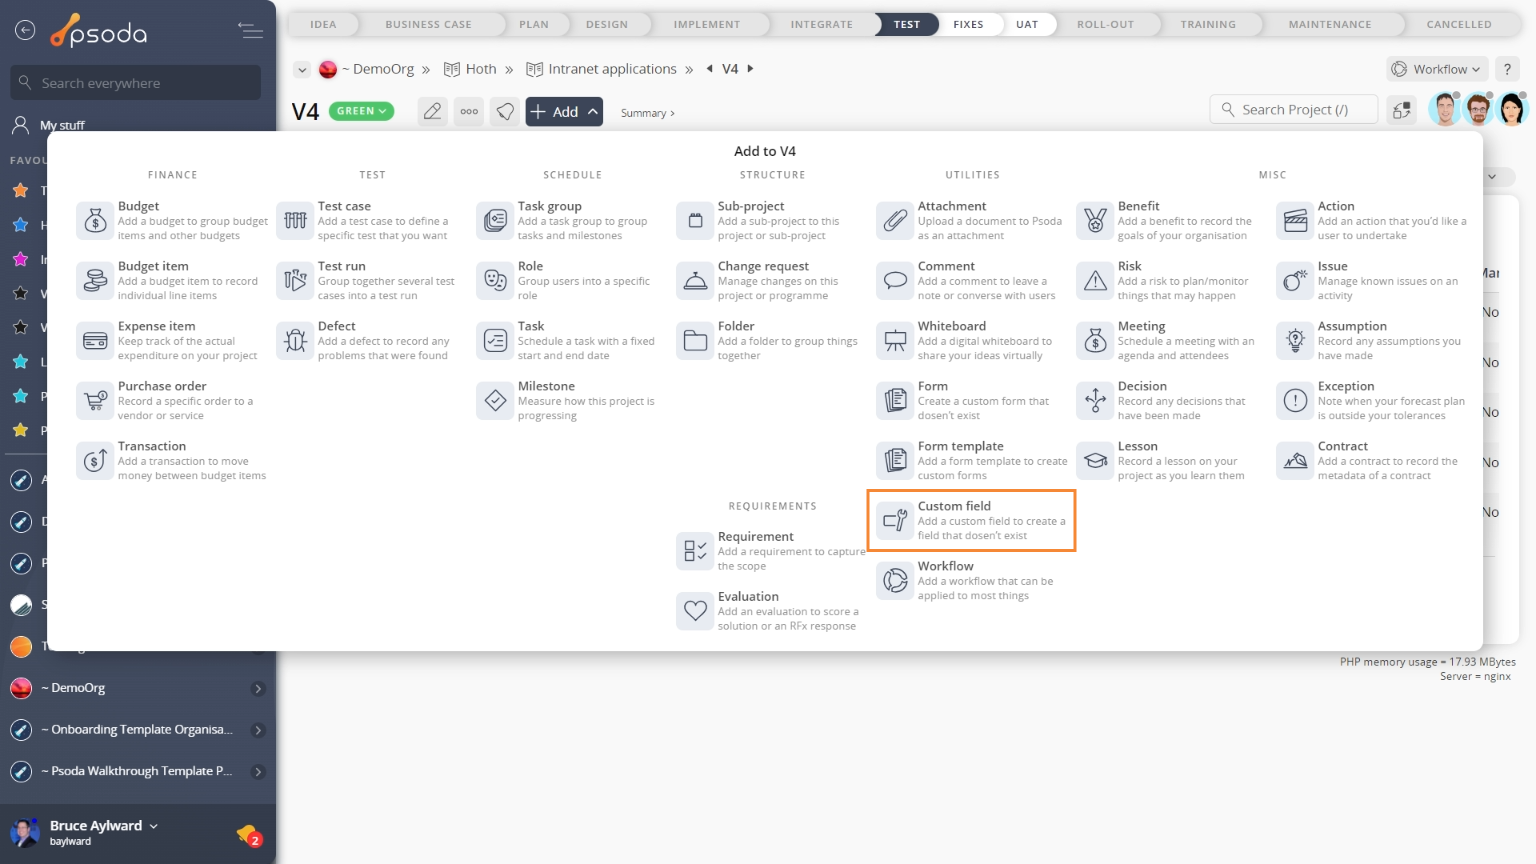
Figure 1 – Access via add menu

Figure 2 – Access via custom fields tab
This popup is shown in Figure 3 and is used to add a new ![]() custom field for the selected asset.
custom field for the selected asset.
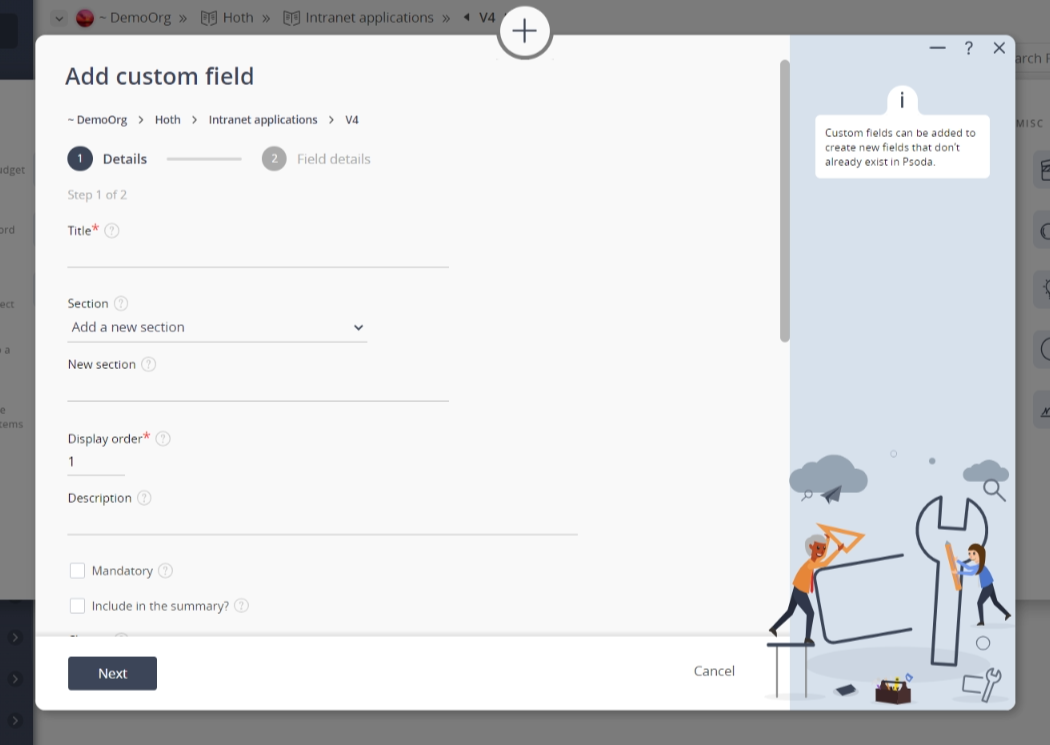
Figure 3 – Add custom field form
This form has the following fields:| Context: | This read-only field shows which organisation, programme, project or defect you are adding this new custom field to. |
|---|---|
| Title*: | Enter the short name for this custom field here. This will be displayed on the form for the data type that this new custom field applies to. |
| Section: | Use this drop-down field to select which group you would like to section this new custom field off into. |
| (New Section): | This field will be available for you to assign this new custom field to an entirely new section if you have selected the “Add a new section” option in the section field above. |
| Description: | Enter a longer description for this new custom field here. |
| Mandatory: | Select this check box if you would like to make this new custom field mandatory. |
| Include in selected details: | Select this check box if you would like to display this custom field in the Selected details box on the context asset’s view page. |
| Codename*: | Enter a codename that can be used in report templates to identify this new custom field. The codename must start with an alpha character and can contain alpha characters, numbers and underscores. The codename cannot contain any spaces. |
| Asset type: | Use this drop-down list to select the asset type that this new custom field will apply to. |
| Field type: | Use this drop-down list to select the type for this new custom field. |
| Default value: | Once you’ve clicked the Next button you will be given an option to set the default value for this custom field. The format of the default value will depend on the field type that has been selected in the field above. |
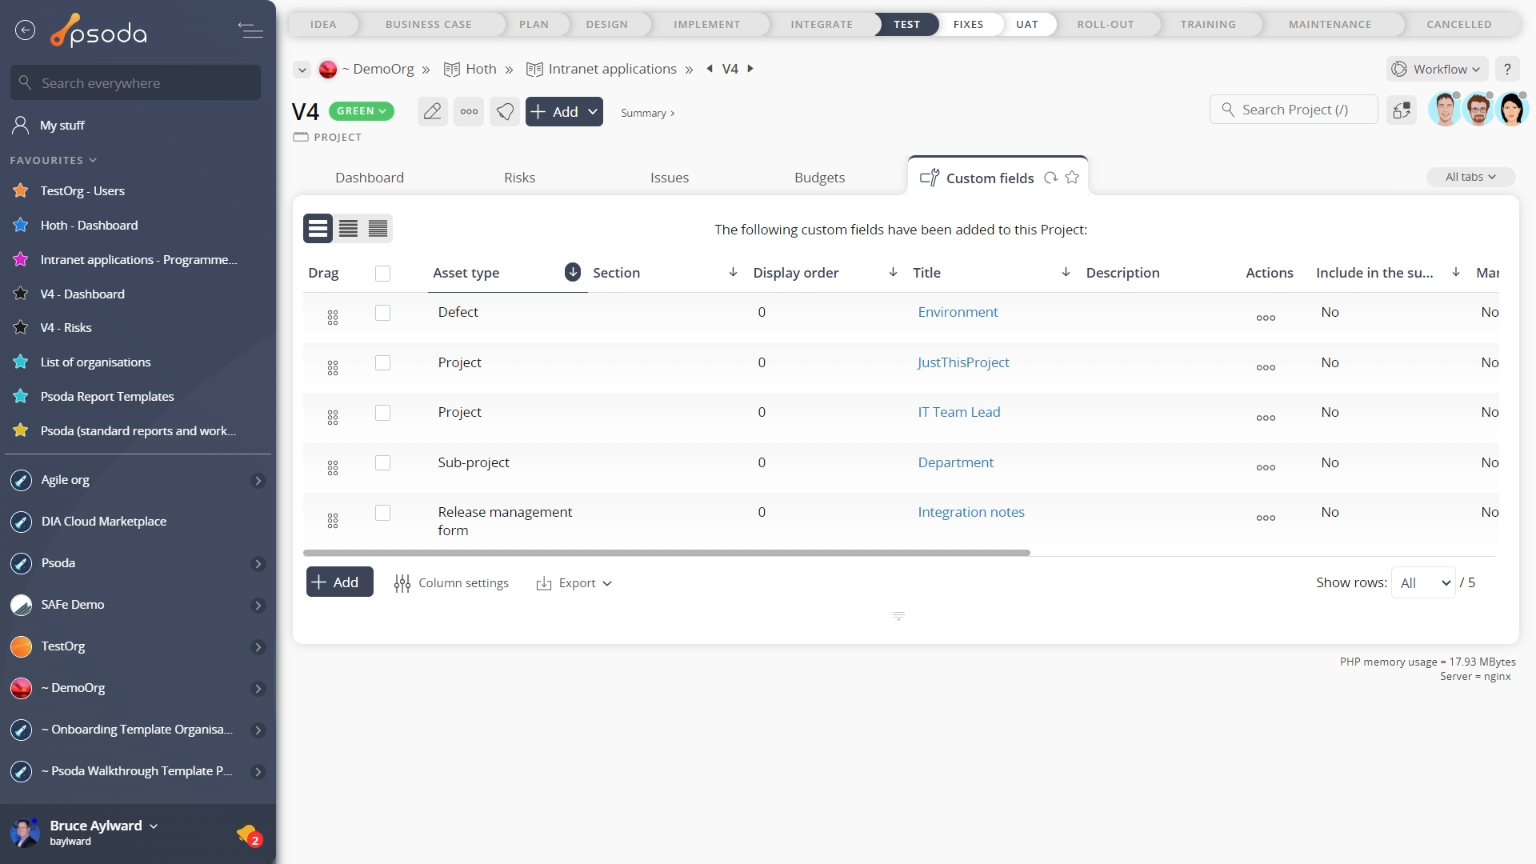
Figure 4 – View from custom fields tab
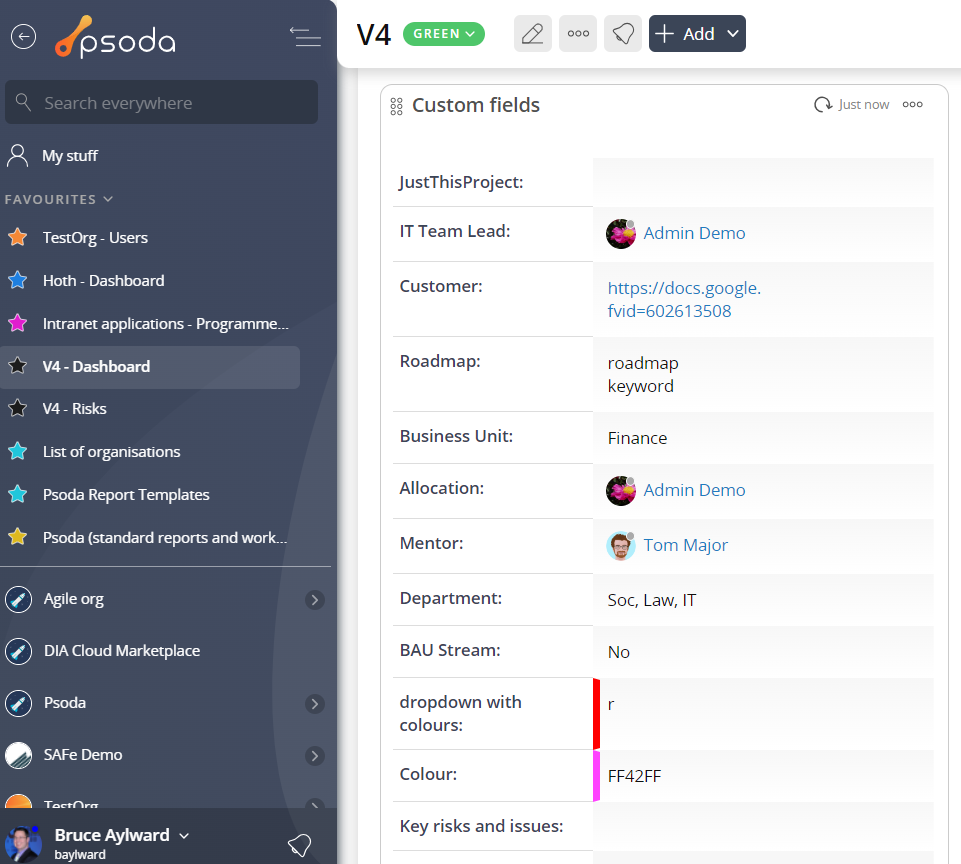
Figure 5 – View from Custom Fields dashlet
Click the Cancel button if you no longer want to add a new custom field.