To navigate into the whiteboard’s view page, select the link beneath the whiteboard column of the Whiteboards tab at the parent asset’s view page. This page is shown in Figure 1 and shows all the information relating to the selected  whiteboard.

 edit,
edit, delete, or
  move the whiteboard; or to add a new
  action,
  attachment or
  comment to this whiteboard. You may also have permissions allowing you to
  export this decision to XML from this top header area.
Some details of the whiteboard are displayed in subsections just below the top header area, such as the whiteboard’s location within Psoda, and it’s title, description and the whiteboard type. The rest of the page is made up of a number of tabs or sections (depending on your selected view):
export this decision to XML from this top header area.
Some details of the whiteboard are displayed in subsections just below the top header area, such as the whiteboard’s location within Psoda, and it’s title, description and the whiteboard type. The rest of the page is made up of a number of tabs or sections (depending on your selected view):
This tab shows an asset listing of all of the actions registered for this whiteboard, as shown in Figure 2. By default, this table will present you with a number of details about the actions such as it’s context, reference, description, priority and due date to name a few. If you click on the reference link of the listed action, you will navigate to that action’s view page.
From the Actions column of this actions table, you can act on individual actions by editing, deleting,  escalating or moving the chosen action.
 edit button at the bottom of the action table or
  add more actions to this whiteboard. Here, you can also export this list to
  Excel or
  CSV files.
This tab shows an asset listing of all of the attachments that have been added to this whiteboard, as shown in Figure 3. By default, this table will present you with a number of details about the attachments such as the file’s name, attachment type, view the version and access a download link.
From the Actions column of this attachments table, you can act on individual attachments by editing, deleting, moving or locking/ unlocking the selected attachment.
 edit button at the bottom of the attachment table or navigate to this same spot to add more attachments to this whiteboard. Here, you can also export this list to Excel or CSV files.
At the very bottom of this tabbed view, you have the option to add more attachments by utilising the drag and drop functionality to drag the files you wish to upload into the drop box (note that this function works in HTML5 compliant browsers only).
edit button at the bottom of the attachment table or navigate to this same spot to add more attachments to this whiteboard. Here, you can also export this list to Excel or CSV files.
At the very bottom of this tabbed view, you have the option to add more attachments by utilising the drag and drop functionality to drag the files you wish to upload into the drop box (note that this function works in HTML5 compliant browsers only).
This tab shows an asset listing of all of the comments that users have made on this whiteboard, as shown in Figure 4. By default, this table will present you with a number of details about the comments such as, the date that this comment was last updated, who created the comment, the comment itself and any associated tags to name a few.
From the Actions column of this comments table, you can act on individual comments by editing or deleting the selected comment.
 edit button at the bottom of the comment table or navigate to this same spot to add more comments to this whiteboard. Here, you can also export this comment list to Excel or CSV files.
This tab shows shows some basic history of the whiteboard, as shown in Figure 5. By default, this tab will present you with a number of details about the whiteboard’s history such as the creation date, creation user, last update date and last update user. If the whiteboard has been changed then this section will also show a table of all the changes that has been made, including the date of each change, the field changed, the value before the change and the user who made the change.
This tab shows the actual whiteboard, as shown in Figure 6 (which may show either a white or black whiteboard depending on it’s type). It uses Scalable Vector Graphics (SVG). IE9, Google Chrome, Safari, Firefox all support SVG. Older browsers may not support SVG. When you click into this tab, it will automatically replay the actions and drawings in creation order and as they originally happened for you to see.

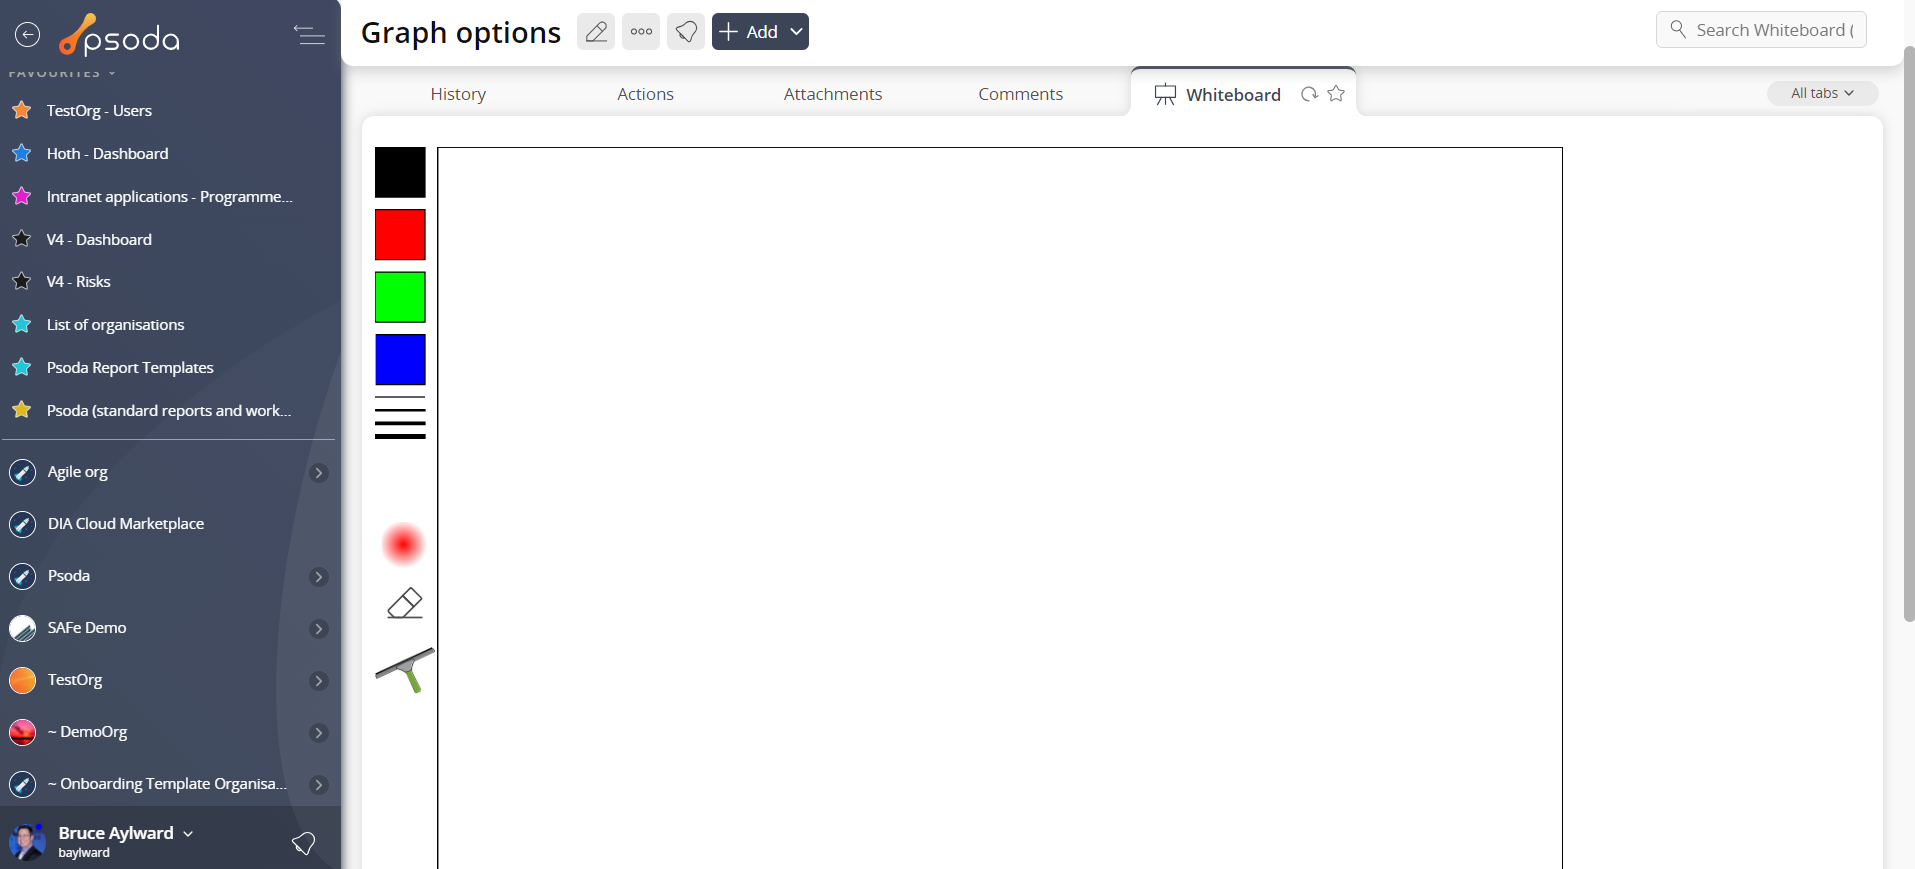
Figure 1 – Whiteboard view page
The top header area allows you to Actions
This tab shows an asset listing of all of the actions registered for this whiteboard, as shown in Figure 2. By default, this table will present you with a number of details about the actions such as it’s context, reference, description, priority and due date to name a few. If you click on the reference link of the listed action, you will navigate to that action’s view page.
From the Actions column of this actions table, you can act on individual actions by 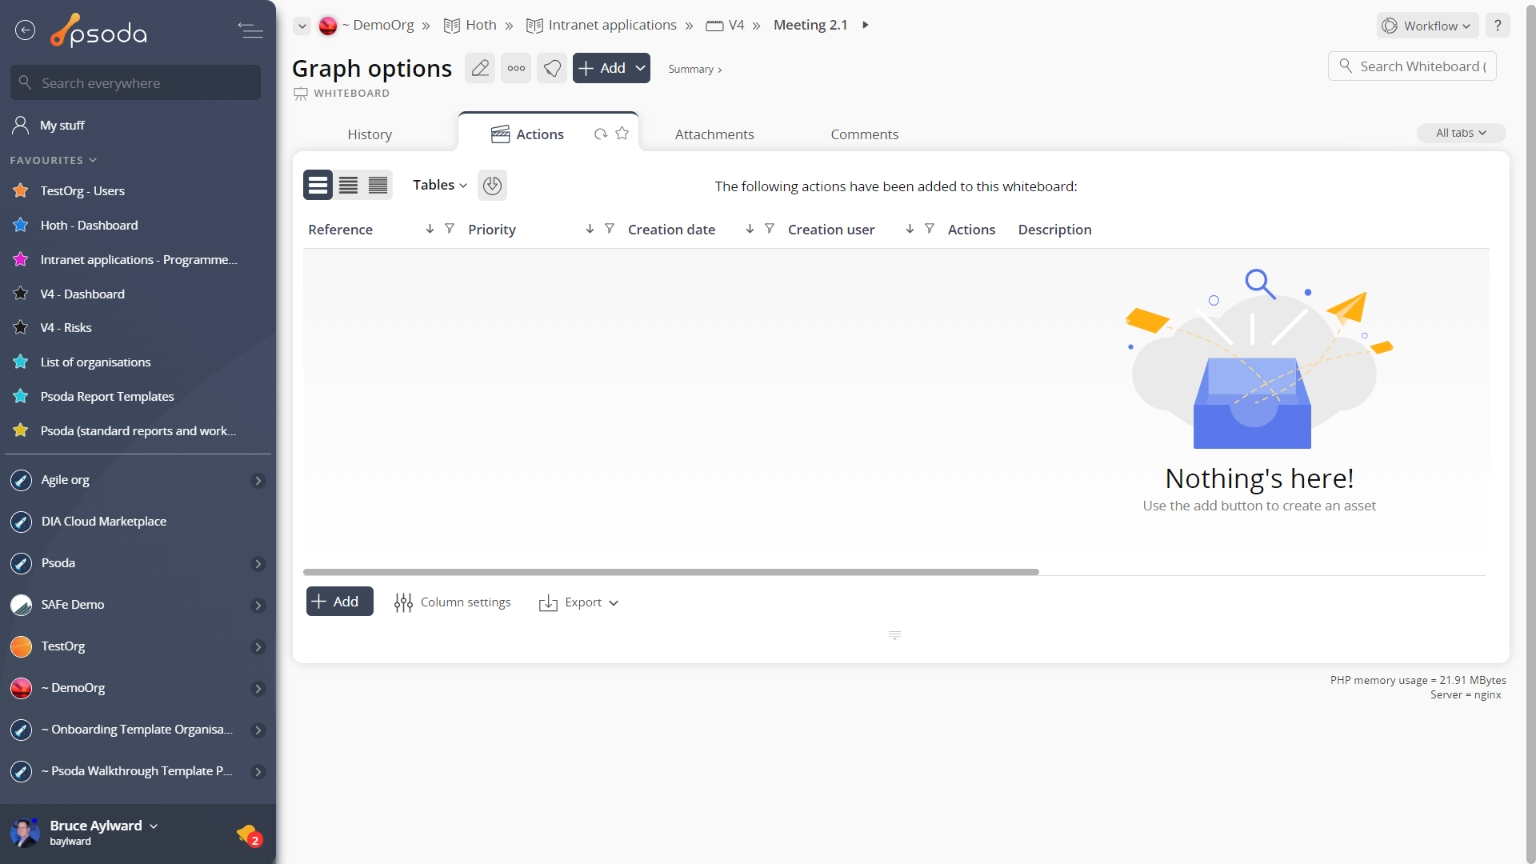
Figure 2 – Whiteboard actions tab
Note that you can customise your table view by clicking the Attachments
This tab shows an asset listing of all of the attachments that have been added to this whiteboard, as shown in Figure 3. By default, this table will present you with a number of details about the attachments such as the file’s name, attachment type, view the version and access a download link.
From the Actions column of this attachments table, you can act on individual attachments by 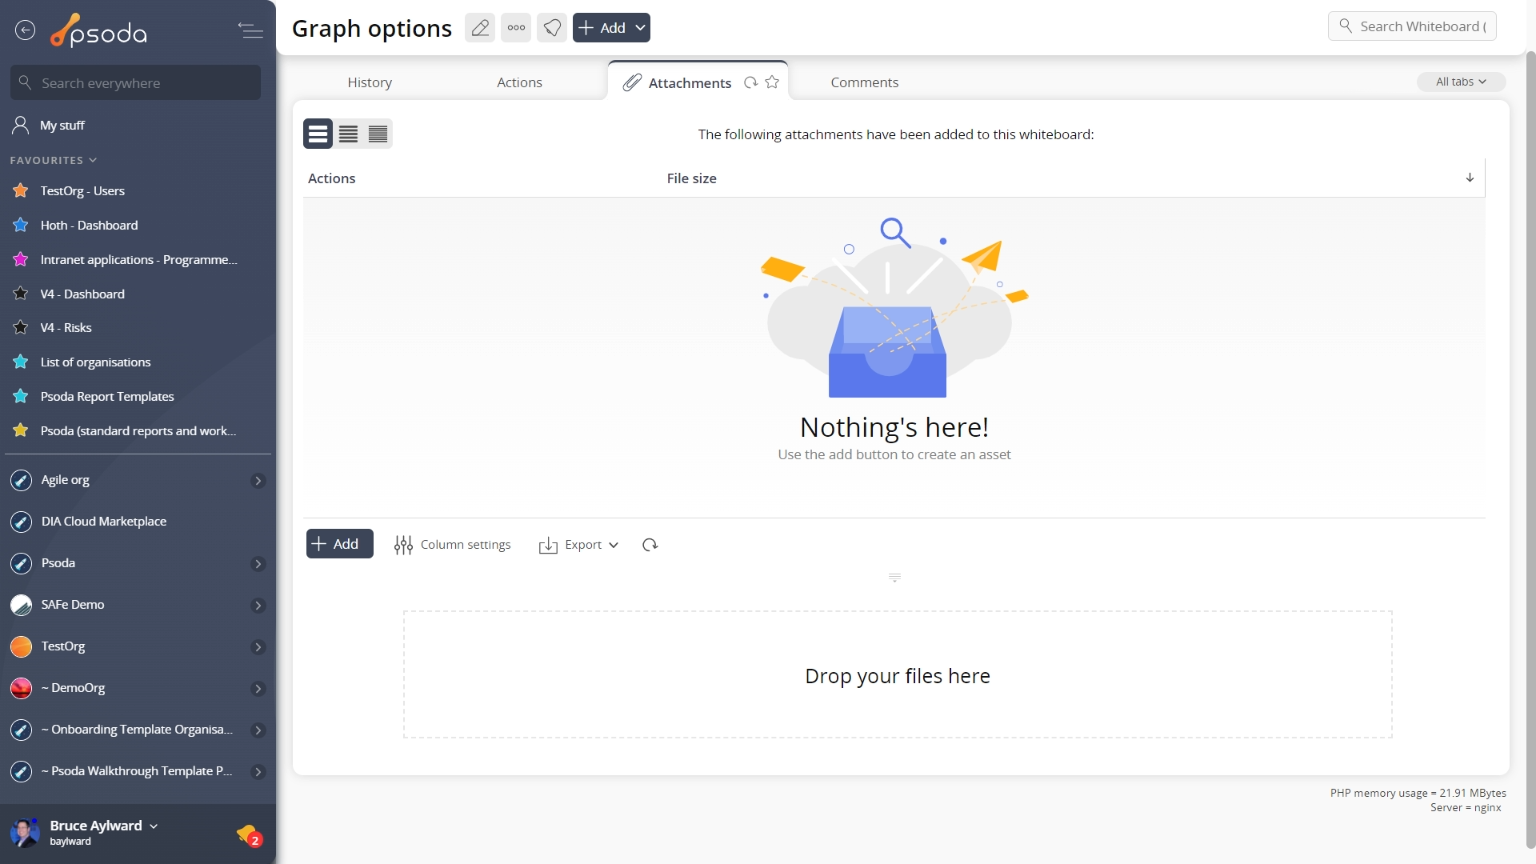
Figure 3 – Whiteboard attachments tab
Note that you can customise your table view by clicking the Comments
This tab shows an asset listing of all of the comments that 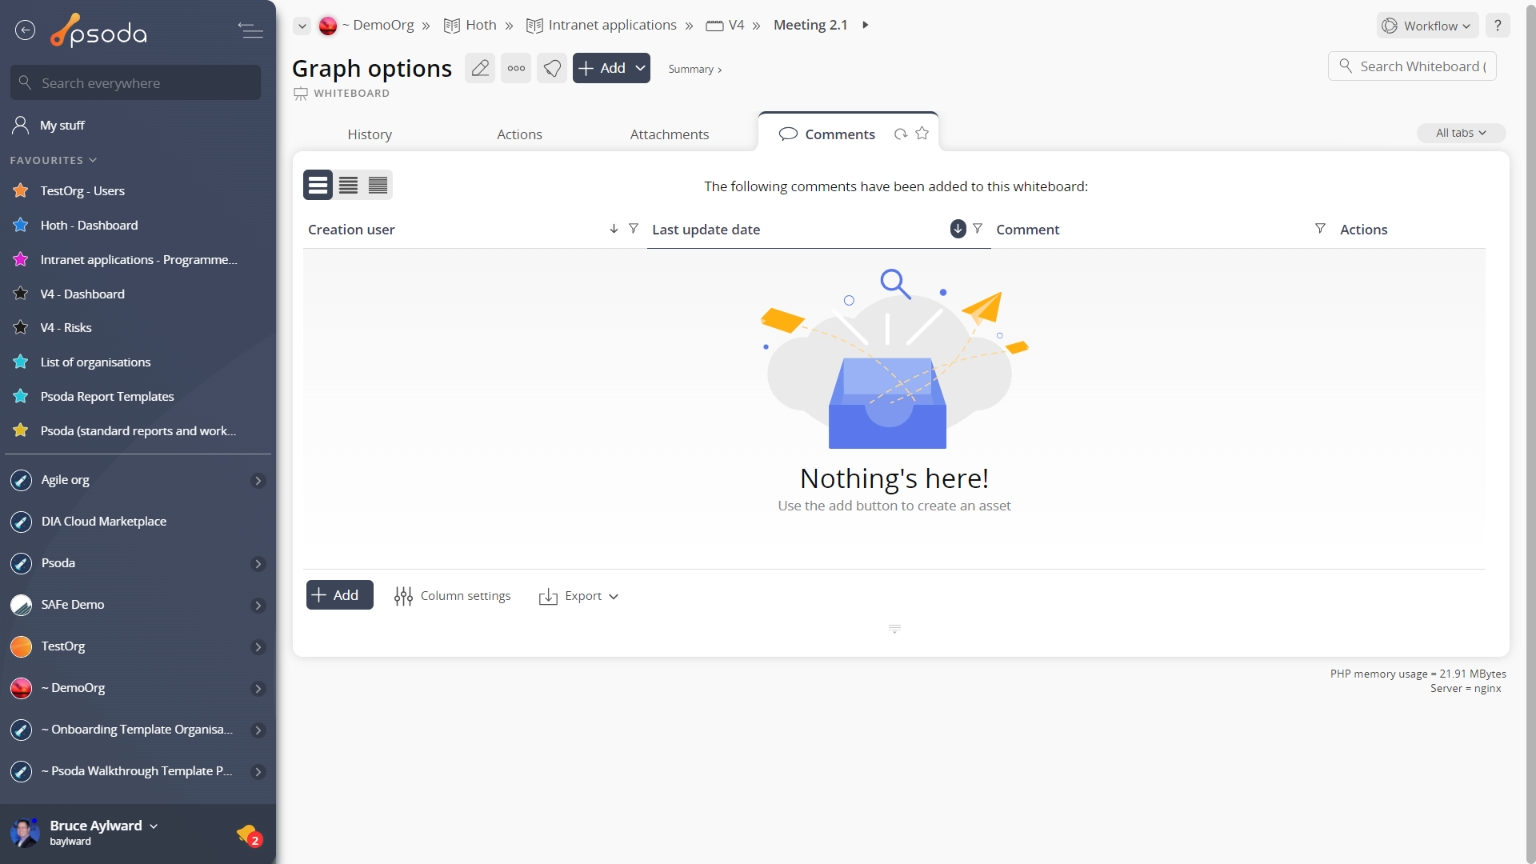
Figure 4 – Whiteboard comments tab
Note that you can customise your table view by clicking the History
This tab shows shows some basic history of the whiteboard, as shown in Figure 5. By default, this tab will present you with a number of details about the whiteboard’s history such as the creation date, creation user, last update date and last update user. If the whiteboard has been changed then this section will also show a table of all the changes that has been made, including the date of each change, the field changed, the value before the change and the user who made the change.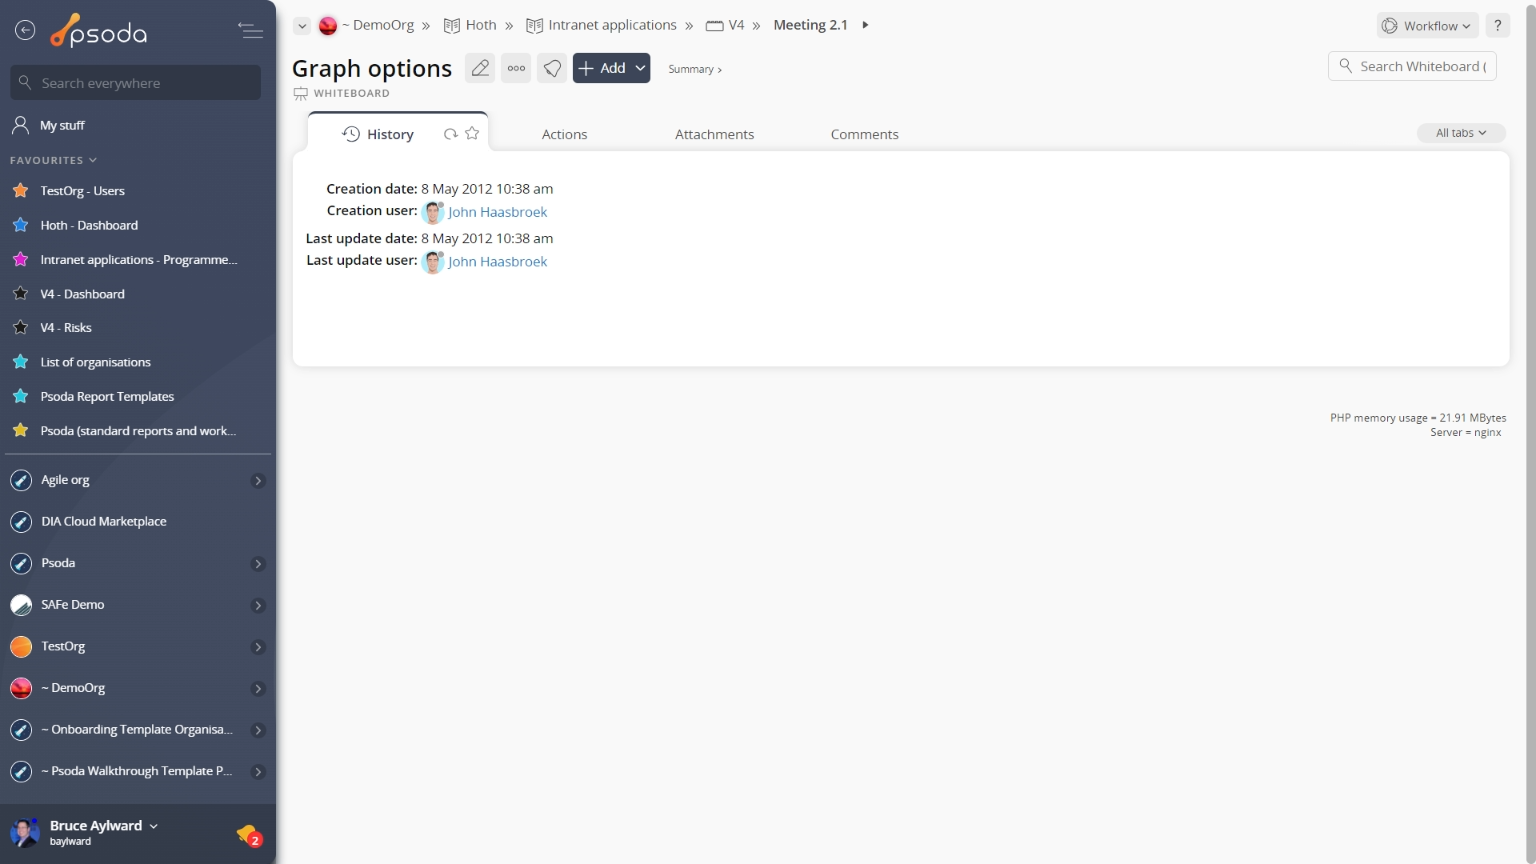
Figure 5 – Whiteboard history tab
Note that you can customise your change table view by clicking the ![]() edit button at the bottom of the change table. Here, you can also export this list of changes to
edit button at the bottom of the change table. Here, you can also export this list of changes to ![]() Excel or
Excel or ![]() CSV files.
CSV files.
Whiteboard
This tab shows the actual whiteboard, as shown in Figure 6 (which may show either a white or black whiteboard depending on it’s type). It uses Scalable Vector Graphics (SVG). IE9, Google Chrome, Safari, Firefox all support SVG. Older browsers may not support SVG. When you click into this tab, it will automatically replay the actions and drawings in creation order and as they originally happened for you to see.
Figure 6 – Whiteboard tab
If two users view the same whiteboard then any updates they make will automatically appear on the other’s display. This makes it easy for users who are not able to attend in person to also see the meeting whiteboard. Read-only users will still be able to view the whiteboard and see updates even though they will not be able to make updates to the board.